(Susan M. Pigott is a fountain pen collector, pen and paperholic, photographer, and professor. You can find more from Susan on her blog Scribalishess.)
I have always, always wanted to make handmade paper, but when I looked at instructions and examples online, they seemed overly complicated and underwhelming. The homemade mould and deckle ideas required special supplies and a handy-ness that I just don't have. Ripping up junk mail and blending it into a pulp sounded fun, but the resulting paper looked thick and, frankly, unusable for writing.
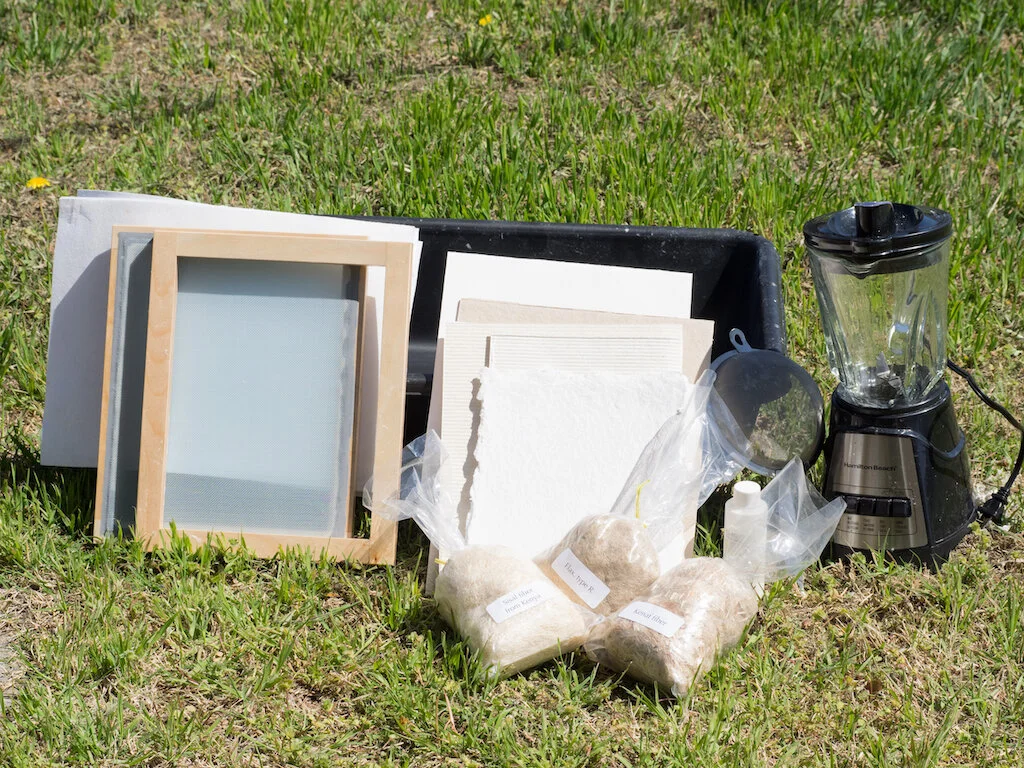
I was very excited when I discovered Carriage House Paper's Papermaking Kit (without vat) ($111). This kit included almost everything I needed to make usable, handmade paper:
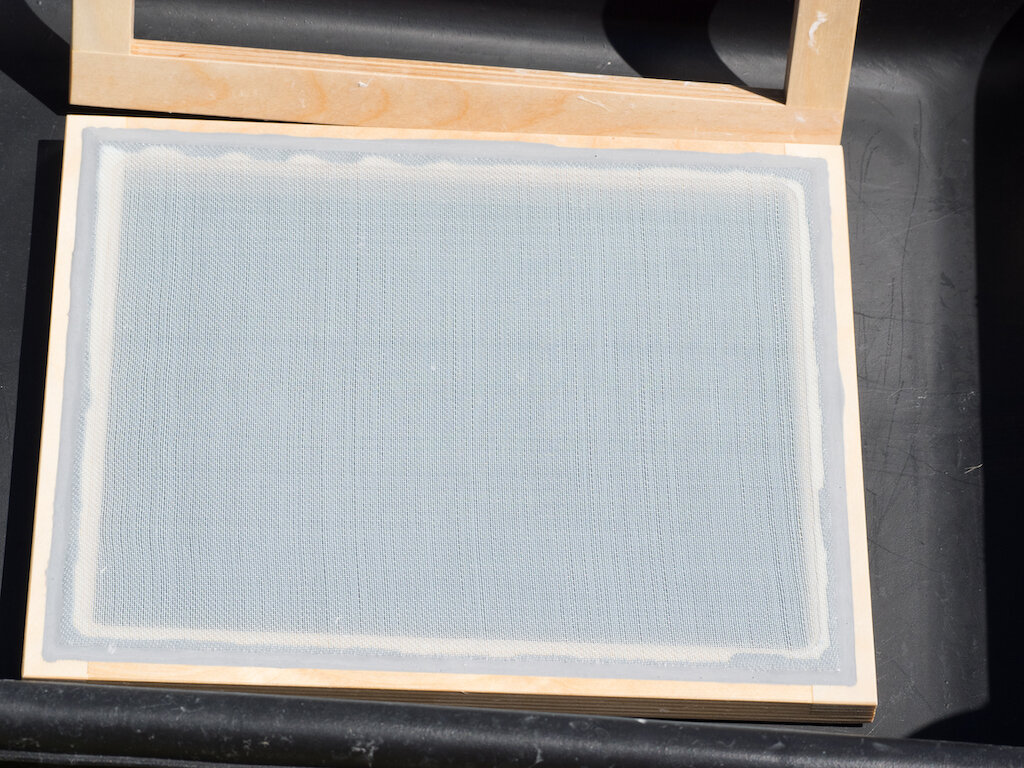
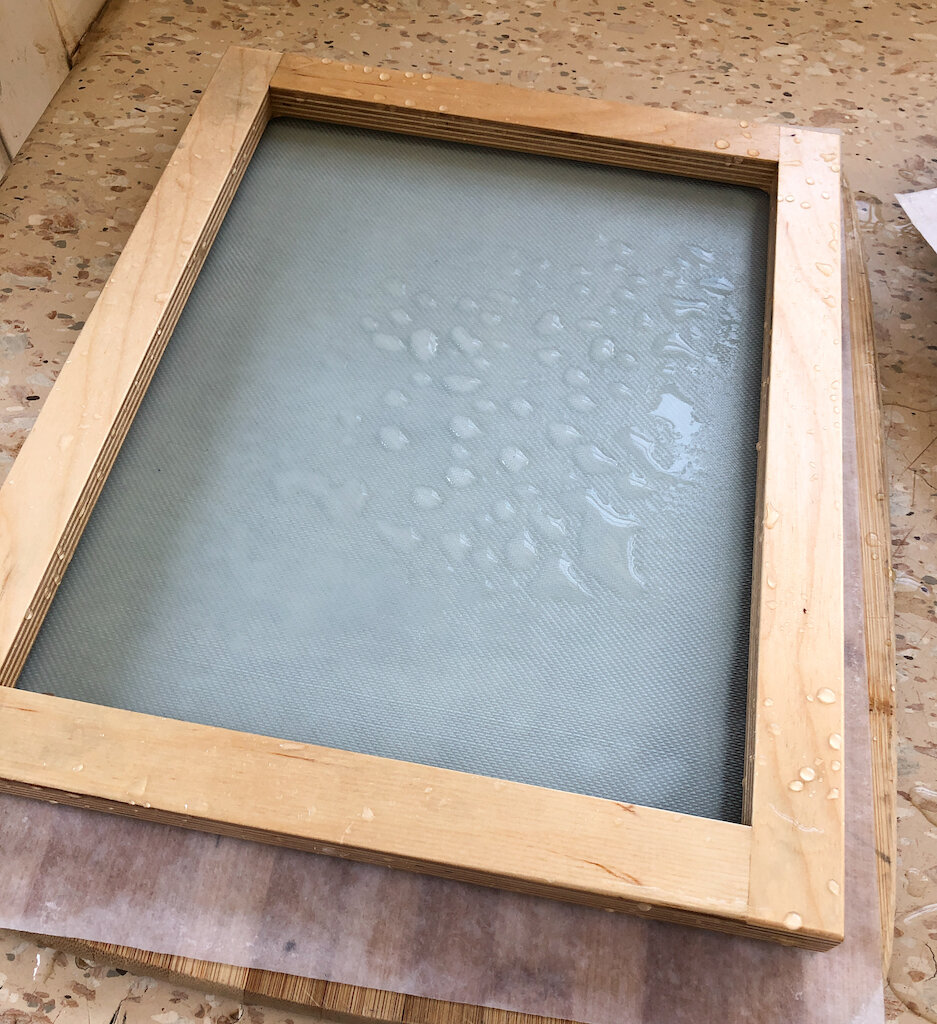
- an 8 and 1/2 by 11 mould and deckle (it's a really nice one!)
- 12 papermaking felts
- 2.5 pounds of dry pulp
- a 4 ounce bottle of sizing

- an instruction booklet

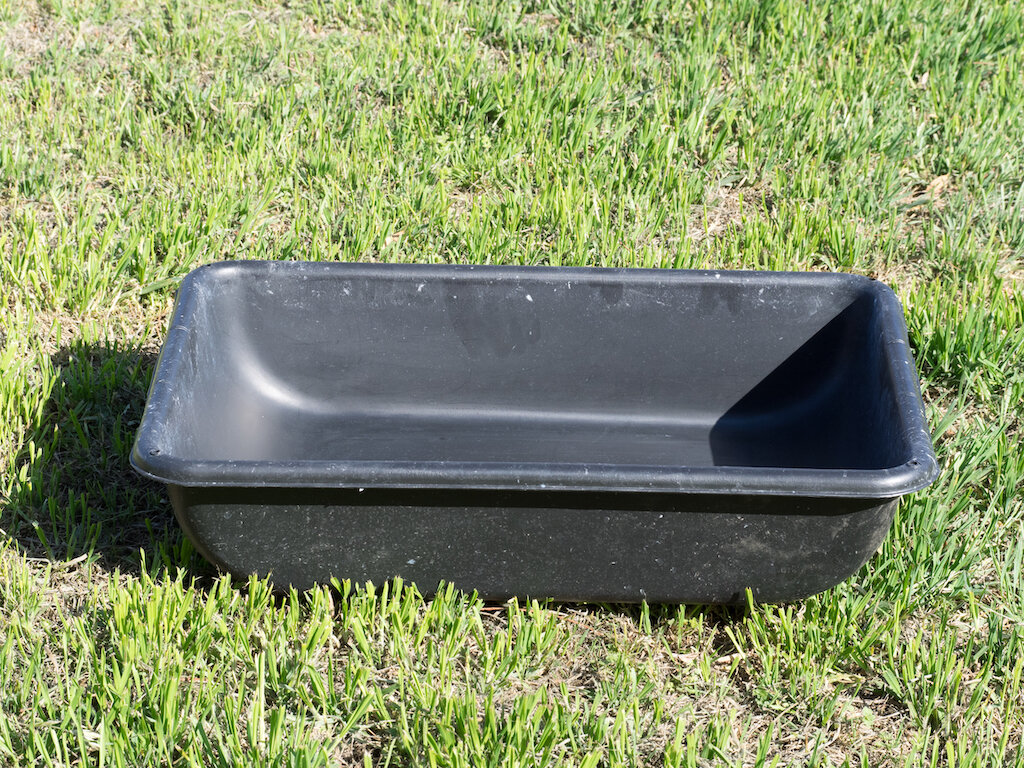
I could have purchased the Papermaking Kit with Vat ($125), but the (already very expensive) UPS shipping cost with the vat was almost double. I found the exact same vat at our local Tractor Supply Co. for $20.
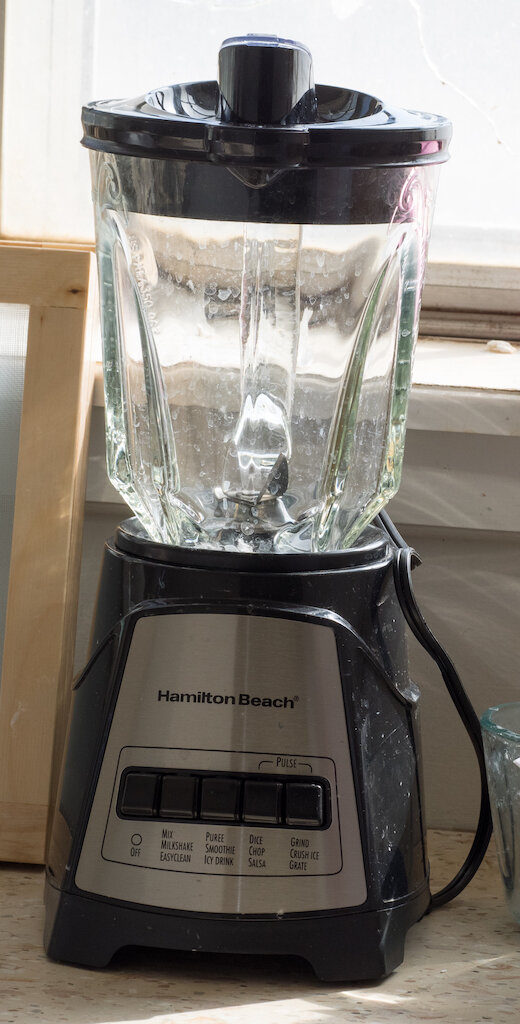
I purchased a Hamilton Beach blender on Amazon for $30 to use for paper making. You're not supposed to use the same blender for food prep and paper making.
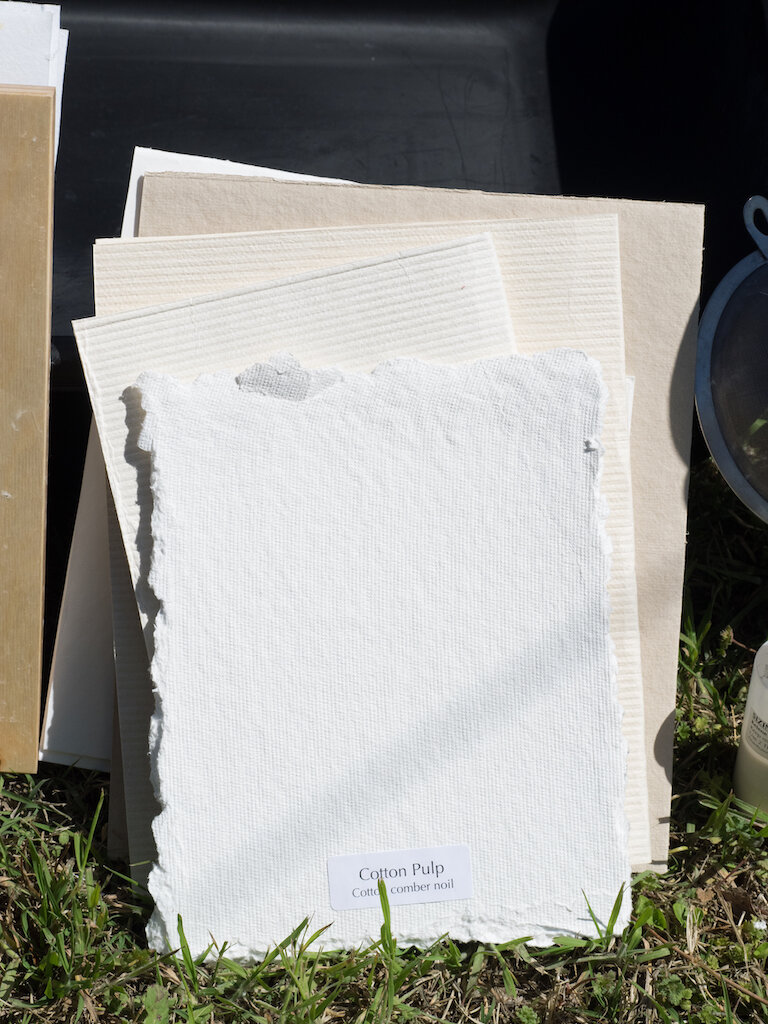
In addition, I ordered the Sample Set of Pulp and Fibers ($45) from Carriage House, because I wanted to experiment with different textures and decide which pulp was my favorite.
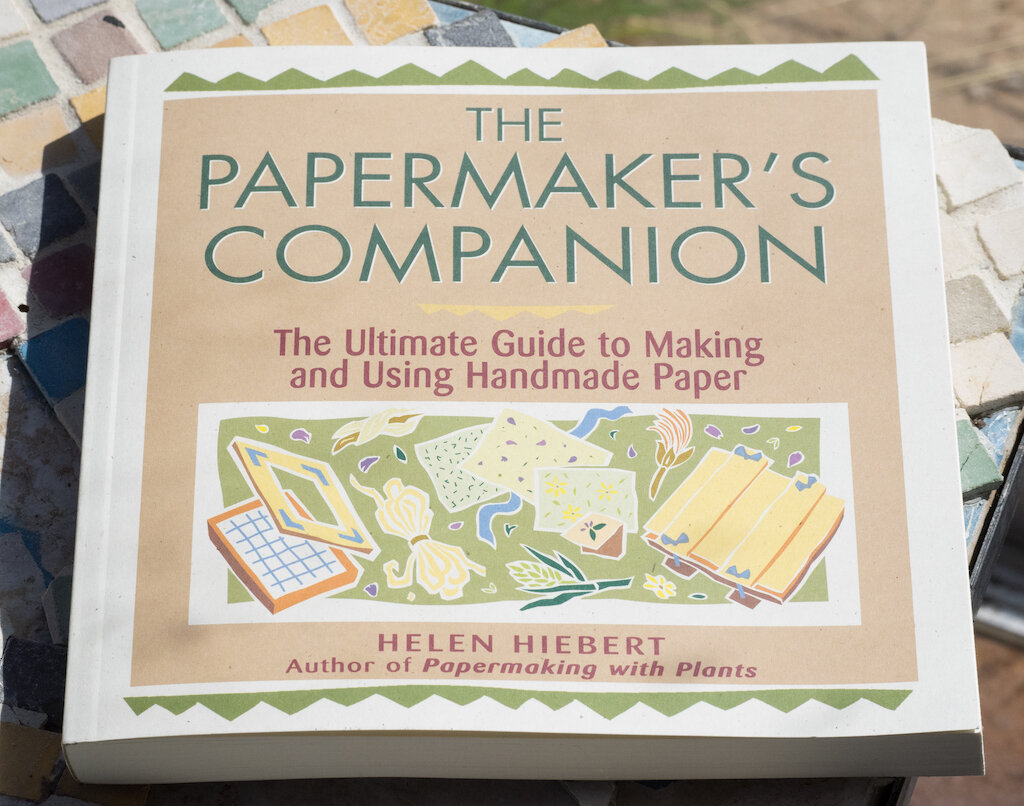
I also bought the bible of paper making: Helen Hiebert's The Papermaker's Companion: The Ultimate Guide to Making and Using Handmade Paper (Amazon, $18.95). This book is excellent in every way, and it answered many of my questions that the little booklet included with the kit did not.
Obviously, I made a significant investment ($225), but I felt it was worth having excellent equipment to try my hand at something I was sure I would enjoy. I have not been disappointed.

My kit was shipped the week the North Pole decided to visit Texas, so it was stuck in a warehouse or on a truck for quite awhile before it arrived. Unfortunately, my bottle of sizing froze during transit and arrived ruined. I didn't realize it was ruined until after I'd mixed it with hemp pulp and the paper looked like it had leprosy. Fortunately, Carriage House sent me a replacement bottle and more hemp pulp!


Making Paper
Making paper is a blast, but you have to enjoy messes, getting wet, and splooshing around in pulpy water. If you played in mud puddles as a kid, this is the hobby for you!
(1) Prepping the Felts. The felts are pieces of heavy fabric interfacing that you use to couch (pronounced "cooch") the paper (I'll describe this below). I take my felts outside, put them on a clean surface, and hose them off (in case they have any residual pulp from a previous session), and make sure they are completely wet.
(2) Preparing the Pulp. The dry pulp that came with my kit is easy to cut into pieces and blend in a blender. You just have to make sure you don't put too much pulp in at once and burn out the motor of your blender. I cut the pulp up into 1-inch pieces and fill the blender (loosely) barely to the one-cup line. I mix 2 tablespoons of sizing with a cup of water and pour some of that in the blender with each batch. Then I add water almost to the top, pulse a few times, then blend for about two minutes. I pour that batch into my vat and repeat until I think I have enough pulp for twelve sheets of paper.
(3) Filling the Vat. I get the hose and fill the vat until the water and pulp ratio looks about right. This is something that varies with each kind of pulp. It's best not to add too much water, because, if the mixture is too thin, then you have to blend more pulp. If it's too thick, you can always add more water.

(4) Using the Mould and Deckle. I wet the mould under a faucet prior to "pulling" my first sheet. You hold the mould with the screen up and put the deckle on top. The deckle is what frames the pulp into a sheet of paper. Then you swish the pulp mixture in the vat (this is so much fun!) to get the fibers up from the bottom, dip the mould and deckle back to front and scoop up. The water splashes, the fibers settle (I shimmy the mould and deckle back and forth, and front to back so they settle more evenly), and, then you carefully lift off the mould. If you're not careful, water droplets can land on your new sheet (they're called "papermaker's tears"), and you have to "kiss off" the failed sheet back into the vat. I love kissing off--splatting the deckle on the water's surface to release the pulp. If you're happy with the sheet, you tip the mould to allow as much water to drip off as possible.


(5) Couching. On a flat surface (I use an old wooden cutting board) you couch your wet paper. Couching involves pressing the deckle (paper side down) onto a felt. I sponge the back of the deckle (a dabbing motion) to help release the sheet. Then I gently pull the deckle from the top. The new piece of paper remains. I put a wet felt on top of that and make my next sheet.
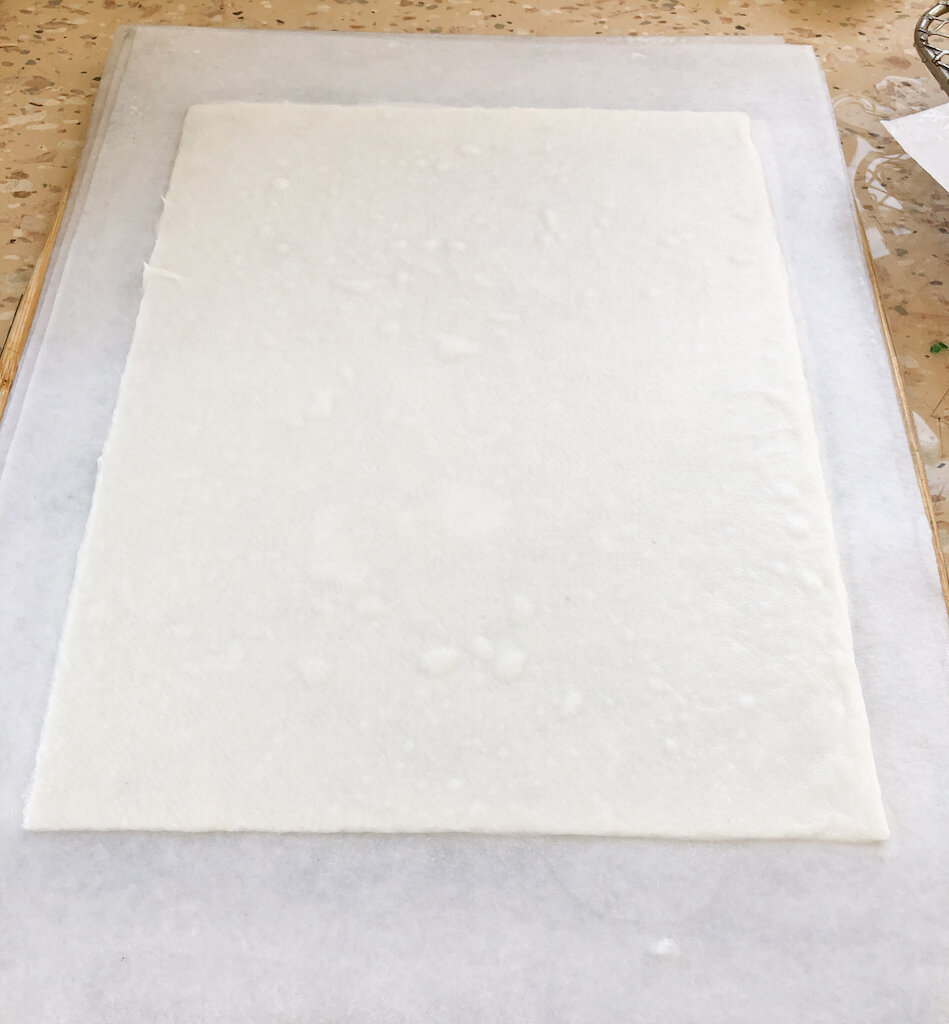
(6) The Post. I make twelve sheets at a time because that's how many felts were included in the kit. My stack of paper is called a post. When I've pulled my last sheet and placed a felt on top, I have a completed post.
(7) Pressing. This is the lowest tech thing I do in my paper making process. One day, when I become a grown-up paper maker, I'll indulge in a real press. For now, I take my post to our back patio, place it on the ground, cover it with two heavy tiles left over from our den flooring project, and gracefully (?) stand on top to press out as much water as possible.


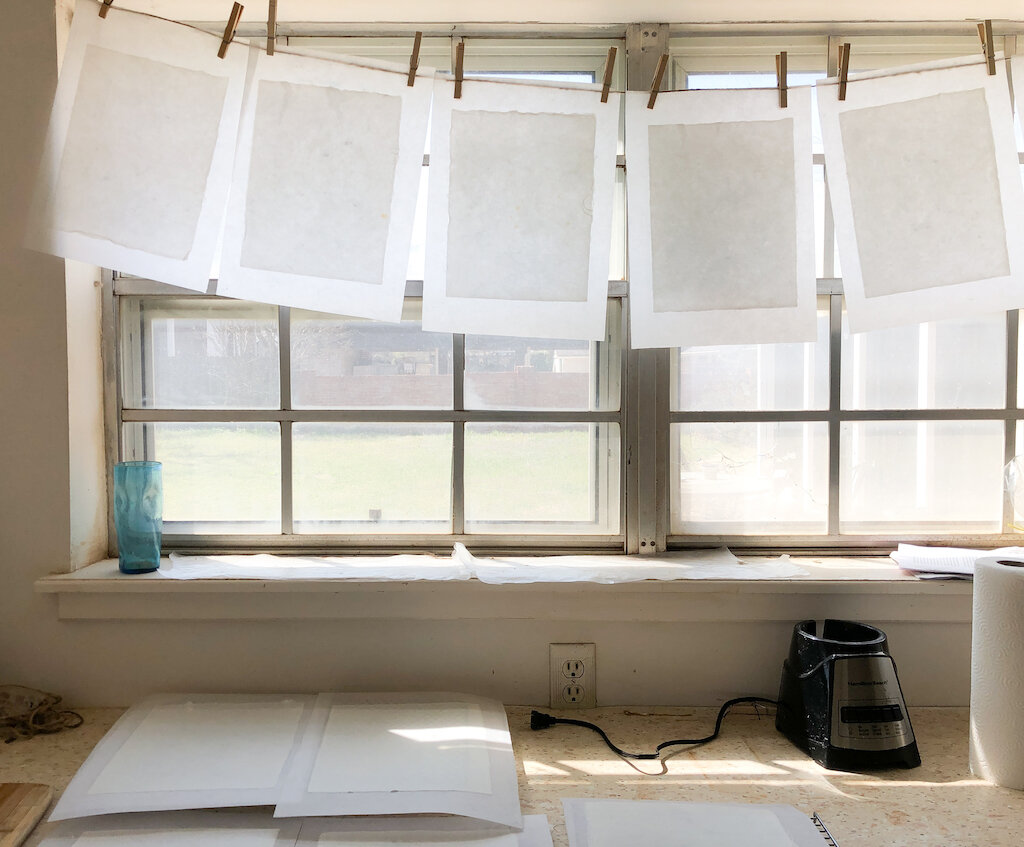
(8) Drying. After pressing, I bring the paper inside to dry on the felts. You can take the paper off the felts to dry, but I'm afraid I'll rip it. So, I just clothespin the felts and paper on a line in our mudroom. What I can't fit on the line I put on cooling racks from our kitchen. Abilene has a dry climate, so the paper is usually dry the next morning.
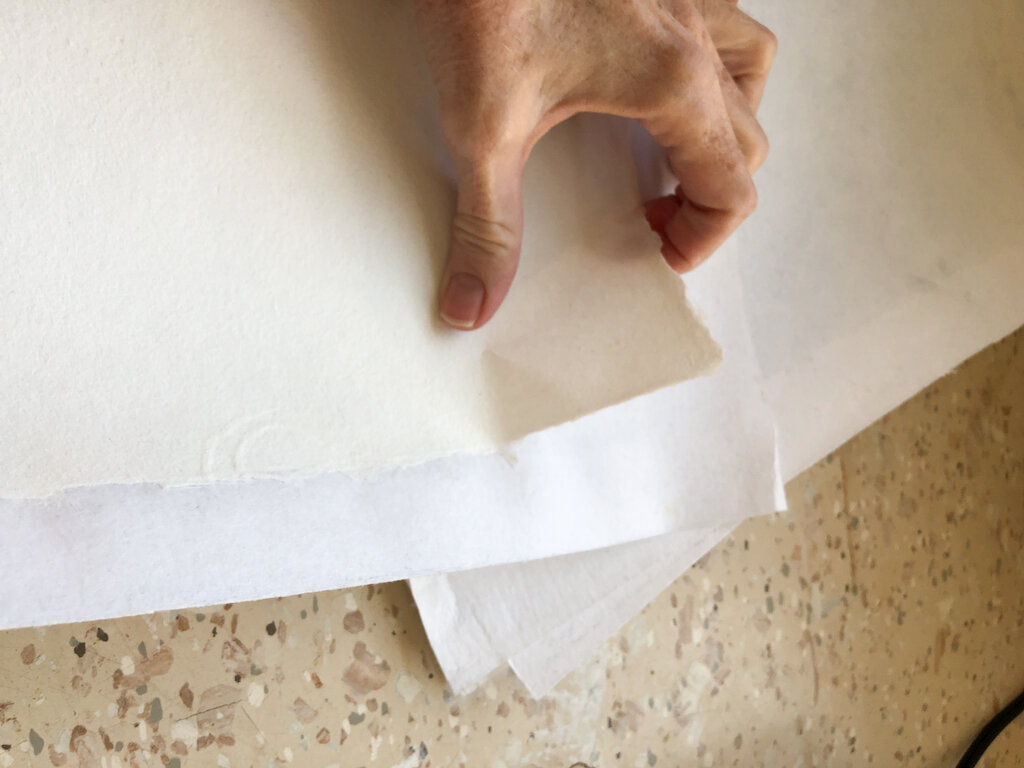
(9) The Finished Paper. Once the paper is dry, I carefully pull it off the felt. If it's curled (and it usually is), I place it on a table under a couple of heavy books to flatten it out. You can also iron it.
Over the last month, I've made six different kinds of paper. Next week in Part 2, I'll discuss each paper's characteristics, how sizing works (both external and internal), and provide samples of how sized paper interacts with fountain pens, watercolors, and inks.
(I purchased all the materials discussed in this review with my own funds. Thank you to Carriage House Paper for answering lots of questions and replacing my frozen sizing.)
Enjoy reading The Pen Addict? Then consider becoming a member to receive additional weekly content, giveaways, and discounts in The Pen Addict shop. Plus, you support me and the site directly, for which I am very grateful.
Membership starts at just $5/month, with a discounted annual option available. To find out more about membership click here and join us!