Posts filed under Carriage House

Carriage House Papermaking Kit: A Review (Part 2 of 2)

Carriage House Papermaking Kit Review

(Susan M. Pigott is a fountain pen collector, pen and paperholic, photographer, and professor. You can find more from Susan on her blog Scribalishess.)

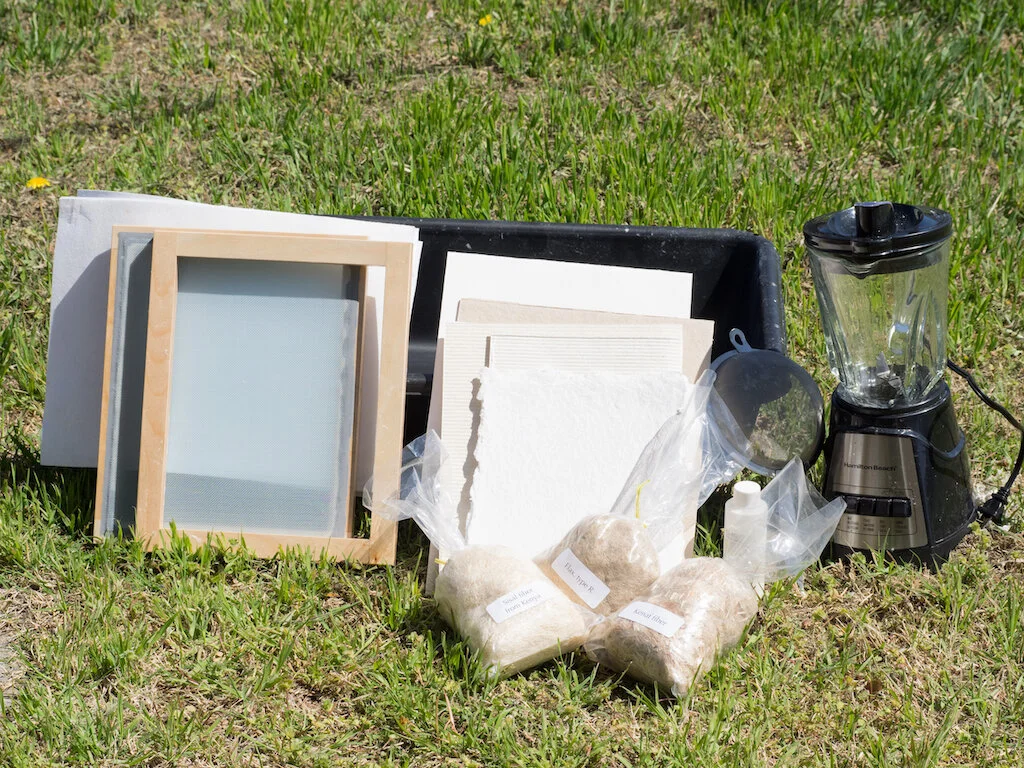
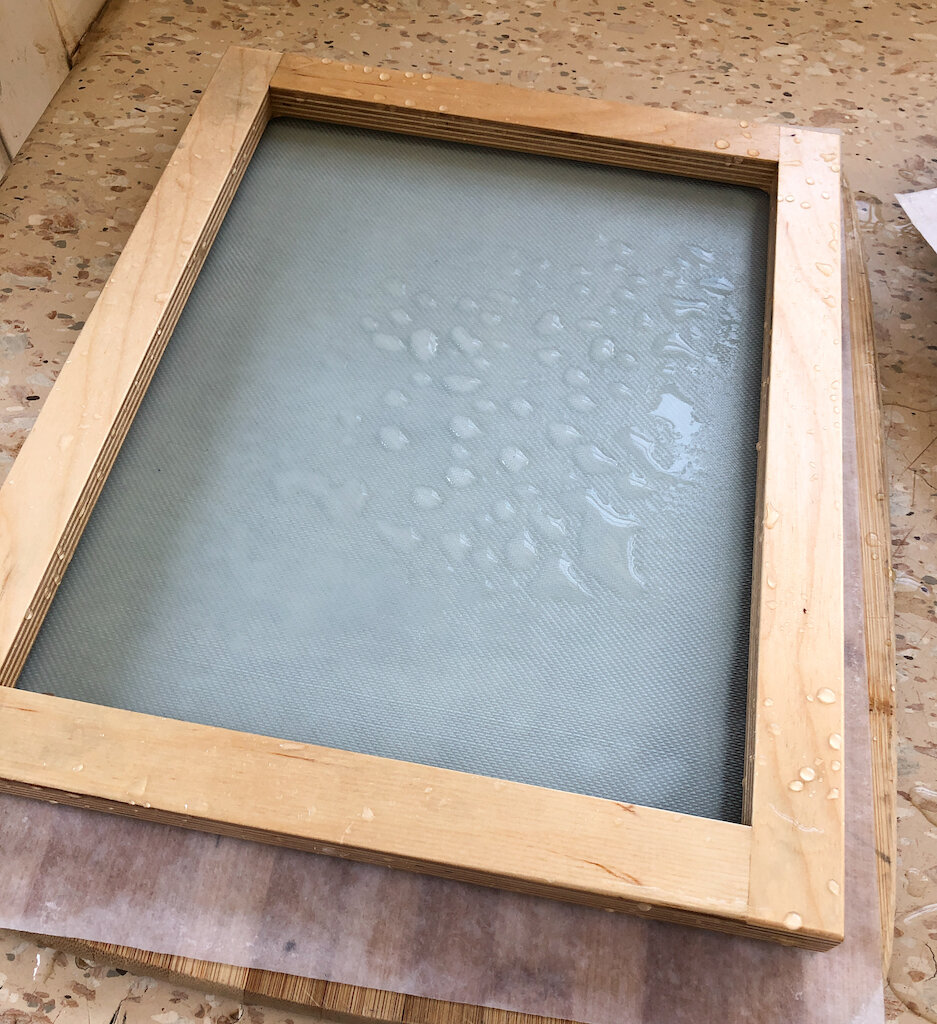
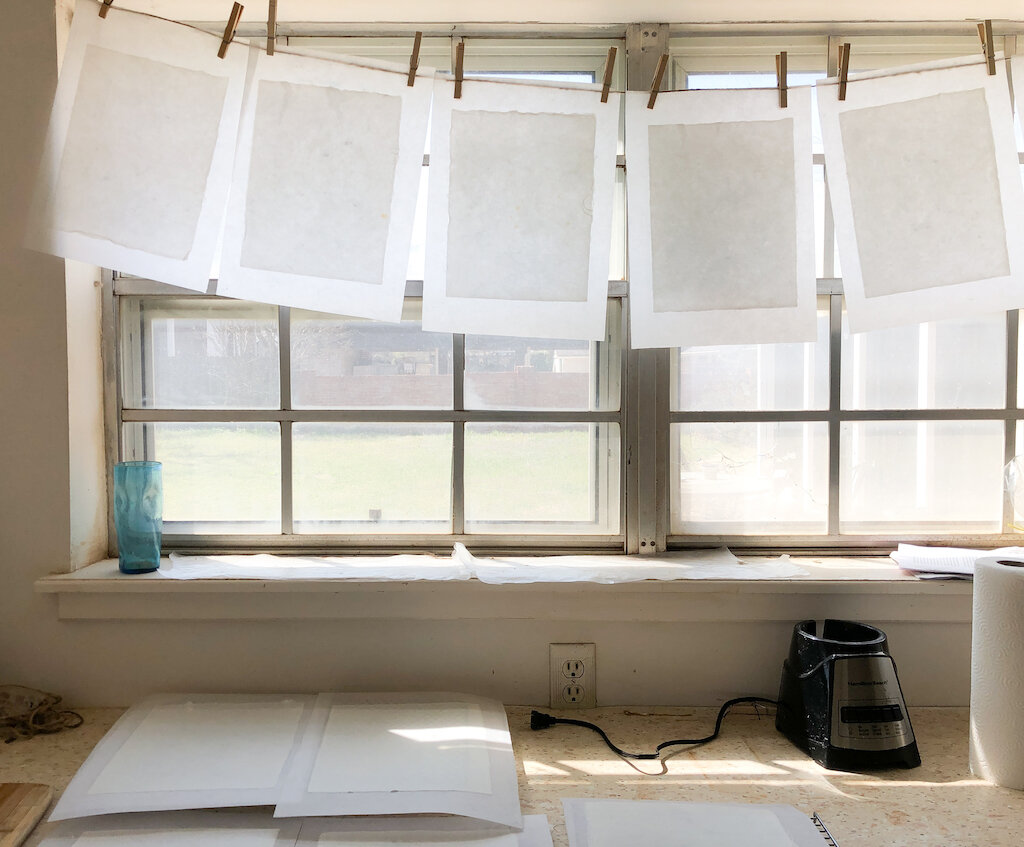
In last week's review, I discussed the equipment and paper making process using Carriage House Paper's Papermaking Kit. This week, I'm going to focus on the results: the paper I've made so far. I'll discuss each paper's characteristics, the sizing, and how it handles watercolors, ink swabs, and fountain pens.

Unsized and Sized Paper

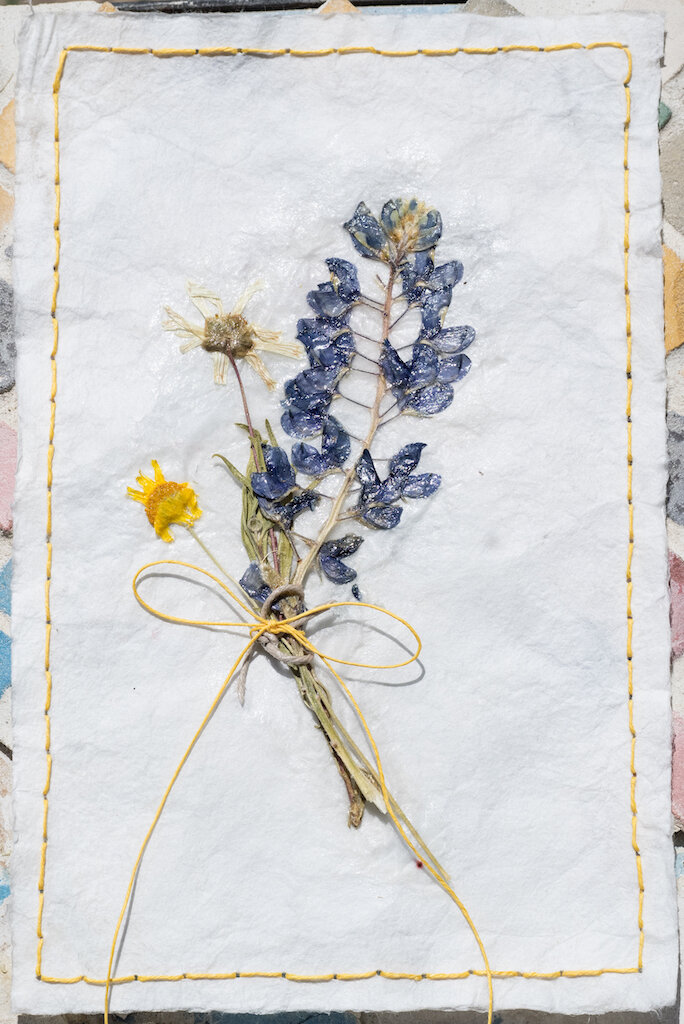
Paper that has no sizing is porous and soaks up paint and ink like a paper towel. Unsized paper can be used for paper crafts and as endpaper for books, but it isn't good for painting or writing. I used unsized paper as the background for some flowers my daughter pressed.

Carriage House Papermaking Kit Flowers

In order to make handmade paper usable with paint and ink, you have to size it. There are two ways to size paper: external sizing and internal sizing. External sizing is applied after the paper is made and dried. I attempted to do this with my Abaca paper using wheat starch paste (see below). Internal sizing is a liquid mixed into the pulp before pulling sheets of paper. I used the sizing that came with my kit, called Ketene Dimer Emulsion. It is chemical-based sizing and contains no animal products.

Abaca Premium (Externally Sized)

Carriage House Papermaking Kit Abaca Full Page

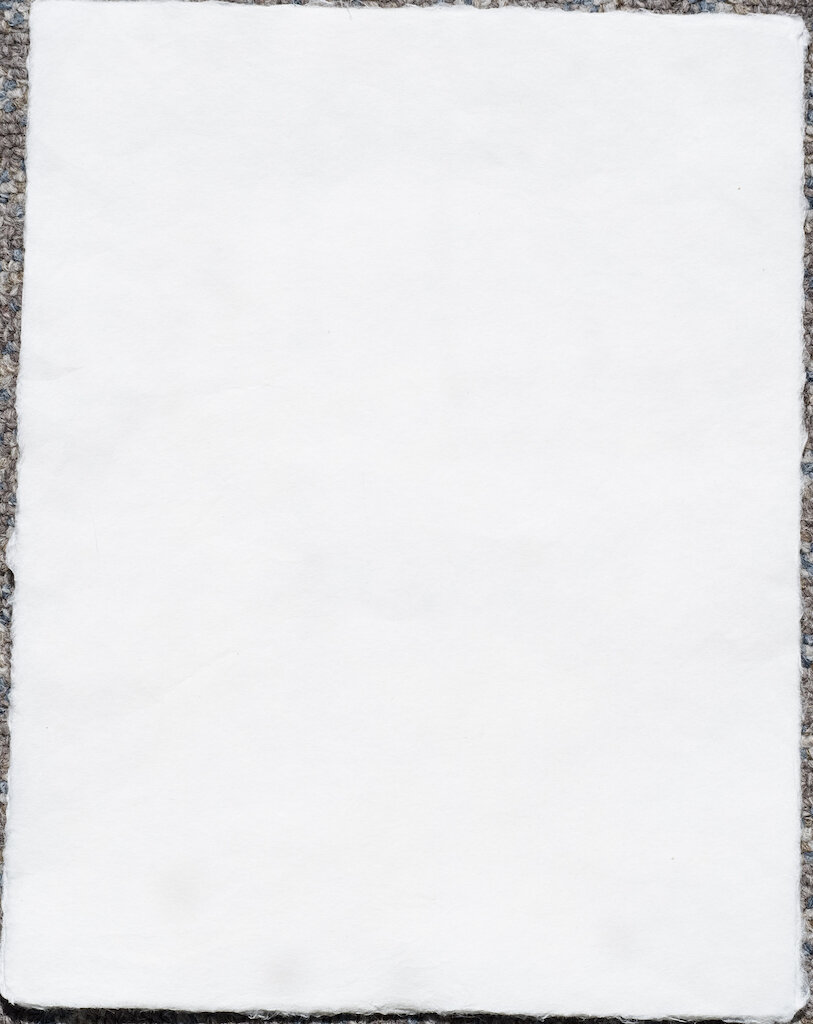
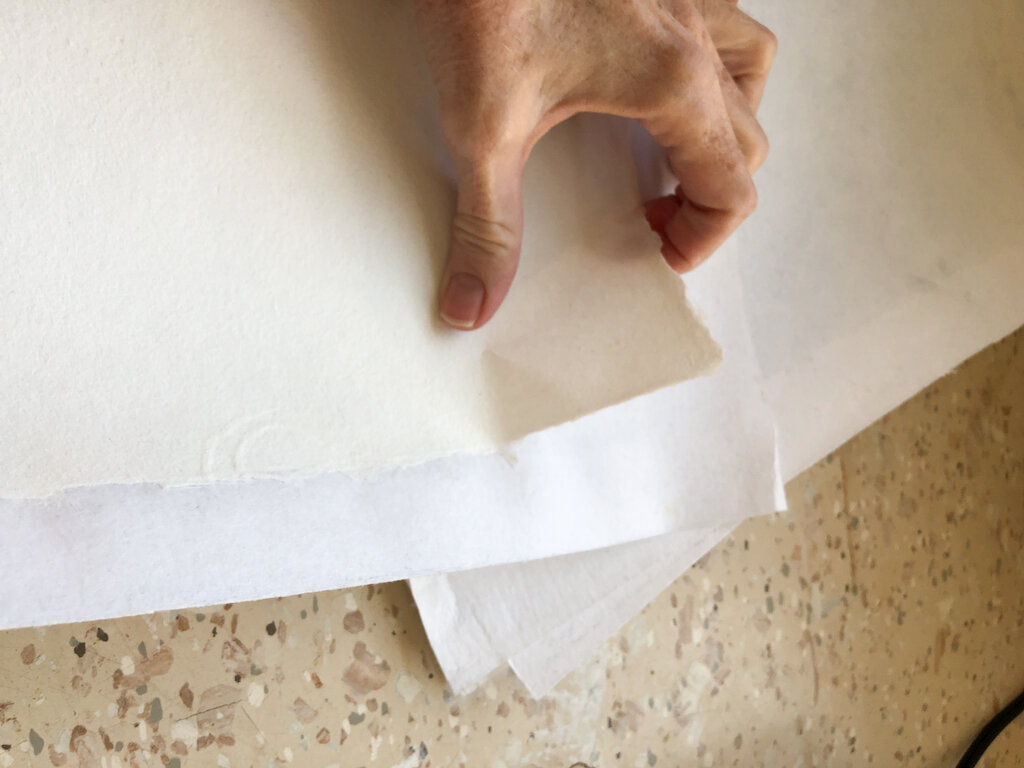
The first batch of paper I made was from premium Abaca pulp. Abaca means "Manila Hemp" in the Philippine language. The pulp is derived from the stalks of musa textilis, a type of banana tree (Source: Carriage House Paper).

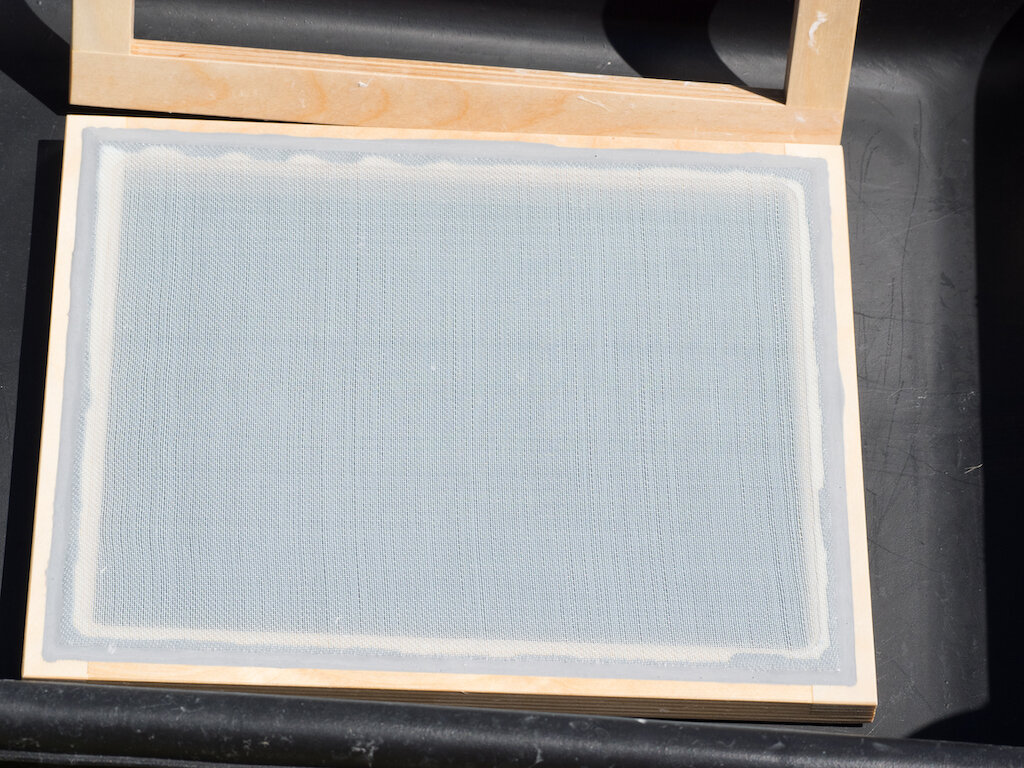
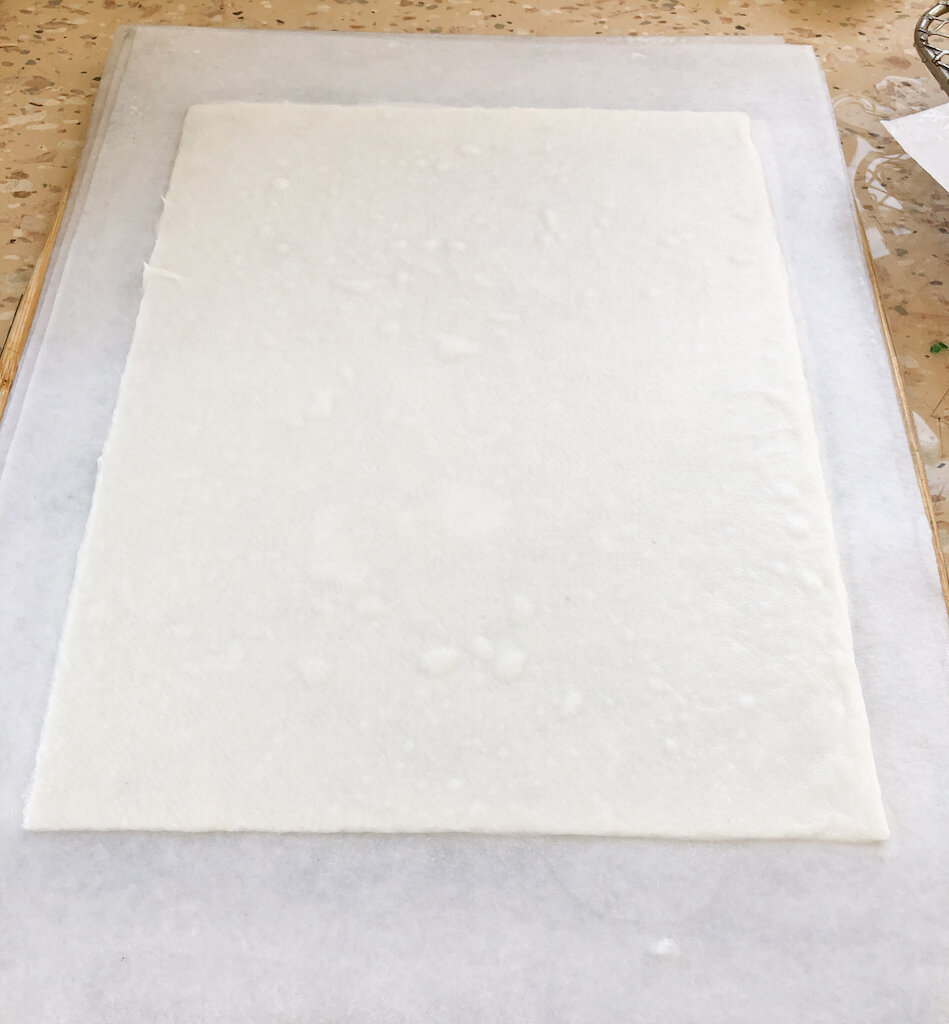
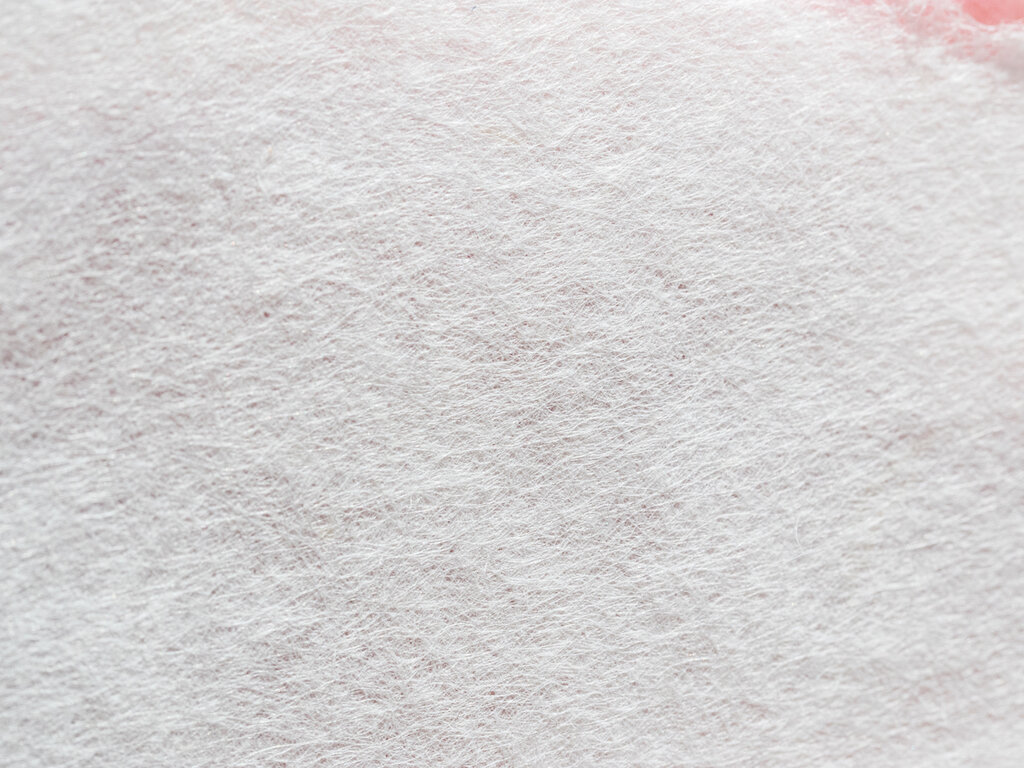
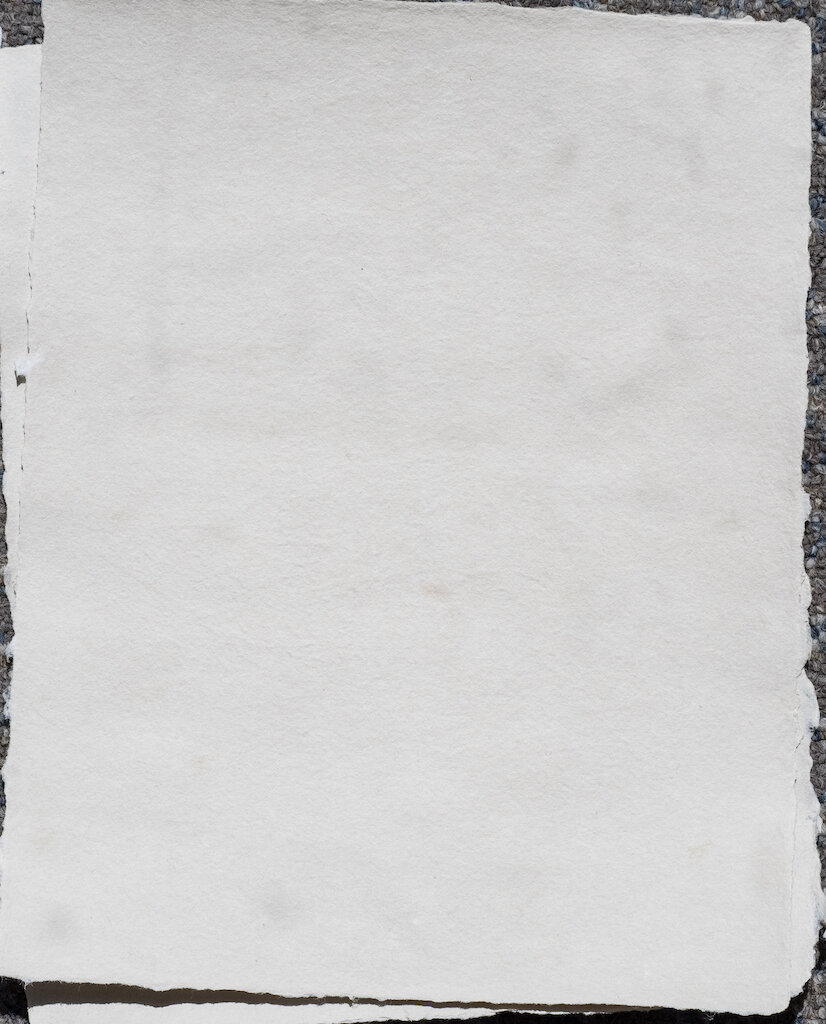
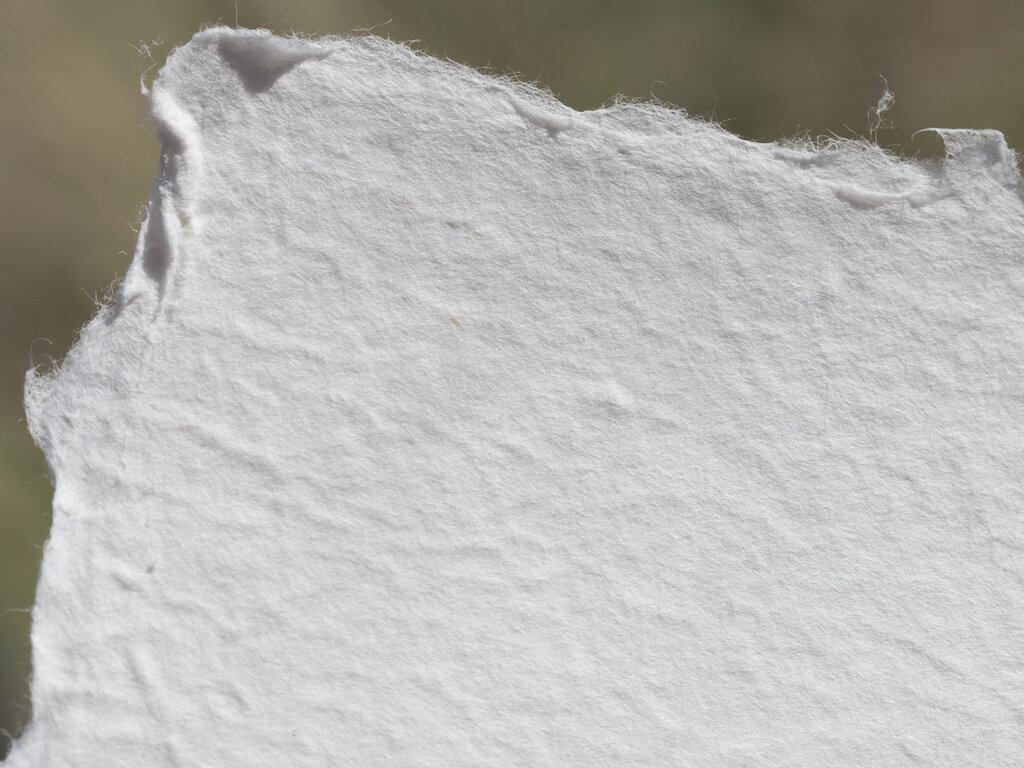
Abaca is an incredible fiber that is very strong. You can make virtually translucent sheets of paper that don't tear, even when wet. In the photo below, I'm holding a freshly pressed piece of Abaca in my hand.

Carriage House Papermaking Kit Abaca Translucent

Once dry, the Abaca becomes more opaque. In this close up, you can see the fibers closely knit together.

Carriage House Papermaking Kit Abaca Closeup

When I made this paper, I did not have any internal sizing, so I decided to use an external sizing method. I mixed up a batch of wheat starch paste and attempted to coat the sheets with the paste. I'm not sure if my paste was too thick or too thin or what went wrong, but the paper curled up, and the paste wasn't particularly effective in making the paper usable. The watercolors and inks bled and my fountain pen didn't fare any better.

Carriage House Papermaking Kit Abaca with Watercolors and Ink
Carriage House Papermaking Kit Abaca Writing Closeup

I'm not giving up on this paper, because it is absolutely beautiful. Now that I have internal sizing, I'm going to make another batch. A representative from Carriage House suggested that Abaca is one of the better pulps to use with fountain pens, so I'm looking forward to giving it another try.

Denim Paper (No Sizing)

Carriage House Papermaking Kit Denim Full Page

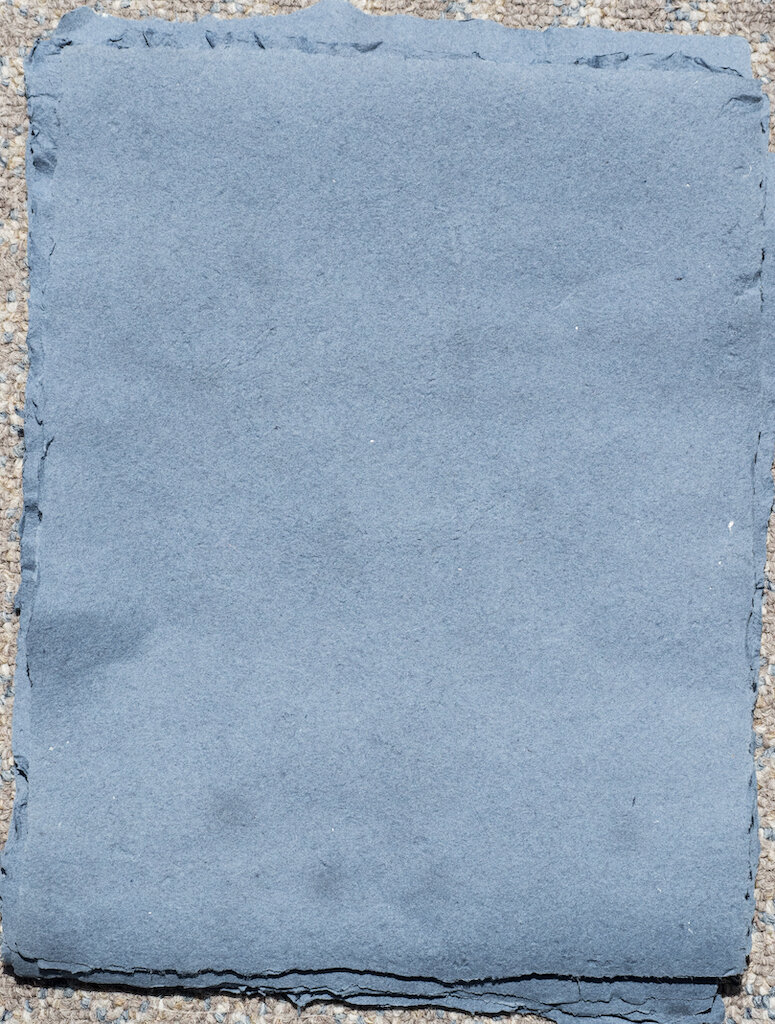
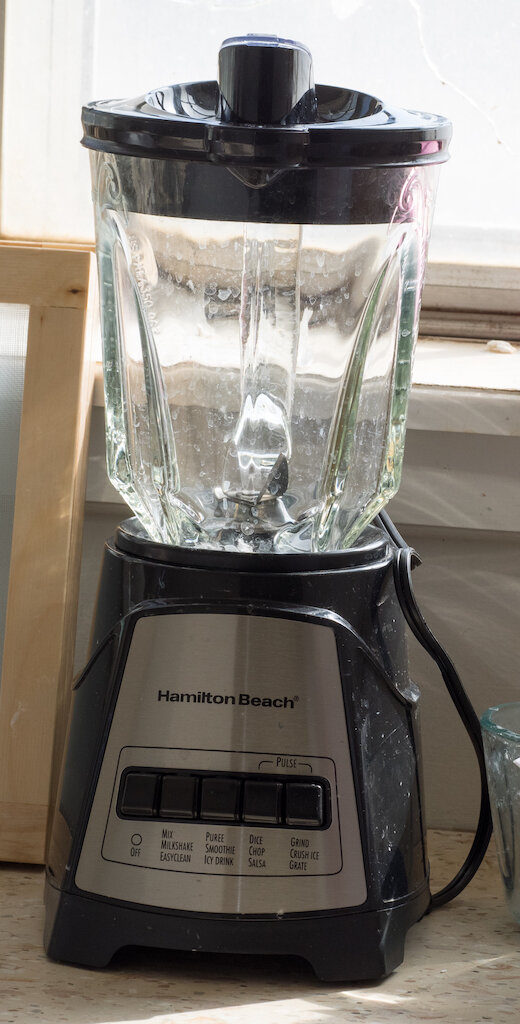
Denim pulp is made from 100% cotton old blue jeans. Unfortunately, you can't create denim pulp at home, because a blender can't shred up blue jeans sufficiently. Carriage House has a Hollander Beater, a piece of equipment that costs (minimum) $10,550--so only professional paper makers own these. However, you can buy dried pulp made with a Hollander beater, which then can be hydrated and blended to make paper at home.

One sheet of this dried pulp made an enormous amount of indigo blue wet pulp. I made such a mess making denim paper, but it was so worth it. The sheets are a gorgeous indigo blue and they are strong and nicely textured.

Carriage House Papermaking Kit Denim Closeup

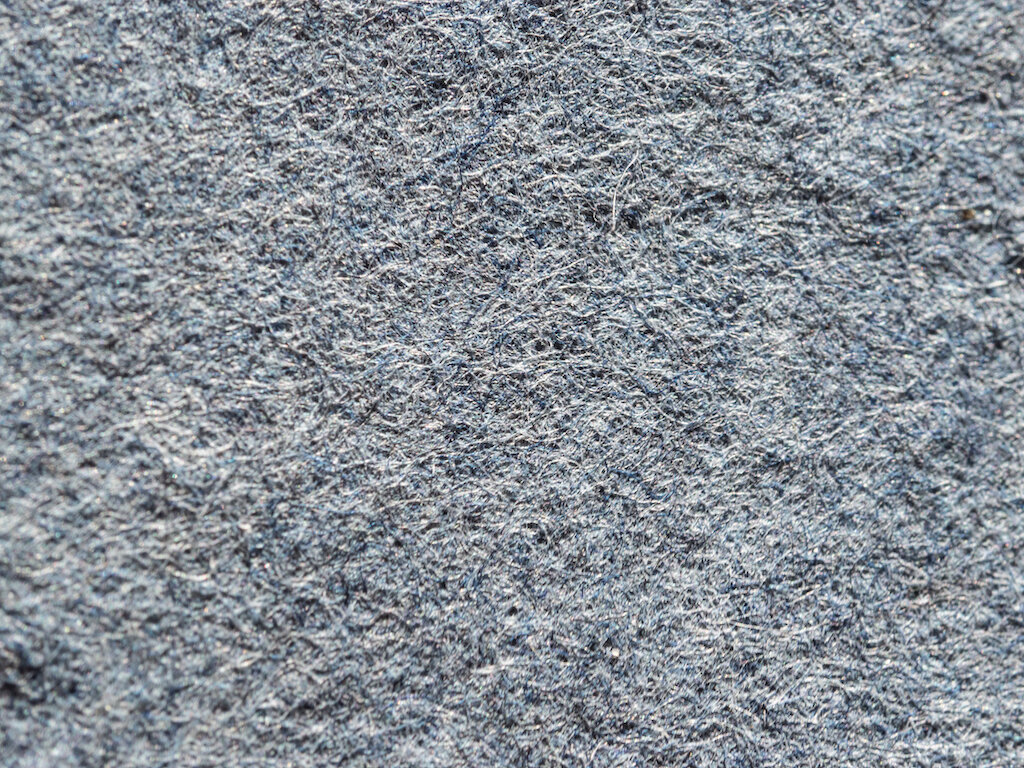
This paper is unsized, so I didn't attempt to use watercolors or fountain pens on it. Instead, I used a Slicci Gel Pen (silver) to write the alphabet, and it turned out fine.

Carriage House Papermaking Kit Denim with Gel Writing

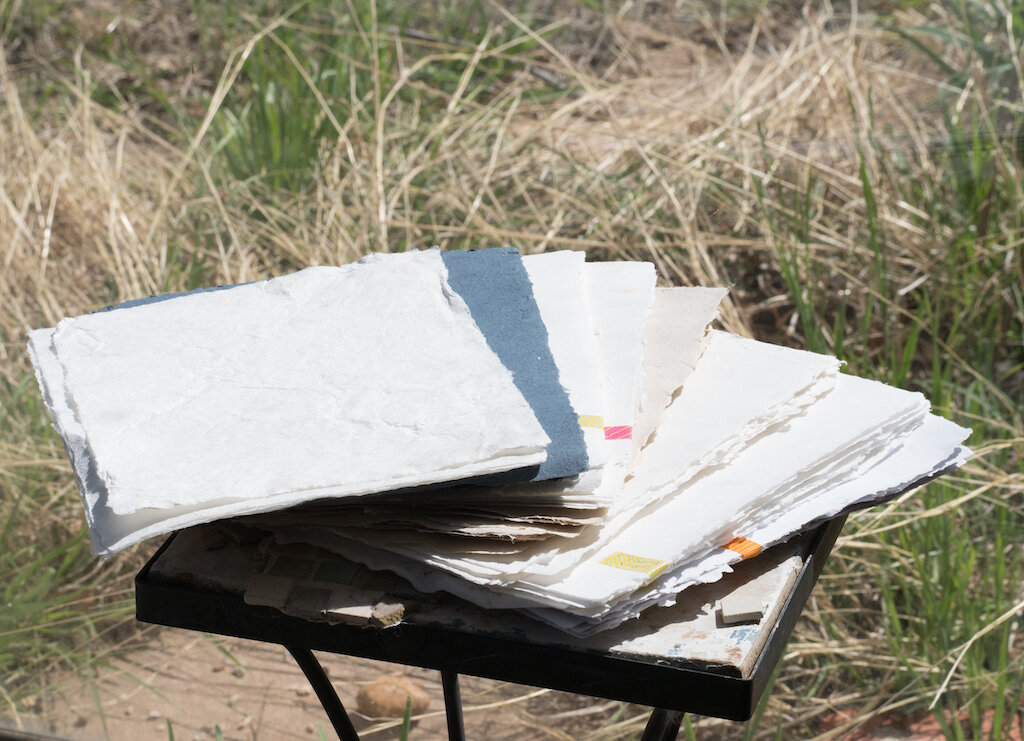
I used the denim paper (some came out extra lumpy) for the cover of my book of paper samples.

Carriage House Papermaking Kit Denim Book of Samples

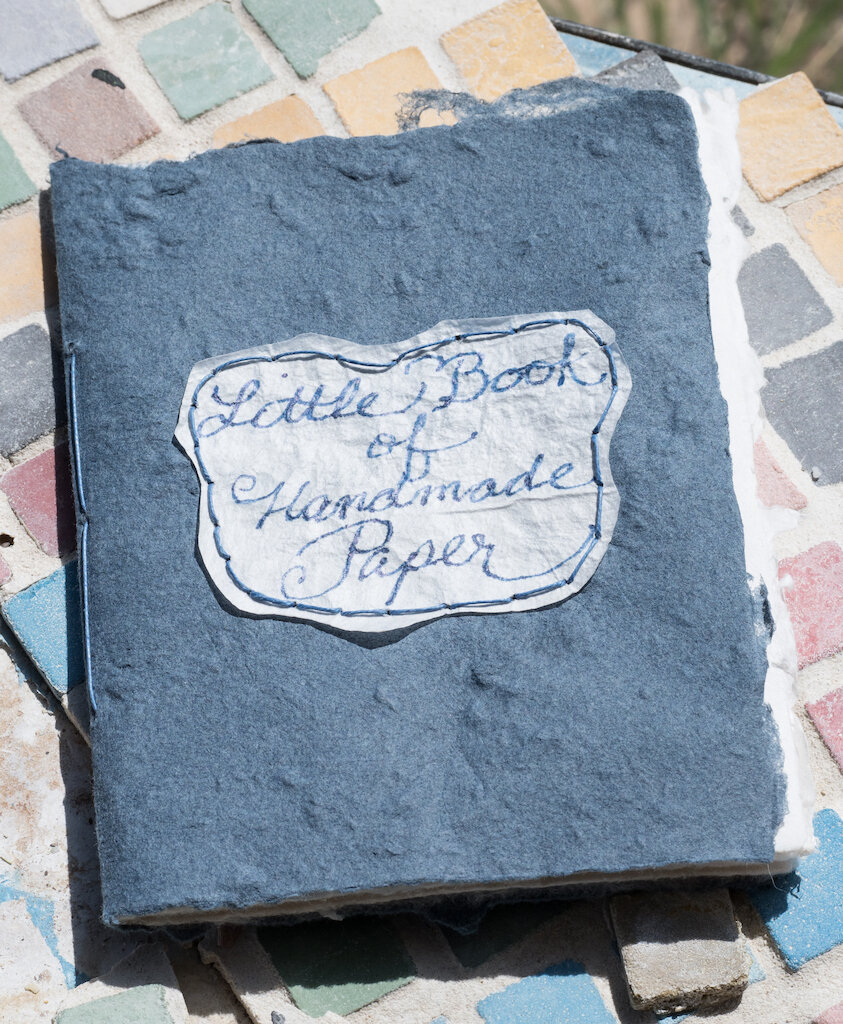
Of the paper I've made so far, the Denim Paper is my favorite.

Flax Paper (Internally Sized)

Carriage House Papermaking Kit Flax Full Page

Flax fiber comes from the Linum Usitatissimum plant, which has to be throughly beaten and processed to remove the bast. This is processed further and bleached to produce sheets of pulp (source: Carriage House).

Carriage House Papermaking Kit Flax Closeup

The paper produced with this pulp is beautiful and smooth, and internal sizing makes it usable with watercolors and ink swatches. There was no show through or bleed through when I tested the paper.

Carriage House Papermaking Kit Flax with Watercolor and Ink
Carriage House Papermaking Kit Flax Ink Closeup

However, writing with a fountain pen on the Flax Paper wasn't especially pleasant. The ink didn't flow well and the nib caught in the fibers.

Flax/Hemp Combination (Internally Sized)

Carriage House Papermaking Kit Hemp Full Page

Because I had some Flax pulp leftover, I decided to combine it with Hemp pulp to make my next batch of paper. Hemp comes from the cannabis sativa plant (yes, it's a relative of the marijuana plant). Like flax, hemp fiber is strong and makes an excellent sheet of paper.

Carriage House Papermaking Kit Hemp Ink Closeup

The combination of the two fibers (and internal sizing) resulted in some beautiful sheets that took watercolor well and ink swatches fairly well (there was some bleed through with the inks). This paper even allowed sheen in the Lamy Dark Lilac ink to peek through.

Carriage House Papermaking Kit Hemp with Watercolor and Ink
Carriage House Papermaking Kit Hemp Ink Closeup

Writing with a fountain pen was disappointing, however. Once again, the ink did not flow well and the nib dug into the paper.

Jute and Jute with Kenaf Fiber Inclusions (Internally Sized)

Carriage House Papermaking Kit Jute Full Page

Jute comes from the Corchorus capsularis plant, which can grow up to ten feet tall (source: Carriage House). Jute is what burlap bags are made of, so you'd expect the paper to be coarse and rough. But it's not--instead it produces a lovely, soft sheet.

Carriage House Papermaking Kit Jute Closeup

With internal sizing added, Jute paper accepts watercolor and ink swabs easily. In fact, this paper is my favorite so far for painting. Ink swabs look vibrant and sheen in Lamy Dark Lilac was quite pronounced.

Carriage House Papermaking Kit Jute Watercolor and Ink
Carriage House Papermaking Kit Jute Ink Closeup

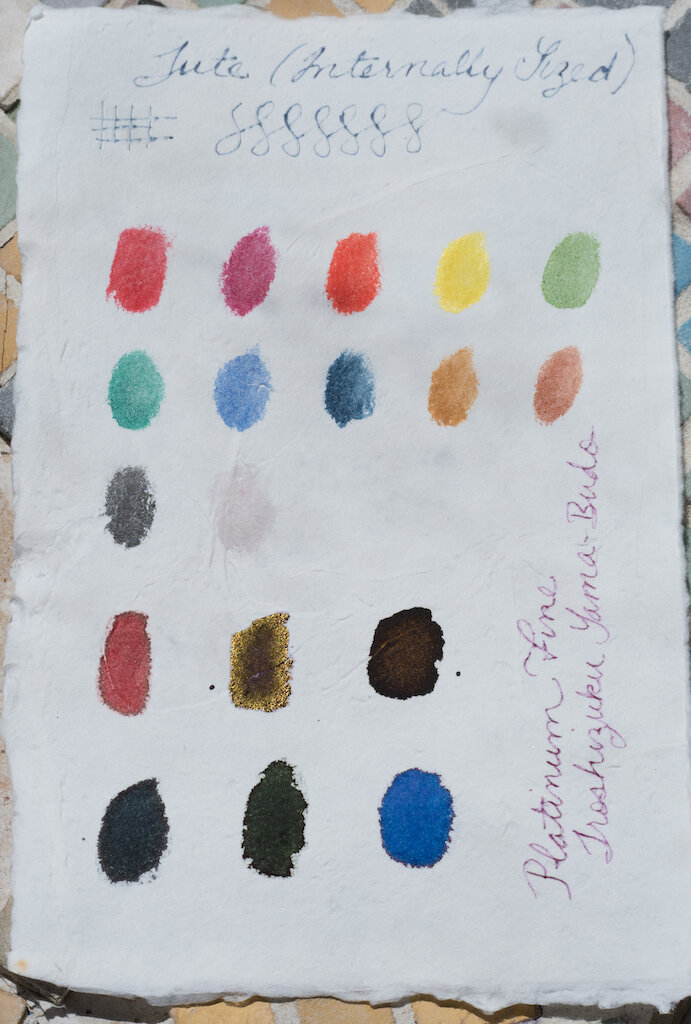
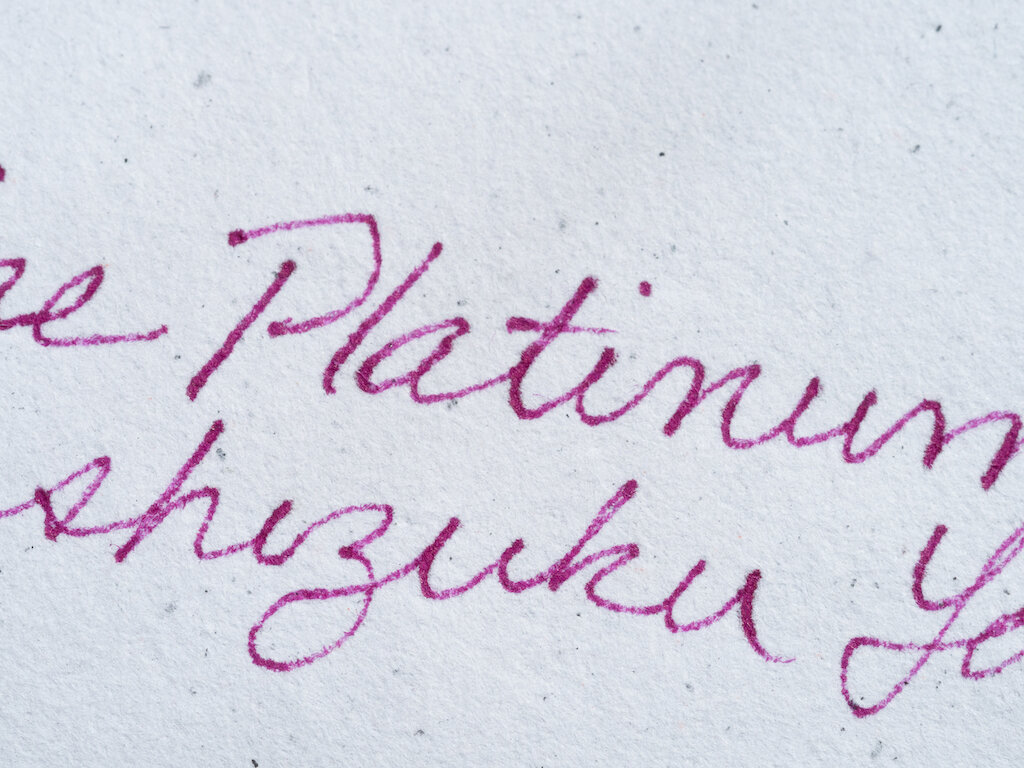
Alas, the paper was too soft and fiber-filled for writing with my Platinum fine nibbed pen. It might work better with broader nibs.

Carriage House Papermaking Kit Jute Writing Closeup

I tried an experiment with the Jute paper. Included in my kit were three bags of fiber that require a Hollander Beater to process. But, I was told that I could use the fibers as inclusions in my paper. So, I used the most interesting fiber, Kenaf, and cut it up with scissors to make it a bit finer. For my last few sheets of Jute, I added the fiber into my vat. The result was fantastic! The bits of fiber give the paper interesting textures and add beauty to the plain sheet. Of course, fiber like this will definitely catch nibs, so I plan to use it as decorative paper, not for writing.

Carriage House Papermaking Kit Jute with Kenaf Full Page
Carriage House Papermaking Kit Jute with Kenaf Closeup

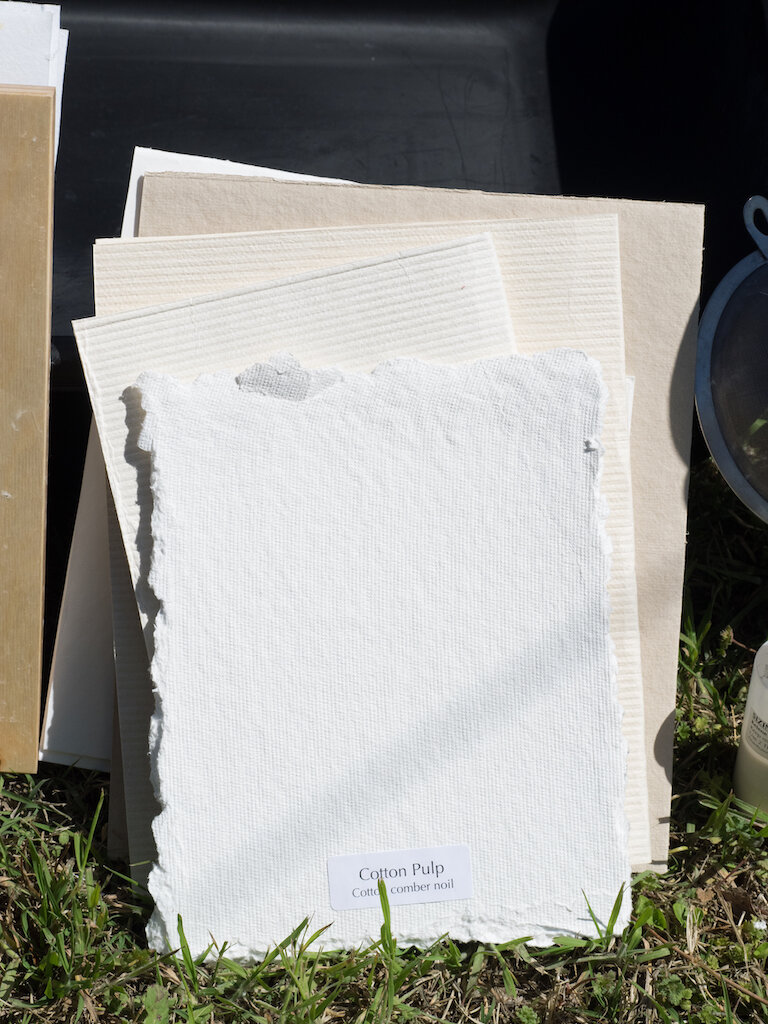
Cotton Linters, 2nd Cut (Internally Sized)

Carriage House Papermaking Kit Cotton Linters Full Page

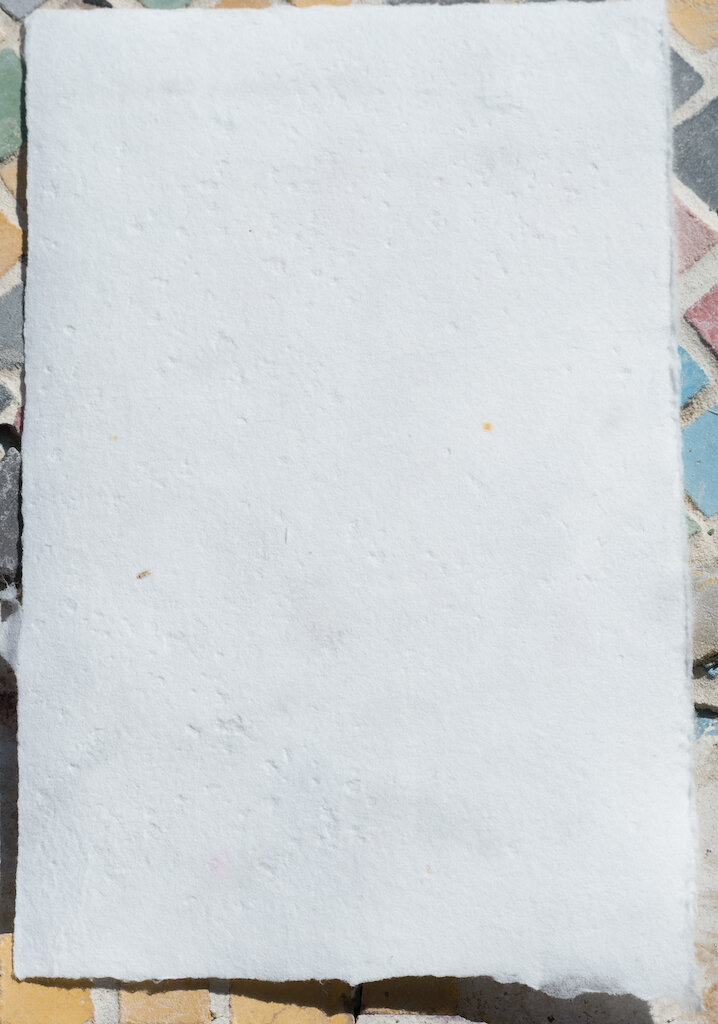
I was excited to try the Cotton Linters pulp because it is also supposed to be good for fountain pens. The pulp comes from the cotton plant's short seed hairs. These are processed in a linter machine in two passes. The second pass results in second cut Cotton Linters (source: Carriage House).

Cotton Linters Closeup.jpg

The resulting paper feels very much like cloth. It is soft and a lovely white color. Watercolors and ink swabs are vibrant on this paper and there's no show or bleed through.

Carriage House Papermaking Kit Cotton Linters Watercolor and Ink
Carriage House Papermaking Kit Cotton Linters Ink Closeup

The paper I made was rather thick, so writing with a fine nib didn't work particularly well. The nib sank into the paper and the ink was sopped up.

Carriage House Papermaking Kit Cotton Linters Writing Closeup

I plan to experiment more with Cotton Linters paper. I suspect that if I make the sheets thinner and add more sizing, I could make it work with broader nibbed fountain pens.

Scrap Paper (No Sizing)

Scrap Full Page

Carriage House Papermaking Kit Scrap Full Page

Honestly, I should have started my paper making adventure with scrap paper. That's what most people do, in fact. But I was too excited to try out the pulp that came with my kit. When Carriage House sent my replacement bottle of sizing, it was packaged in a large batch of shredded paper. So, I decided to make paper from it.

I soaked the shredded paper overnight in water. Then I blended it in small batches.

Carriage House Papermaking Kit Shredded Paper Soaking

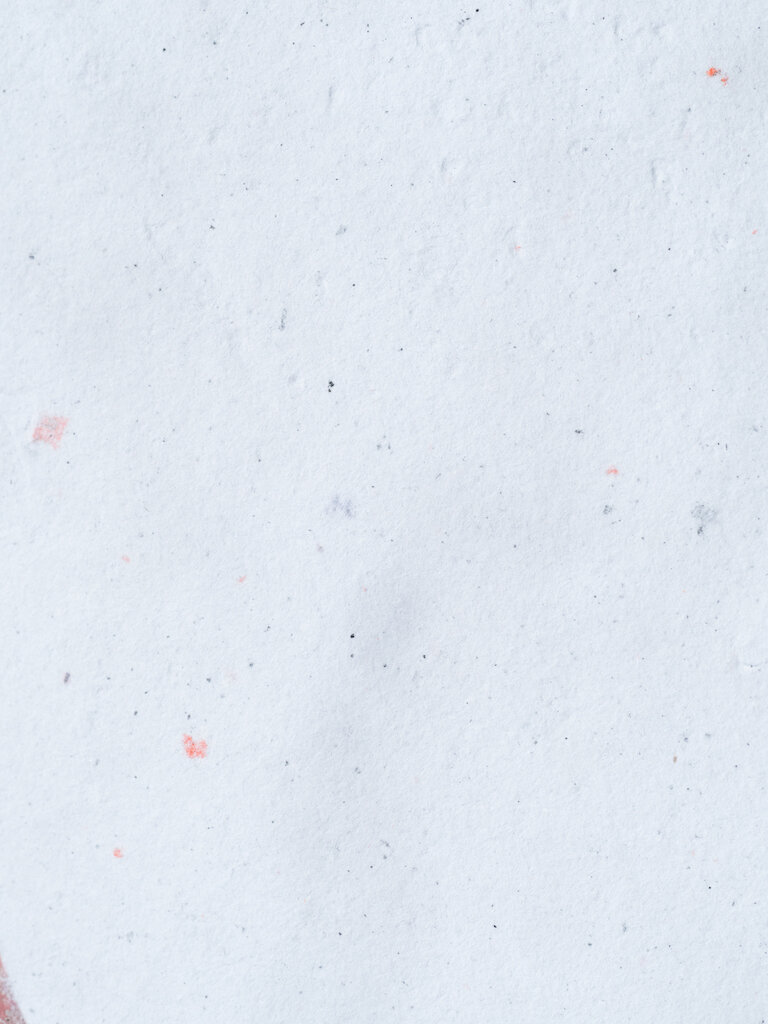
When I pulled my first sheet, I gasped. It was beautiful! I did not expect this. I thought the paper would look dingy grey and be chunky. Not at all. The paper was off white with little bits of print and color showing. I love this paper!

Carriage House Papermaking Kit Scrap Paper Closeup

I didn't add any sizing to this batch because I thought, perhaps, the scrap paper's original sizing might make it watercolor and ink worthy. But it wasn't. Watercolor and ink swabs both bled considerably.

Carriage House Papermaking Kit Scrap Paper Watercolor and Ink

Surprisingly, writing on the paper wasn't too bad. The nib caught on the fibers, but the ink seemed to flow pretty well.

Carriage House Papermaking Kit Scrap Paper Writing Closeup

Conclusion

What can I say? I am in love with making paper by hand. This is the splashiest, messiest, most amazing process!

Although I'm disappointed that none of the paper I've made so far works well with fountain pens, I'm planning to keep experimenting with the fibers and different amounts of sizing. I will make paper that works with fountain pens!

My main takeaway is this: if you're at all interested in paper making, I highly recommend the Carriage House Papermaking Kit. You'll receive a well-made mould and deckle that will outlast any makeshift one you create on your own. You're provided felts, sizing, and fibers so you can get started quickly. This kit made it possible for me to make quality paper (and lots of varieties of paper) without any experience at all. I can't wait to see the results after a few months of practice!

(I purchased the Carriage House Papermaking Kit with my own funds.)


Enjoy reading The Pen Addict? Then consider becoming a member to receive additional weekly content, giveaways, and discounts in The Pen Addict shop. Plus, you support me and the site directly, for which I am very grateful.

Membership starts at just $5/month, with a discounted annual option available. To find out more about membership click here and join us!

Carriage House Papermaking Kit Review
Posted on April 2, 2021 and filed under Carriage House, Paper Making.

The Carriage House Papermaking Kit: A Review (Part 1 of 2)

The Carriage House Papermaking Kit Review

(Susan M. Pigott is a fountain pen collector, pen and paperholic, photographer, and professor. You can find more from Susan on her blog Scribalishess.)

I have always, always wanted to make handmade paper, but when I looked at instructions and examples online, they seemed overly complicated and underwhelming. The homemade mould and deckle ideas required special supplies and a handy-ness that I just don't have. Ripping up junk mail and blending it into a pulp sounded fun, but the resulting paper looked thick and, frankly, unusable for writing.

I was very excited when I discovered Carriage House Paper's Papermaking Kit (without vat) ($111). This kit included almost everything I needed to make usable, handmade paper:

  • an 8 and 1/2 by 11 mould and deckle (it's a really nice one!)
Mould and Deckle.jpg
  • 12 papermaking felts
  • 2.5 pounds of dry pulp
  • a 4 ounce bottle of sizing
Sizing.jpg
  • an instruction booklet
Carriage House Papermaking Kit Instruction Booklet

I could have purchased the Papermaking Kit with Vat ($125), but the (already very expensive) UPS shipping cost with the vat was almost double. I found the exact same vat at our local Tractor Supply Co. for $20.

Tractor Supply Vat

I purchased a Hamilton Beach blender on Amazon for $30 to use for paper making. You're not supposed to use the same blender for food prep and paper making.

Hamilton Beach Blender

In addition, I ordered the Sample Set of Pulp and Fibers ($45) from Carriage House, because I wanted to experiment with different textures and decide which pulp was my favorite.

Carriage House Papermaking Kit Sample Fibers

I also bought the bible of paper making: Helen Hiebert's The Papermaker's Companion: The Ultimate Guide to Making and Using Handmade Paper (Amazon, $18.95). This book is excellent in every way, and it answered many of my questions that the little booklet included with the kit did not.

The Papermakers Companion

Obviously, I made a significant investment ($225), but I felt it was worth having excellent equipment to try my hand at something I was sure I would enjoy. I have not been disappointed.

Carriage House Papermaking Kit Wet Felts

My kit was shipped the week the North Pole decided to visit Texas, so it was stuck in a warehouse or on a truck for quite awhile before it arrived. Unfortunately, my bottle of sizing froze during transit and arrived ruined. I didn't realize it was ruined until after I'd mixed it with hemp pulp and the paper looked like it had leprosy. Fortunately, Carriage House sent me a replacement bottle and more hemp pulp!

Carriage House Papermaking Kit Cut Up Paper
Carriage House Papermaking Kit Blending

Making Paper

Making paper is a blast, but you have to enjoy messes, getting wet, and splooshing around in pulpy water. If you played in mud puddles as a kid, this is the hobby for you!

(1) Prepping the Felts. The felts are pieces of heavy fabric interfacing that you use to couch (pronounced "cooch") the paper (I'll describe this below). I take my felts outside, put them on a clean surface, and hose them off (in case they have any residual pulp from a previous session), and make sure they are completely wet.

(2) Preparing the Pulp. The dry pulp that came with my kit is easy to cut into pieces and blend in a blender. You just have to make sure you don't put too much pulp in at once and burn out the motor of your blender. I cut the pulp up into 1-inch pieces and fill the blender (loosely) barely to the one-cup line. I mix 2 tablespoons of sizing with a cup of water and pour some of that in the blender with each batch. Then I add water almost to the top, pulse a few times, then blend for about two minutes. I pour that batch into my vat and repeat until I think I have enough pulp for twelve sheets of paper.

(3) Filling the Vat. I get the hose and fill the vat until the water and pulp ratio looks about right. This is something that varies with each kind of pulp. It's best not to add too much water, because, if the mixture is too thin, then you have to blend more pulp. If it's too thick, you can always add more water.

Carriage House Papermaking Kit Filling the Vat

(4) Using the Mould and Deckle. I wet the mould under a faucet prior to "pulling" my first sheet. You hold the mould with the screen up and put the deckle on top. The deckle is what frames the pulp into a sheet of paper. Then you swish the pulp mixture in the vat (this is so much fun!) to get the fibers up from the bottom, dip the mould and deckle back to front and scoop up. The water splashes, the fibers settle (I shimmy the mould and deckle back and forth, and front to back so they settle more evenly), and, then you carefully lift off the mould. If you're not careful, water droplets can land on your new sheet (they're called "papermaker's tears"), and you have to "kiss off" the failed sheet back into the vat. I love kissing off--splatting the deckle on the water's surface to release the pulp. If you're happy with the sheet, you tip the mould to allow as much water to drip off as possible.

Carriage House Papermaking Kit Pulling Paper
Carriage House Papermaking Kit Paper on Mould

(5) Couching. On a flat surface (I use an old wooden cutting board) you couch your wet paper. Couching involves pressing the deckle (paper side down) onto a felt. I sponge the back of the deckle (a dabbing motion) to help release the sheet. Then I gently pull the deckle from the top. The new piece of paper remains. I put a wet felt on top of that and make my next sheet.

Carriage House Papermaking Kit Couching
Carriage House Papermaking Kit Couched Paper

(6) The Post. I make twelve sheets at a time because that's how many felts were included in the kit. My stack of paper is called a post. When I've pulled my last sheet and placed a felt on top, I have a completed post.

(7) Pressing. This is the lowest tech thing I do in my paper making process. One day, when I become a grown-up paper maker, I'll indulge in a real press. For now, I take my post to our back patio, place it on the ground, cover it with two heavy tiles left over from our den flooring project, and gracefully (?) stand on top to press out as much water as possible.

Carriage House Papermaking Kit Press
Carriage House Papermaking Kit Pressing

(8) Drying. After pressing, I bring the paper inside to dry on the felts. You can take the paper off the felts to dry, but I'm afraid I'll rip it. So, I just clothespin the felts and paper on a line in our mudroom. What I can't fit on the line I put on cooling racks from our kitchen. Abilene has a dry climate, so the paper is usually dry the next morning.

Carriage House Papermaking Kit Drying
Carriage House Papermaking Kit Peeling Off Paper

(9) The Finished Paper. Once the paper is dry, I carefully pull it off the felt. If it's curled (and it usually is), I place it on a table under a couple of heavy books to flatten it out. You can also iron it.

Over the last month, I've made six different kinds of paper. Next week in Part 2, I'll discuss each paper's characteristics, how sizing works (both external and internal), and provide samples of how sized paper interacts with fountain pens, watercolors, and inks.

(I purchased all the materials discussed in this review with my own funds. Thank you to Carriage House Paper for answering lots of questions and replacing my frozen sizing.)


Enjoy reading The Pen Addict? Then consider becoming a member to receive additional weekly content, giveaways, and discounts in The Pen Addict shop. Plus, you support me and the site directly, for which I am very grateful.

Membership starts at just $5/month, with a discounted annual option available. To find out more about membership click here and join us!

Posted on March 26, 2021 and filed under Carriage House, Paper Making.