Posts filed under Traveler's Notebook

Traveler's Company Notebook Accessory 030 Brass Clip Review

(Sarah Read is an author, editor, yarn artist, and pen/paper/ink addict. You can find more about her at her website and on Twitter. And check out her latest book, Out of Water, now available where books are sold!)

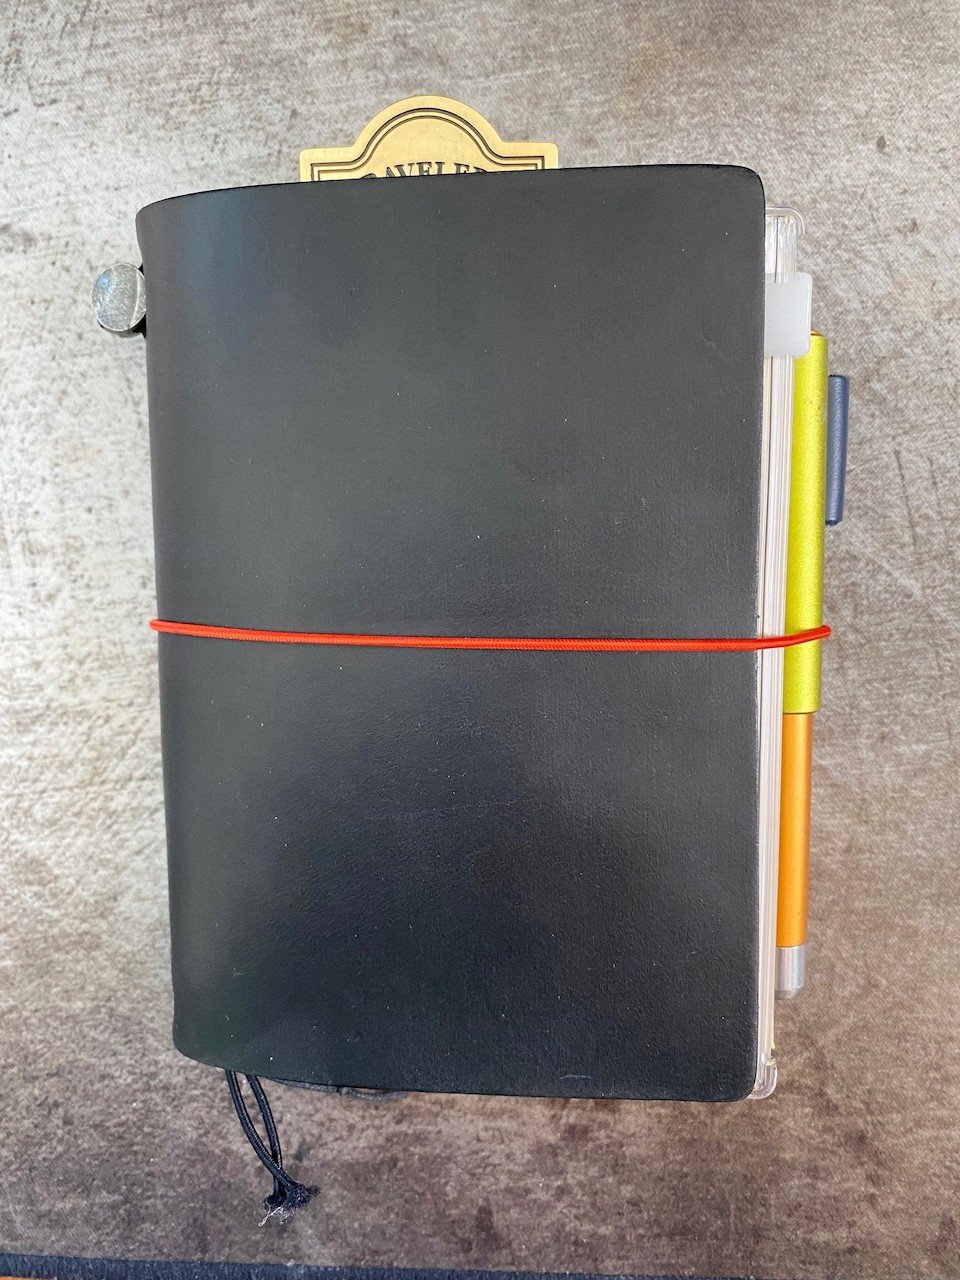
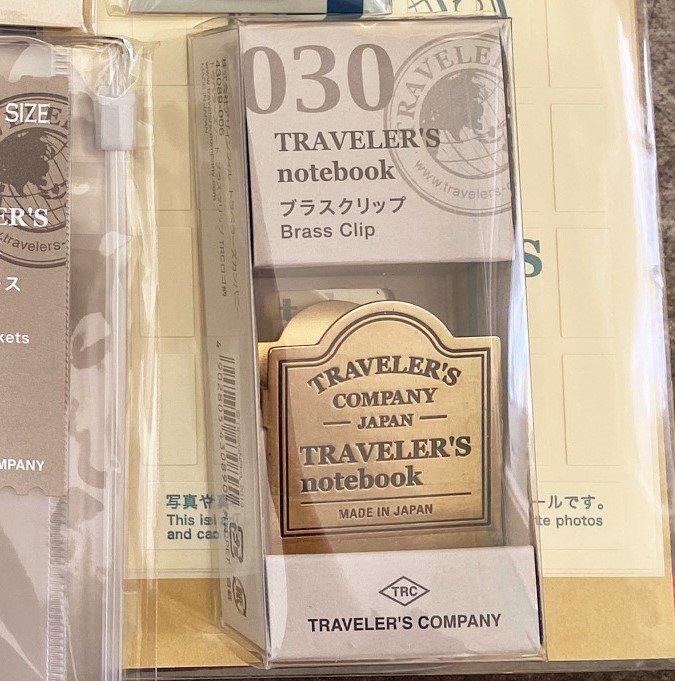
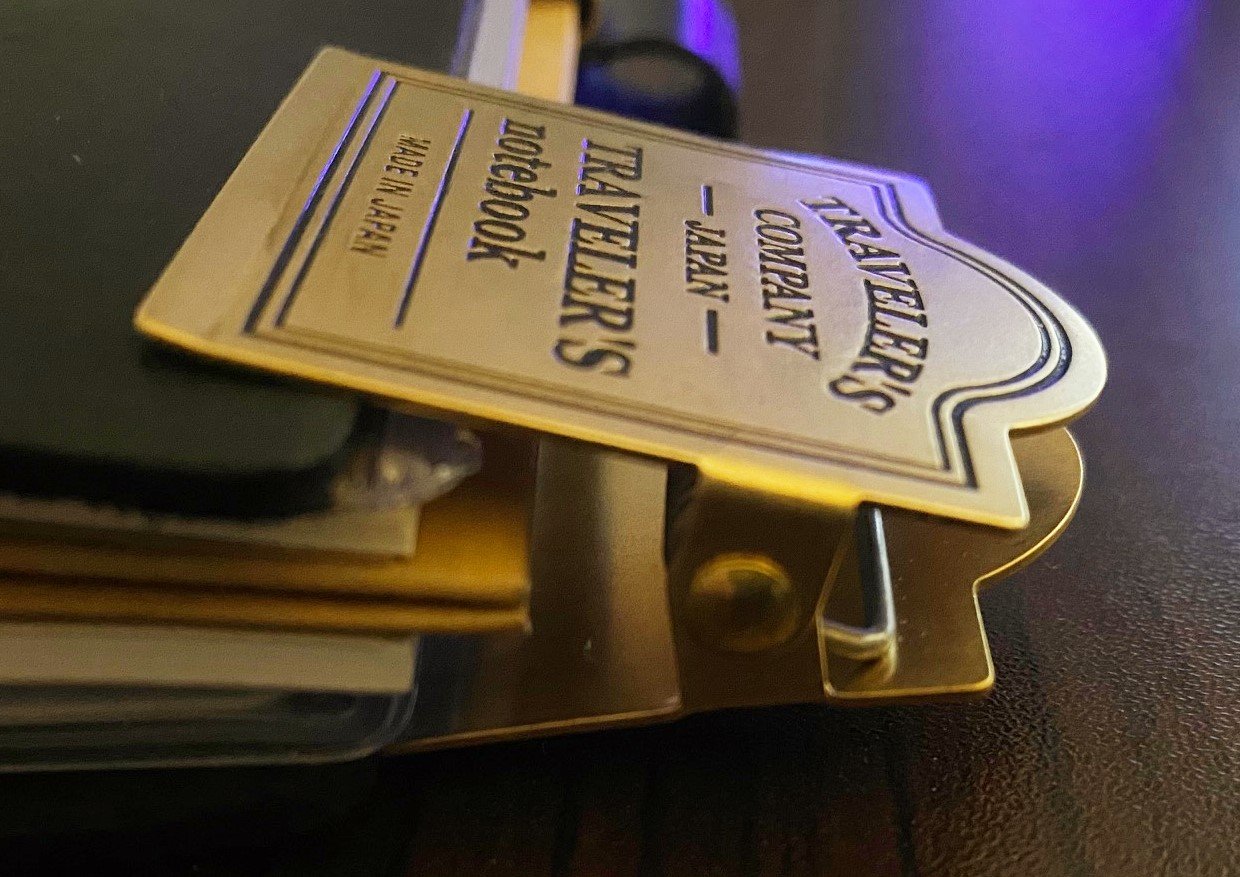
When I ordered my pile of Traveler's Company accessories to build out my kit, there were definitely some accessories I didn't fully understand. The Brass Clip was one of them. Why add something heavy and bulky to a minimal design? I get it, now that I've had some time to put it to use.

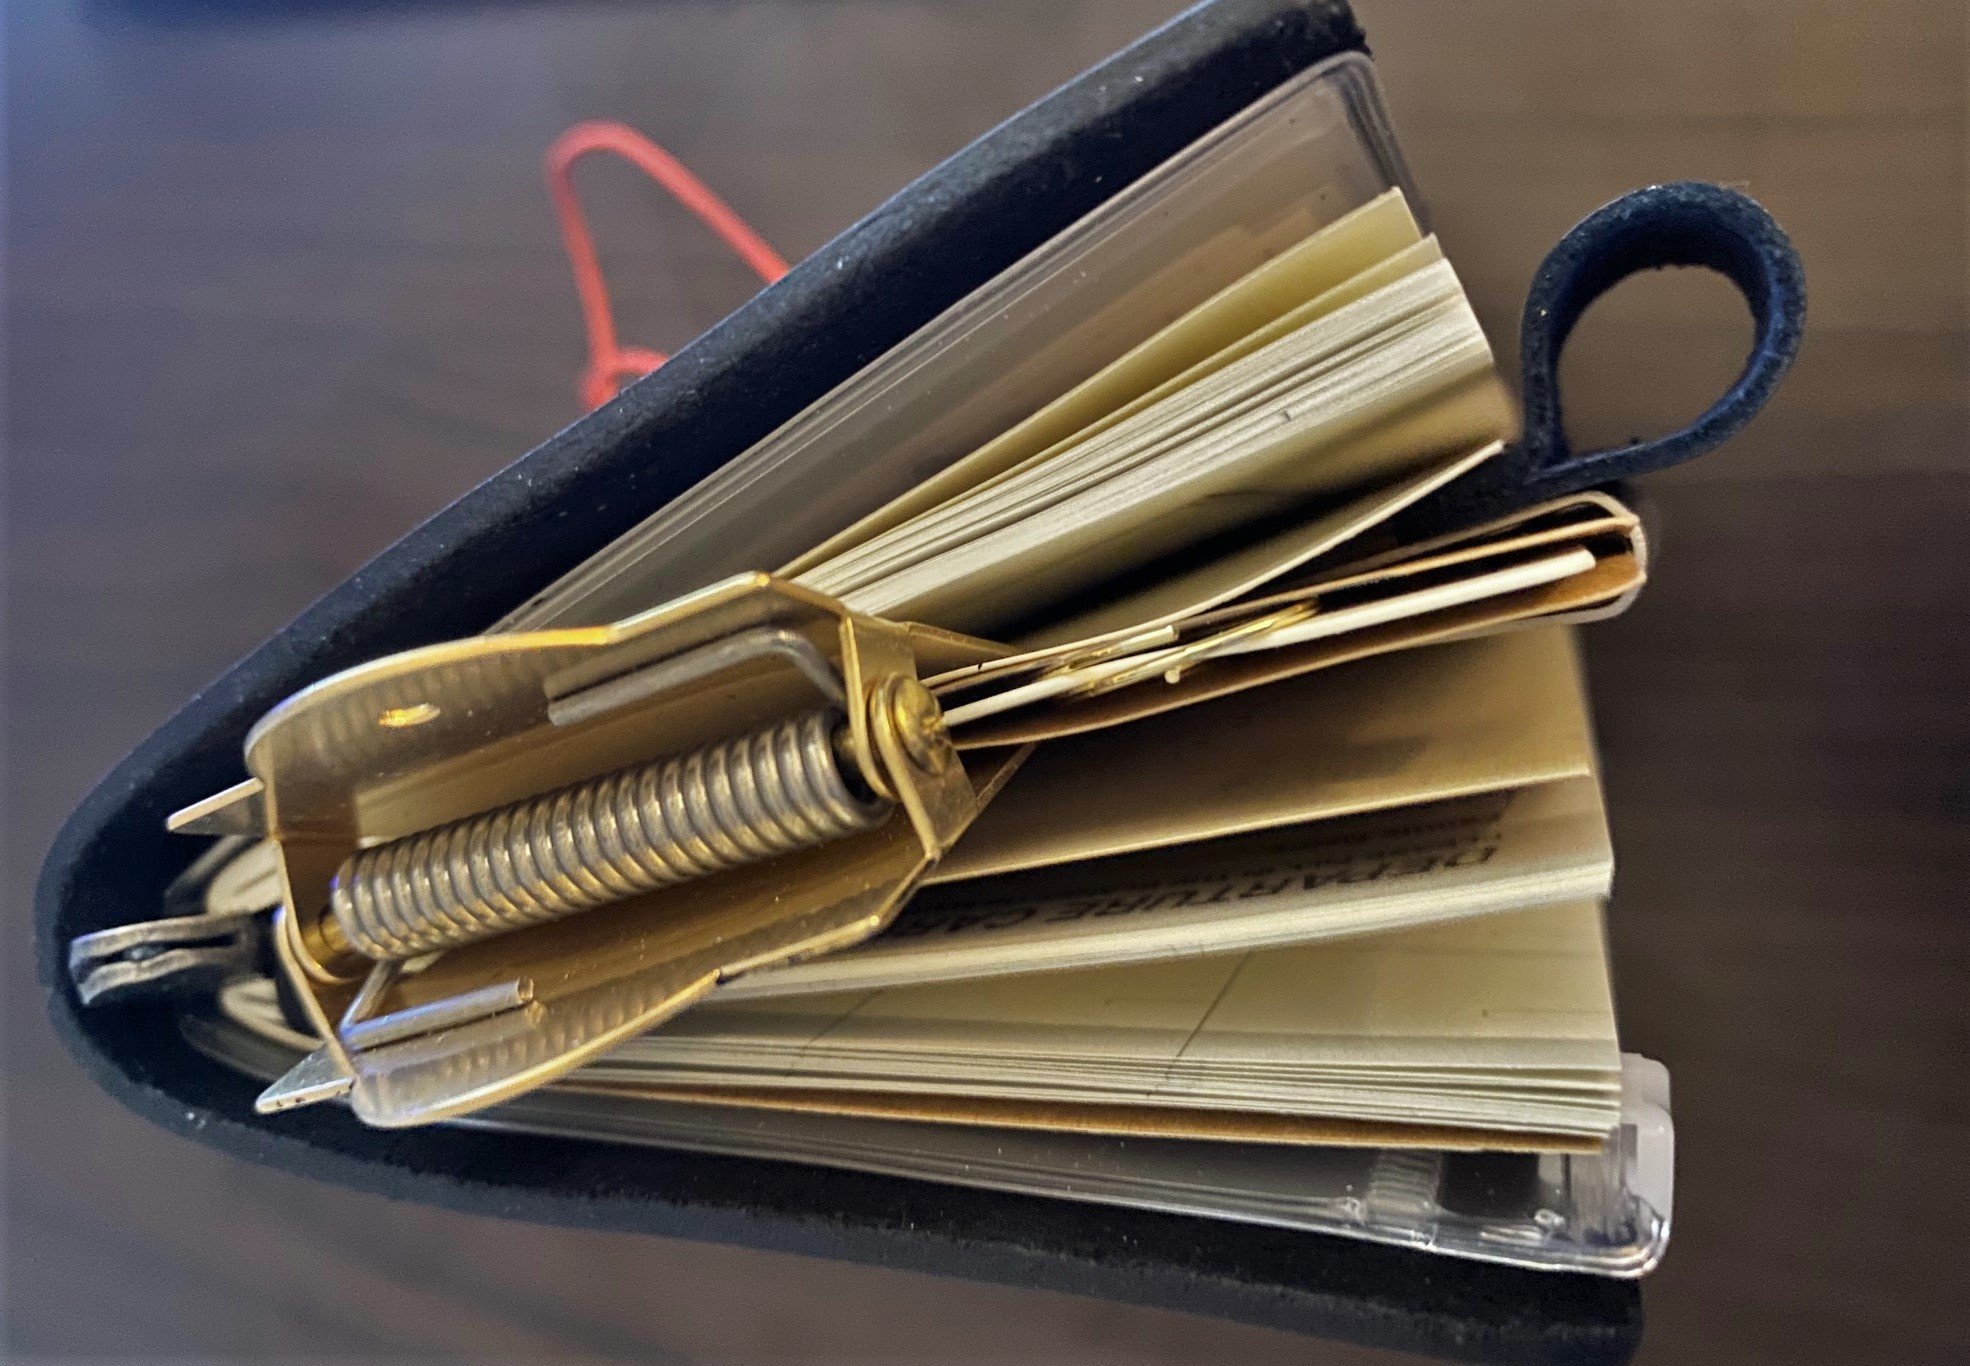
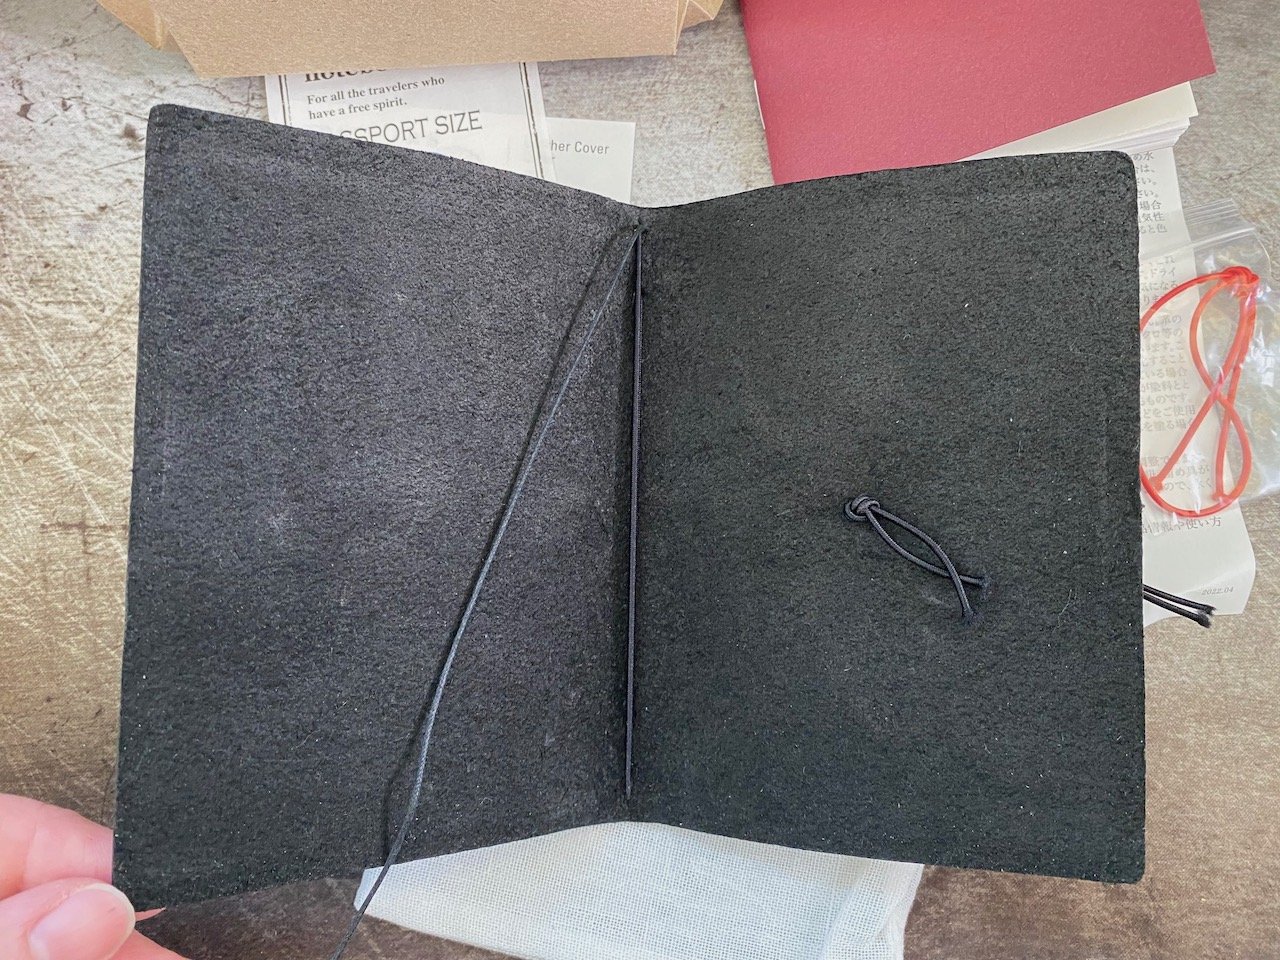
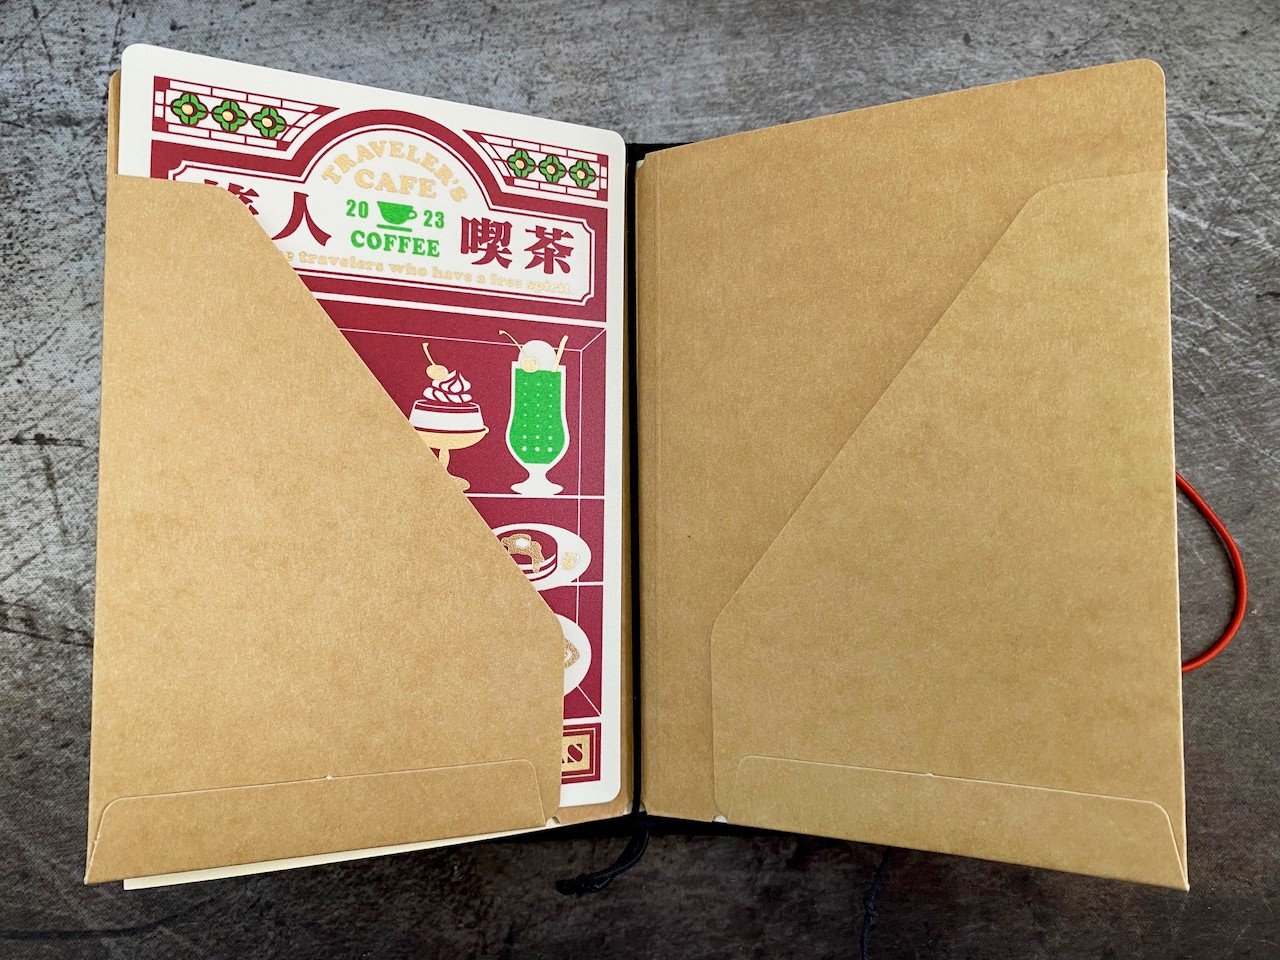
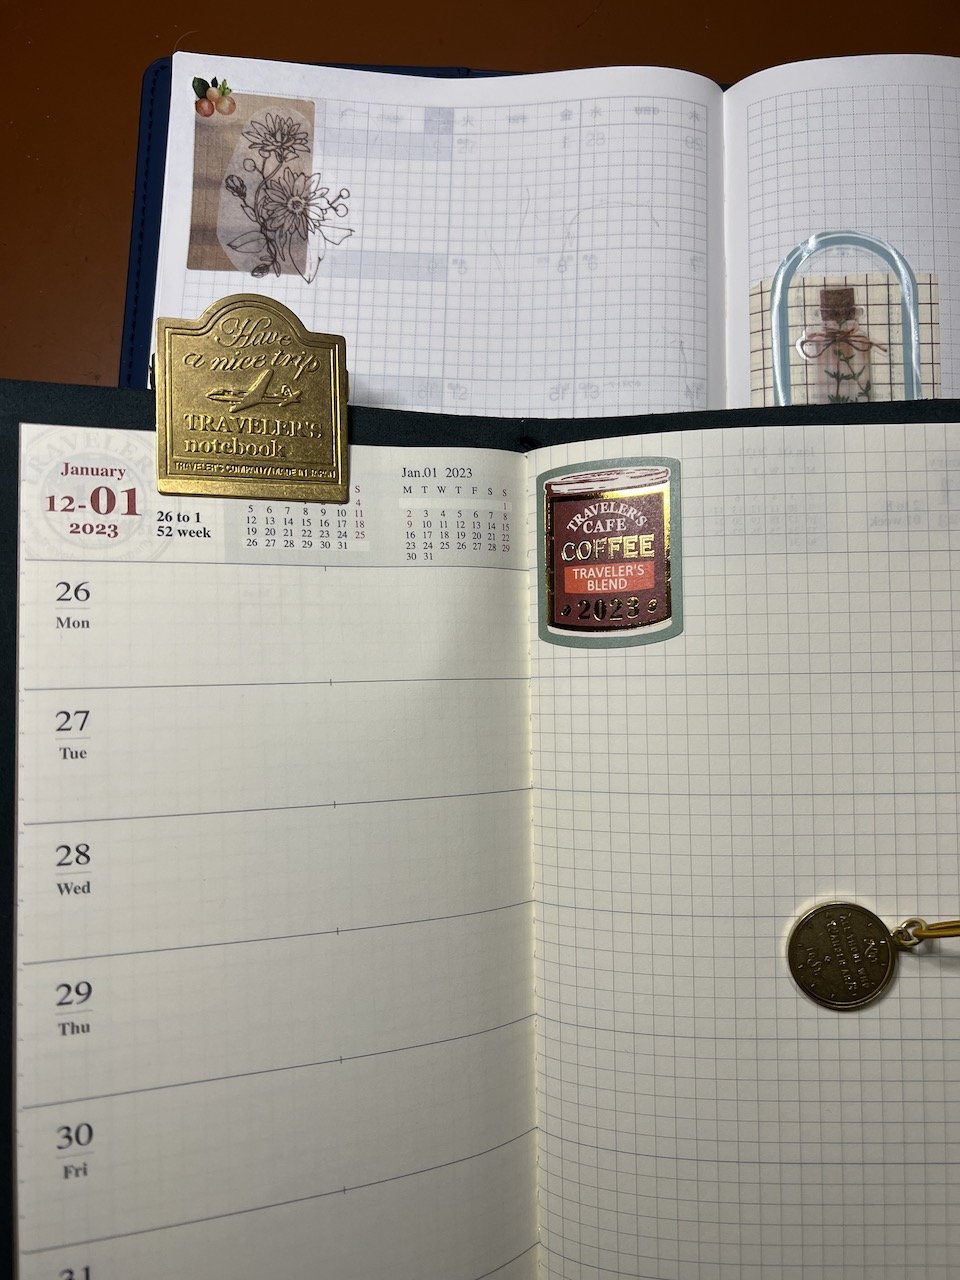
The first great thing that the brass clip does is that it keeps things secure inside my notebook. It holds the folder shut, and it adds friction to the wallet insert so I know my cards and important papers are secure inside the pockets. I've never had anything slip out of the notebook, but having the clip there feels like extra security, which is especially welcome when I tuck notes and bits of paper inside, which is most of the time.

The clip also serves as a bit of a flag. It sticks up above the top edge of the notebook, making the notebook easier to find inside my bag, and the clip is strong enough that I can even pull the notebook out by the clip. This has been extra handy, since I'm currently using the notebook as my wallet. My necessary purse of the moment is a cavernous tote bag, so anything that helps me locate and grab ahold of my wallet/planner is hugely appreciated.

And of course, the clip's primary and most useful feature is that it holds the notebook open for you, so the whole thing can lie open flat while you work. It works so well in this regard that I've begun migrating it between all my notebooks--it's now a daily essential for all my stationery. It serves as a bookmark when the book is closed, and a holder when it's open, and it has quickly become my favorite Traveler's Company accessory.

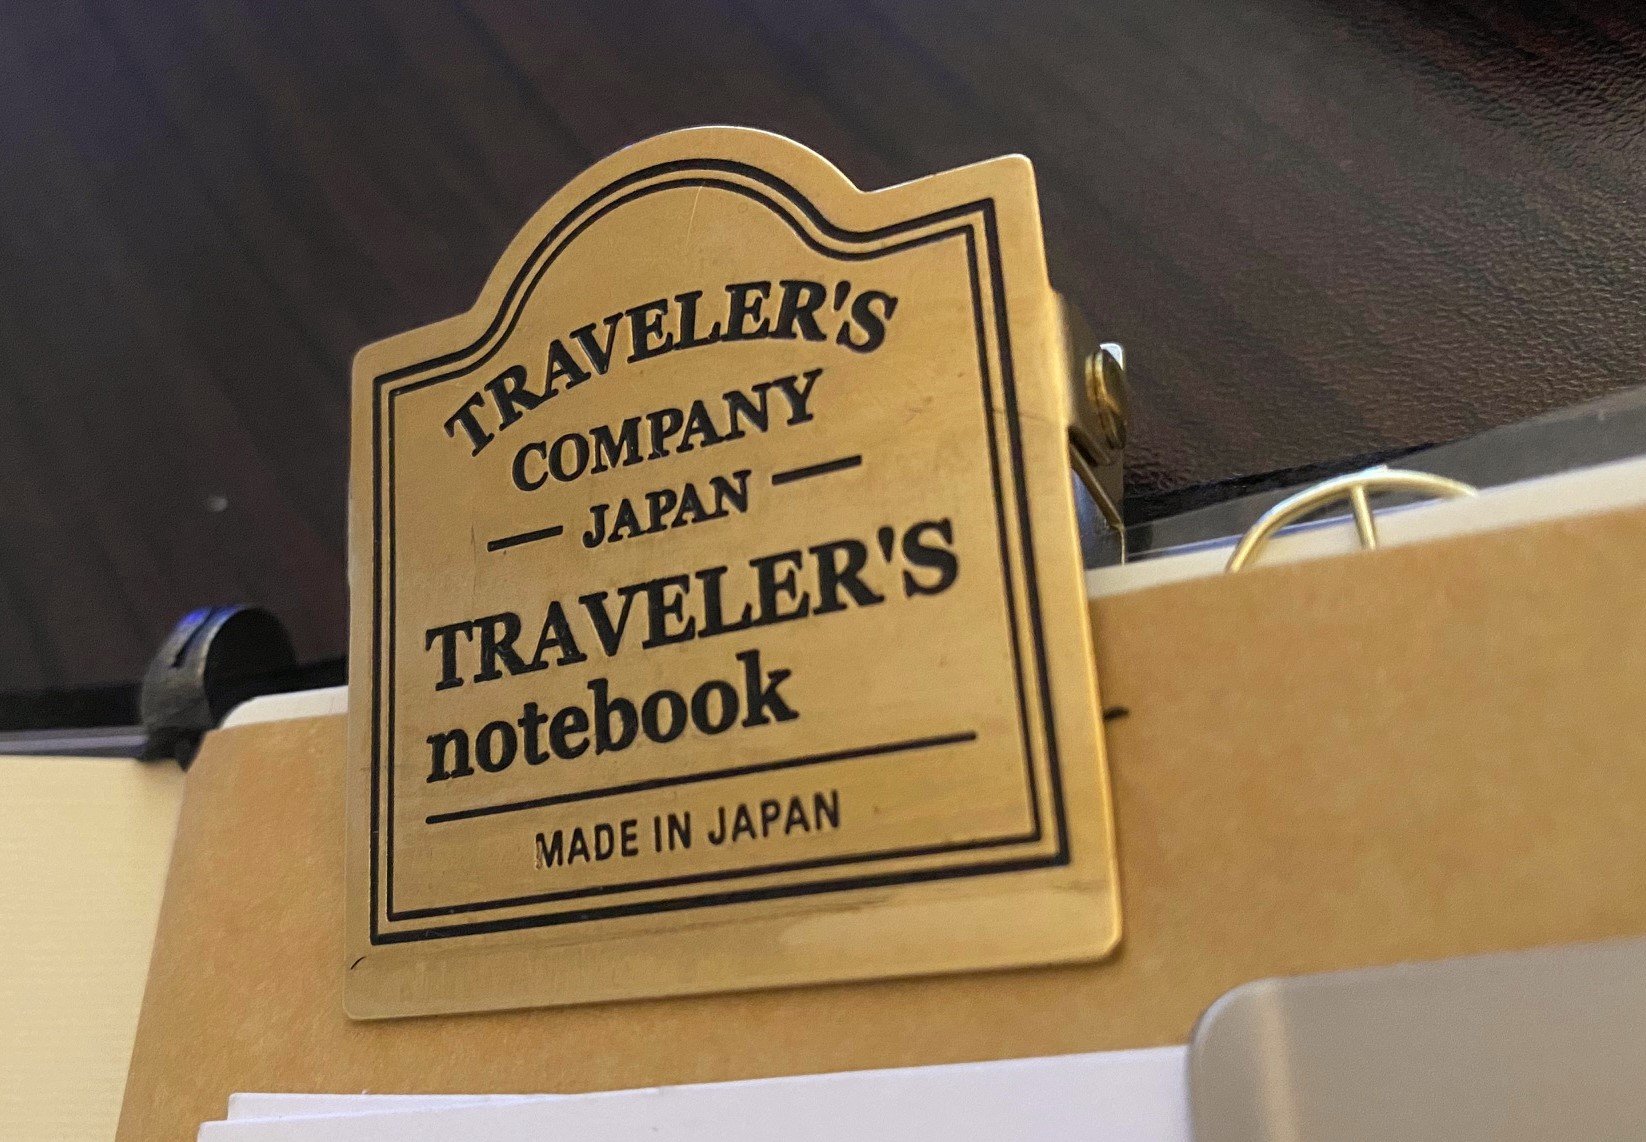
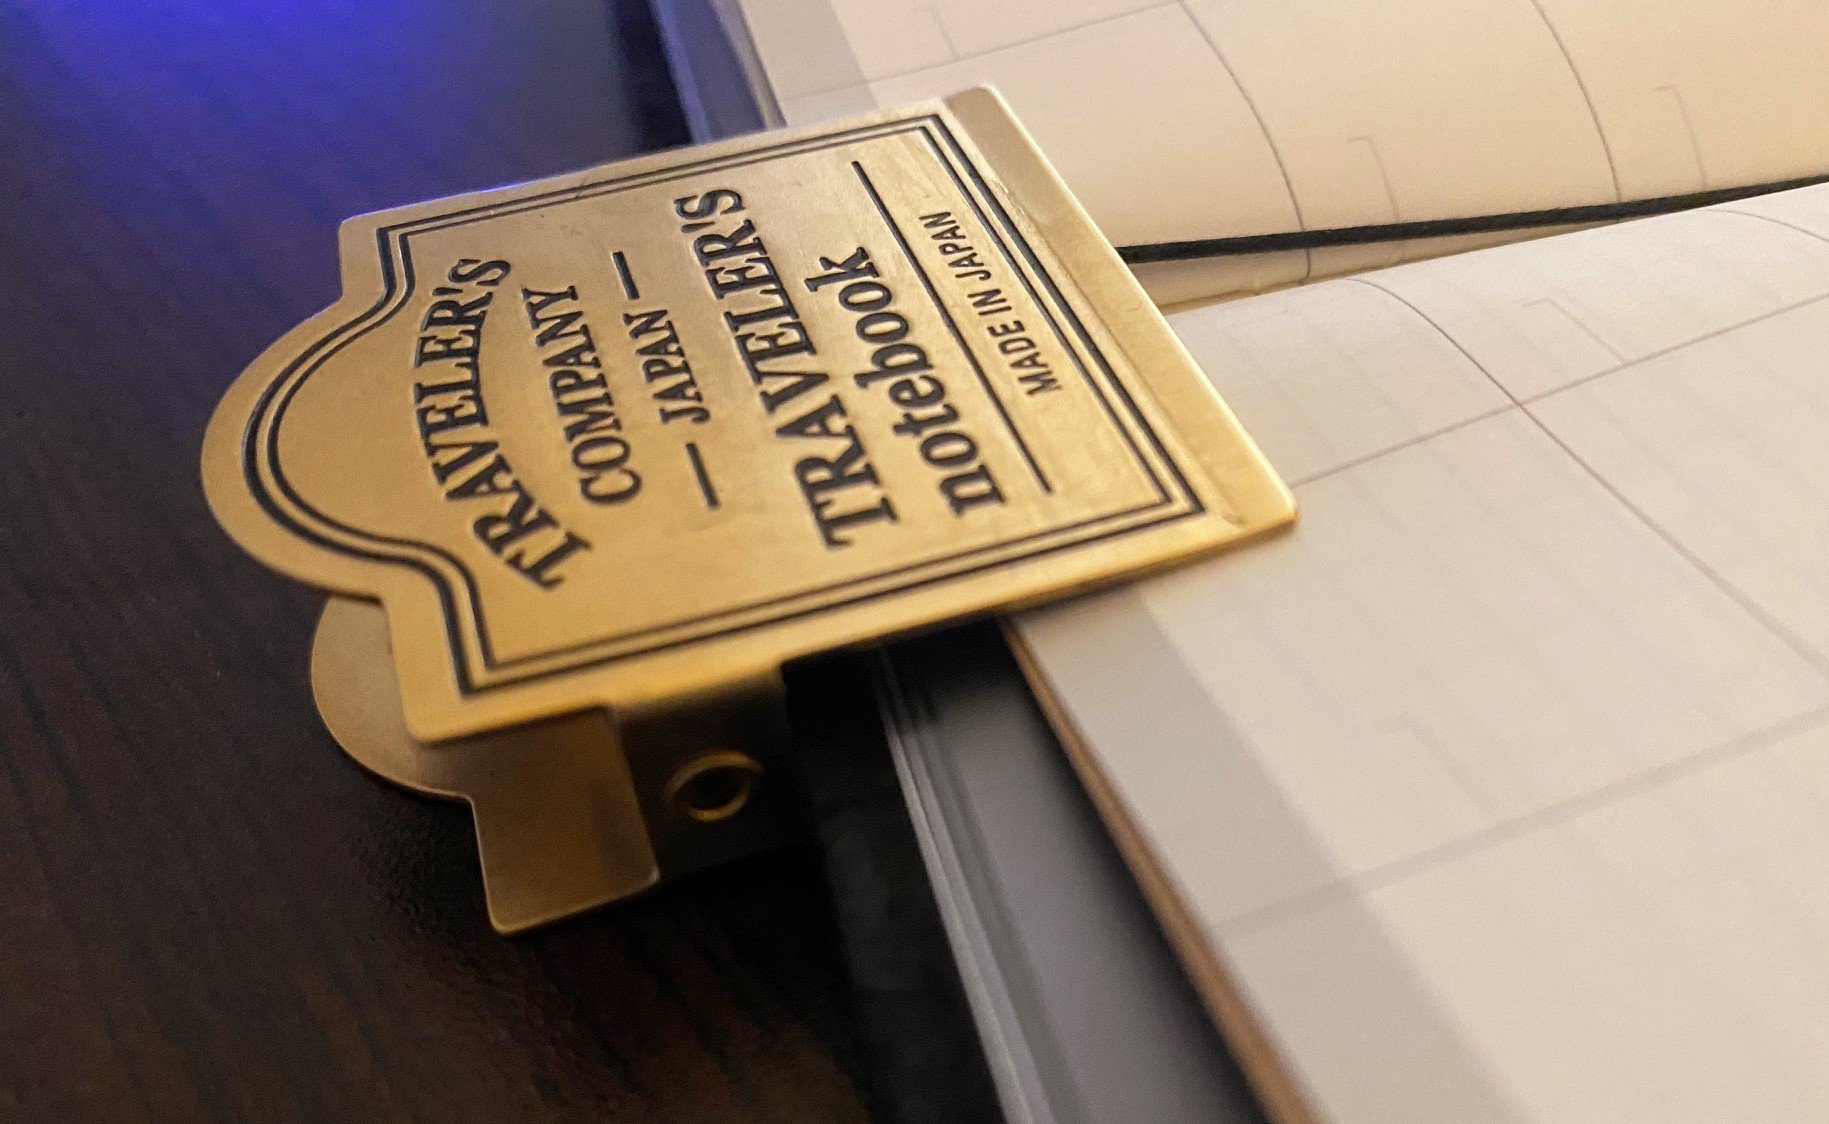
The clip opens very wide, so it can easily fit the whole notebook in its maw. It has a simple but sturdy coil construction. It has a very strong jaw, but it doesn't hurt when you clip it on your finger. Yes, I tested this just for you, because I care. It does hurt if you clip it on your ear, though, so do exercise some caution.

All this usefulness! It makes it worth the weight that the brass adds to the notebook setup. The heaviness actually makes it work better. And it's even worth the price.

I felt a bit silly when I first bought it. $21 is a lot for a clip, even a snazzy brass one, and I wondered if I was just buying it for its looks. Because it does look good! It's a classy bit of bling to an otherwise austere lineup. But this is way more than just a pretty accessory--it's a multipurpose stationery game-changer. No regrets (except for the clipping it on my ear bit).

(JetPens provided this product at no charge to The Pen Addict for review purposes.)


Enjoy reading The Pen Addict? Then consider becoming a member to receive additional weekly content, giveaways, and discounts in The Pen Addict shop. Plus, you support me and the site directly, for which I am very grateful.

Membership starts at just $5/month, with a discounted annual option available. To find out more about membership click here and join us!

Posted on April 13, 2023 and filed under Traveler's Notebook, Accessories Review.

Traveler's Company Traveler's Notebook Unboxing and Setup

Traveler's Company Traveler's Notebook Unboxing and Setup

(Sarah Read is an author, editor, yarn artist, and pen/paper/ink addict. You can find more about her at her website and on Twitter. And check out her latest book, Out of Water, now available where books are sold!)

When you're planning a trip and writing your packing list, do you create a whole category for stationery? Of course you do; you're here. I love thinking about what pens and journals I'll need (or want) on my trips. One of the things I've wanted to do for a while is road-test a Traveler's Notebook from Traveler's Company. I mean, it's right there in the name! And this year seemed like the year to do it, as I have a lot of traveling planned. Mostly short business trips, but there will be planes, trains, boats, and buses, cars, and hotels, and couch surfing. And the Chicago Pen Show, of course. I did some research and planned a TN setup that I think will work for my adventures.

Traveler's Notebook Passport Size

I got everything I needed from JetPens (some sent for review, some I bought to add a few accessories), and I'll be reviewing the components individually, but this post focuses on how I decided to set things up.

Traveler's Notebook Passport Size

First, I opted for the Passport size, since I like to one-bag travel, and space is a premium. I want to use this notebook according to their old "all in one place" motto, so I intend to use it as my planner, wallet, and commonplace book. So, I got a Monthly Planner insert (which is all I'll need once school is over in May!), the zipper pouch/wallet, the kraft folder, a lightweight paper insert, a writing board, a pen holder, the adhesive pockets, and the brass notebook clip. I also got the sheet of double-sided adhesive so I can use it to put bits of travel memorabilia in the notebook.

Traveler's Notebook Passport Size

I want the zipper part in the front of the book (so that I'm not writing on the lump of the zip), and the card slots in the back (to keep them extra safe). I want the monthly planner in front of the commonplace book, since they'll work together (events in the planner, task lists in the notebook). I connected the planner to the notebook with the extra elastic that came in the starter kit and put that pair through the notebook band, then put the zip-wallet behind them, and the folder in the middle. I put the writing board in the folder (along with some essential stickers), the adhesive pockets on the outside of the folder (for business cards), and I'm using the brass clip to hold the folder closed. I started with the pen clip on the back of the notebook, but it was annoying me, so I moved it to the folder as well, so that it holds the pen in a more central spot. I also swapped the black elastic out for the striking red one, and put the adhesive card slot on the inside of the front cover (for my ID). I still need to find a charm or bead for the elastic closure, but I figure that's something I'll find on my travels.

Traveler's Notebook Passport Size

This is the setup I'm thinking and hoping will work for me! I haven't truly started testing it yet. I'm still using my main Midori planner for at least a few more weeks, while school is at its most intense. But using the Traveler's Notebook as a wallet setup for the past few weeks has been very successful. It's not too big or fiddly, it keeps everything safely contained, and I feel like I have everything I need right in my hand.

Traveler's Notebook Passport Size

This notebook kit has so much personality. Maybe it's the act of constructing its layout and combining all the components, but I feel a bit like I've assembled a travel buddy, or like a bit of my own character got caught up in the elastics. You can't assemble a system so personal and not put a bit of yourself into it, I guess. Like Victor Frankenstein, but less messy. Or just as messy, you do you.

(JetPens provided this product at no charge to The Pen Addict for review purposes.)


Enjoy reading The Pen Addict? Then consider becoming a member to receive additional weekly content, giveaways, and discounts in The Pen Addict shop. Plus, you support me and the site directly, for which I am very grateful.

Membership starts at just $5/month, with a discounted annual option available. To find out more about membership click here and join us!

Posted on February 16, 2023 and filed under Traveler's Notebook, Notebook Reviews.

My Techo Kaigi for 2023

(Kimberly (she/her) took the express train down the fountain pen/stationery rabbit hole and doesn't want to be rescued. She can be found on Instagram @allthehobbies because there really are many, many hobbies!.)

What on earth is a “Techno Kaigi”? I had the exact same reaction when I first heard the term earlier this year. Loosely translated in Japanese, it is a journaling or planner meeting that you have (with yourself) where you reflect on what you’ve been using and whether you want to continue that into the next year. Most of the time, this reflection is done earlier in the fall, just as planner products come out, allowing you enough time to buy whatever products you plan to use in the coming year.

In past years, I’ve done this unknowingly just by asking myself if the Bullet Journal method is working for me (the answer has been “yes”) and if so, let’s do more of that. This year, as I was finishing my most recent Rhodia GoalBook in October, I asked myself the same question and had a slightly different answer. In short, the answer is still “yes” but it ended up being more like “yes, but with some tweaks”.

I don’t have a traditional job that requires me to use a traditional planner, which is why the Bullet Journal (BuJo) method really worked for me. I love being able to flip a page and add a spread for something new or start over if I really didn’t find something useful or hated how I laid out something. Whenever I finish up a GoalBook, I flip through and decide what needs to get moved over to the next GoalBook and then I will re-create spreads for penpal letter tracking, orders I’ve placed, as well as blood pressure tracking, exercise logs, habit trackers, etc. I also use markers to make my own weekly layouts at the beginning of every month. So that part hasn’t changed.

What has changed is I got sucked into the Plotter FOMO. Yeah, I’m not gonna lie. I knew Plotter was a big deal coming into LAST year’s SF Pen Show when they made their US debut. But it was this year when everyone seemed to be getting a Plotter and darn if I wasn’t gonna get one at this year’s SF Show for my birthday. And because their 5th Anniversary Plotter came out shortly thereafter, I had to get that too. So, now I had TWO new, thin, ring-bound systems that I didn’t really need for project management or “traditional work stuff”?! My Bible-sized Plotters lay unused for longer than I’d like to admit while I figured out what on earth I was going to use them for. Thankfully, the “end of BuJo reflection” helped me rethink my spreads and which ones made more sense to go into a Plotter versus the next BuJo.

I realized there are some spreads that I want to keep track of, on an ongoing basis, in my BuJo where I wouldn’t need to transfer the information to a new notebook. The Blood Pressure log is a good example of this. I wanted the data and a place to log it, but I didn’t really need to move the data to another notebook - I just needed to create a new blank spread. My habit tracker is another example where I can just create a new habit tracker in the new BuJo, I didn’t need to copy over the information from past months. These kinds of things were perfect for the BuJo and most of my spreads fell into this category.

As the BuJo is my ride-or-die “planner”, I will add new spreads to it so that I can see/use it regularly. And when I get to the end of the current BuJo, I can evaluate whether it goes to the next BuJo or the Plotter.

Bullet Journal

Todos and general planning, tracking, etc. continue to live in my trusty BuJo - the Rhodia GoalBook - including finishing this article, lol!

So what kind of stuff did I put in the Plotter? My list of Pen Addict products/article topics for one – I had gone through 2 BuJos since I started writing for TPA, which mean I had to copy the product list/topic list to 2 BuJos already and I didn’t want to have to do it with a 3rd BuJo. I’m going to use it as a checklist as I go through various product reviews or topics. I can move the completed pages to an archive, consolidate into fewer sheets when I cross off enough items or toss them when I’m done. I also added some pages for food/shopping/attractions when visiting certain cities (I have an ongoing list for NYC and the PNW if you have any recommendations!) - super handy because the Plotter is so portable! In any case, I can keep my notes and don’t have to worry about rewriting it when I finish the new BuJo in 6 months. Also, because the Plotter is a ring-bound system, I can easily add/move pages as needed.

Plotter

It was handy to have my Pelikan Hub list in my Plotter last month.

I love the Plotter for its thinness, which makes it perfect for toting around. In the past, I’ve traveled with my A5 BuJo, only for it to remain unused in my suitcase the whole time. But the Plotter’s thinness comes at a price – I can’t fit as many pages in it as I’d like. So, I have to be very picky about what things I put in a Plotter and put the rest in a Filofax, which has bigger rings and stays on my desk. The Filofax is also great for archiving pages I no longer need to keep with me, but still want to keep the data. And yes, many of the Plotter’s various sizes are also compatible with the Filofax - the Bible-sized Plotter pages work in the Filofax’s Personal size, the A5 sizes are interchangeable, Plotter’s Mini maps to Filofax’s Pocket, etc.

Filofax

Tracking my skincare products on Plotter’s paper in a Filofax Personal so I know how long I’ve been using a product. This stays home because I don’t need this info when I’m out and about.

While Techo Kaigi is often used for planners, I’ve decided to apply this to journaling as well. A few months ago, I started journaling (for the first time in a LONG time) and decided to do it in a Traveler’s Notebook. Unfortunately, I’m very bad at journaling with any regularity and I end up forgetting a lot by the time I get to it. So I decided to use the remainder of my 2022 Hobonichi Weeks to do short form “jot” journaling, with the intent of doing long form journaling in the TN later. The intent was good but the execution wasn’t great. The Weeks is just a bit too small for the jot journaling and the TN is also a bit too small for the decorating and long-form journaling that I wanted to do too (is anyone shocked by my long-windedness?). So, for 2023, I’m going to move to a Traveler’s Company 2023 Weekly Diary for short form and an undated A5 Hobonichi for long form. I will continue to use the Hobonichi Weeks for my “pens of the week” scribbles and quotes.

Traveler's Weeks

My attempt at journaling with the Hobonichi Weeks and Traveler’s Notebook - nice try but not quite the right size.

Hobonichi Traveler's

2023 journaling will be done with the Traveler’s Notebook and A5 Hobonichi - got started with a little decoration so I’m ready to go!

While I use a lot of other notebooks for other things like quotes, lyrics, etc. - maybe I’ll write about those some other time - I think I have my planning/journaling system in place for 2023 and I’m looking forward to seeing how it works out.

Techo Kaigi

Hobonichi Undated A5 notebook (with Have a Nice Day cover), Traveler’s Notebook customized by Baum-Kuchen, Filofax Personal, Plotter 5th Anniversary Bible-sized Liscio Green, Rhodia GoalBook in a Hobonichi A5 Cover.

If you want to find out what others are doing for 2023, check out this Techo Kaigi YouTube playlist with a bunch of great content from the Stationery Brew Crew! Until next year’s Techo Kaigi, stay inky!


Enjoy reading The Pen Addict? Then consider becoming a member to receive additional weekly content, giveaways, and discounts in The Pen Addict shop. Plus, you support me and the site directly, for which I am very grateful.

Membership starts at just $5/month, with a discounted annual option available. To find out more about membership click here and join us!

Posted on December 16, 2022 and filed under Journal, Planner Reviews, Plotter, Traveler's Notebook, Hobonichi, Bullet Journal.