Posts filed under Journaling

Esterbrook The Travel Journal Workshop Set Review

Esterbrook The Travel Journal Workshop Set Review

(Sarah Read is an author, editor, yarn artist, and pen/paper/ink addict. You can find more about her at her website and on Bluesky. And her latest book, The Atropine Tree, is now available!)

Two of my favorite things, travel and notebooks, might explain my obsession with traveler's notebooks. I also love Esterbrook, so this Travel Journal Workshop Set from Esterbrook was a must-try. In the end, I found the whole set a little overwhelming. It's the maximalized version of what I usually enjoy in a travel journal, and while it's not quite for me, it would be the perfect gift set for someone just getting started on travel journaling, or a souvenir for a special occasion trip.

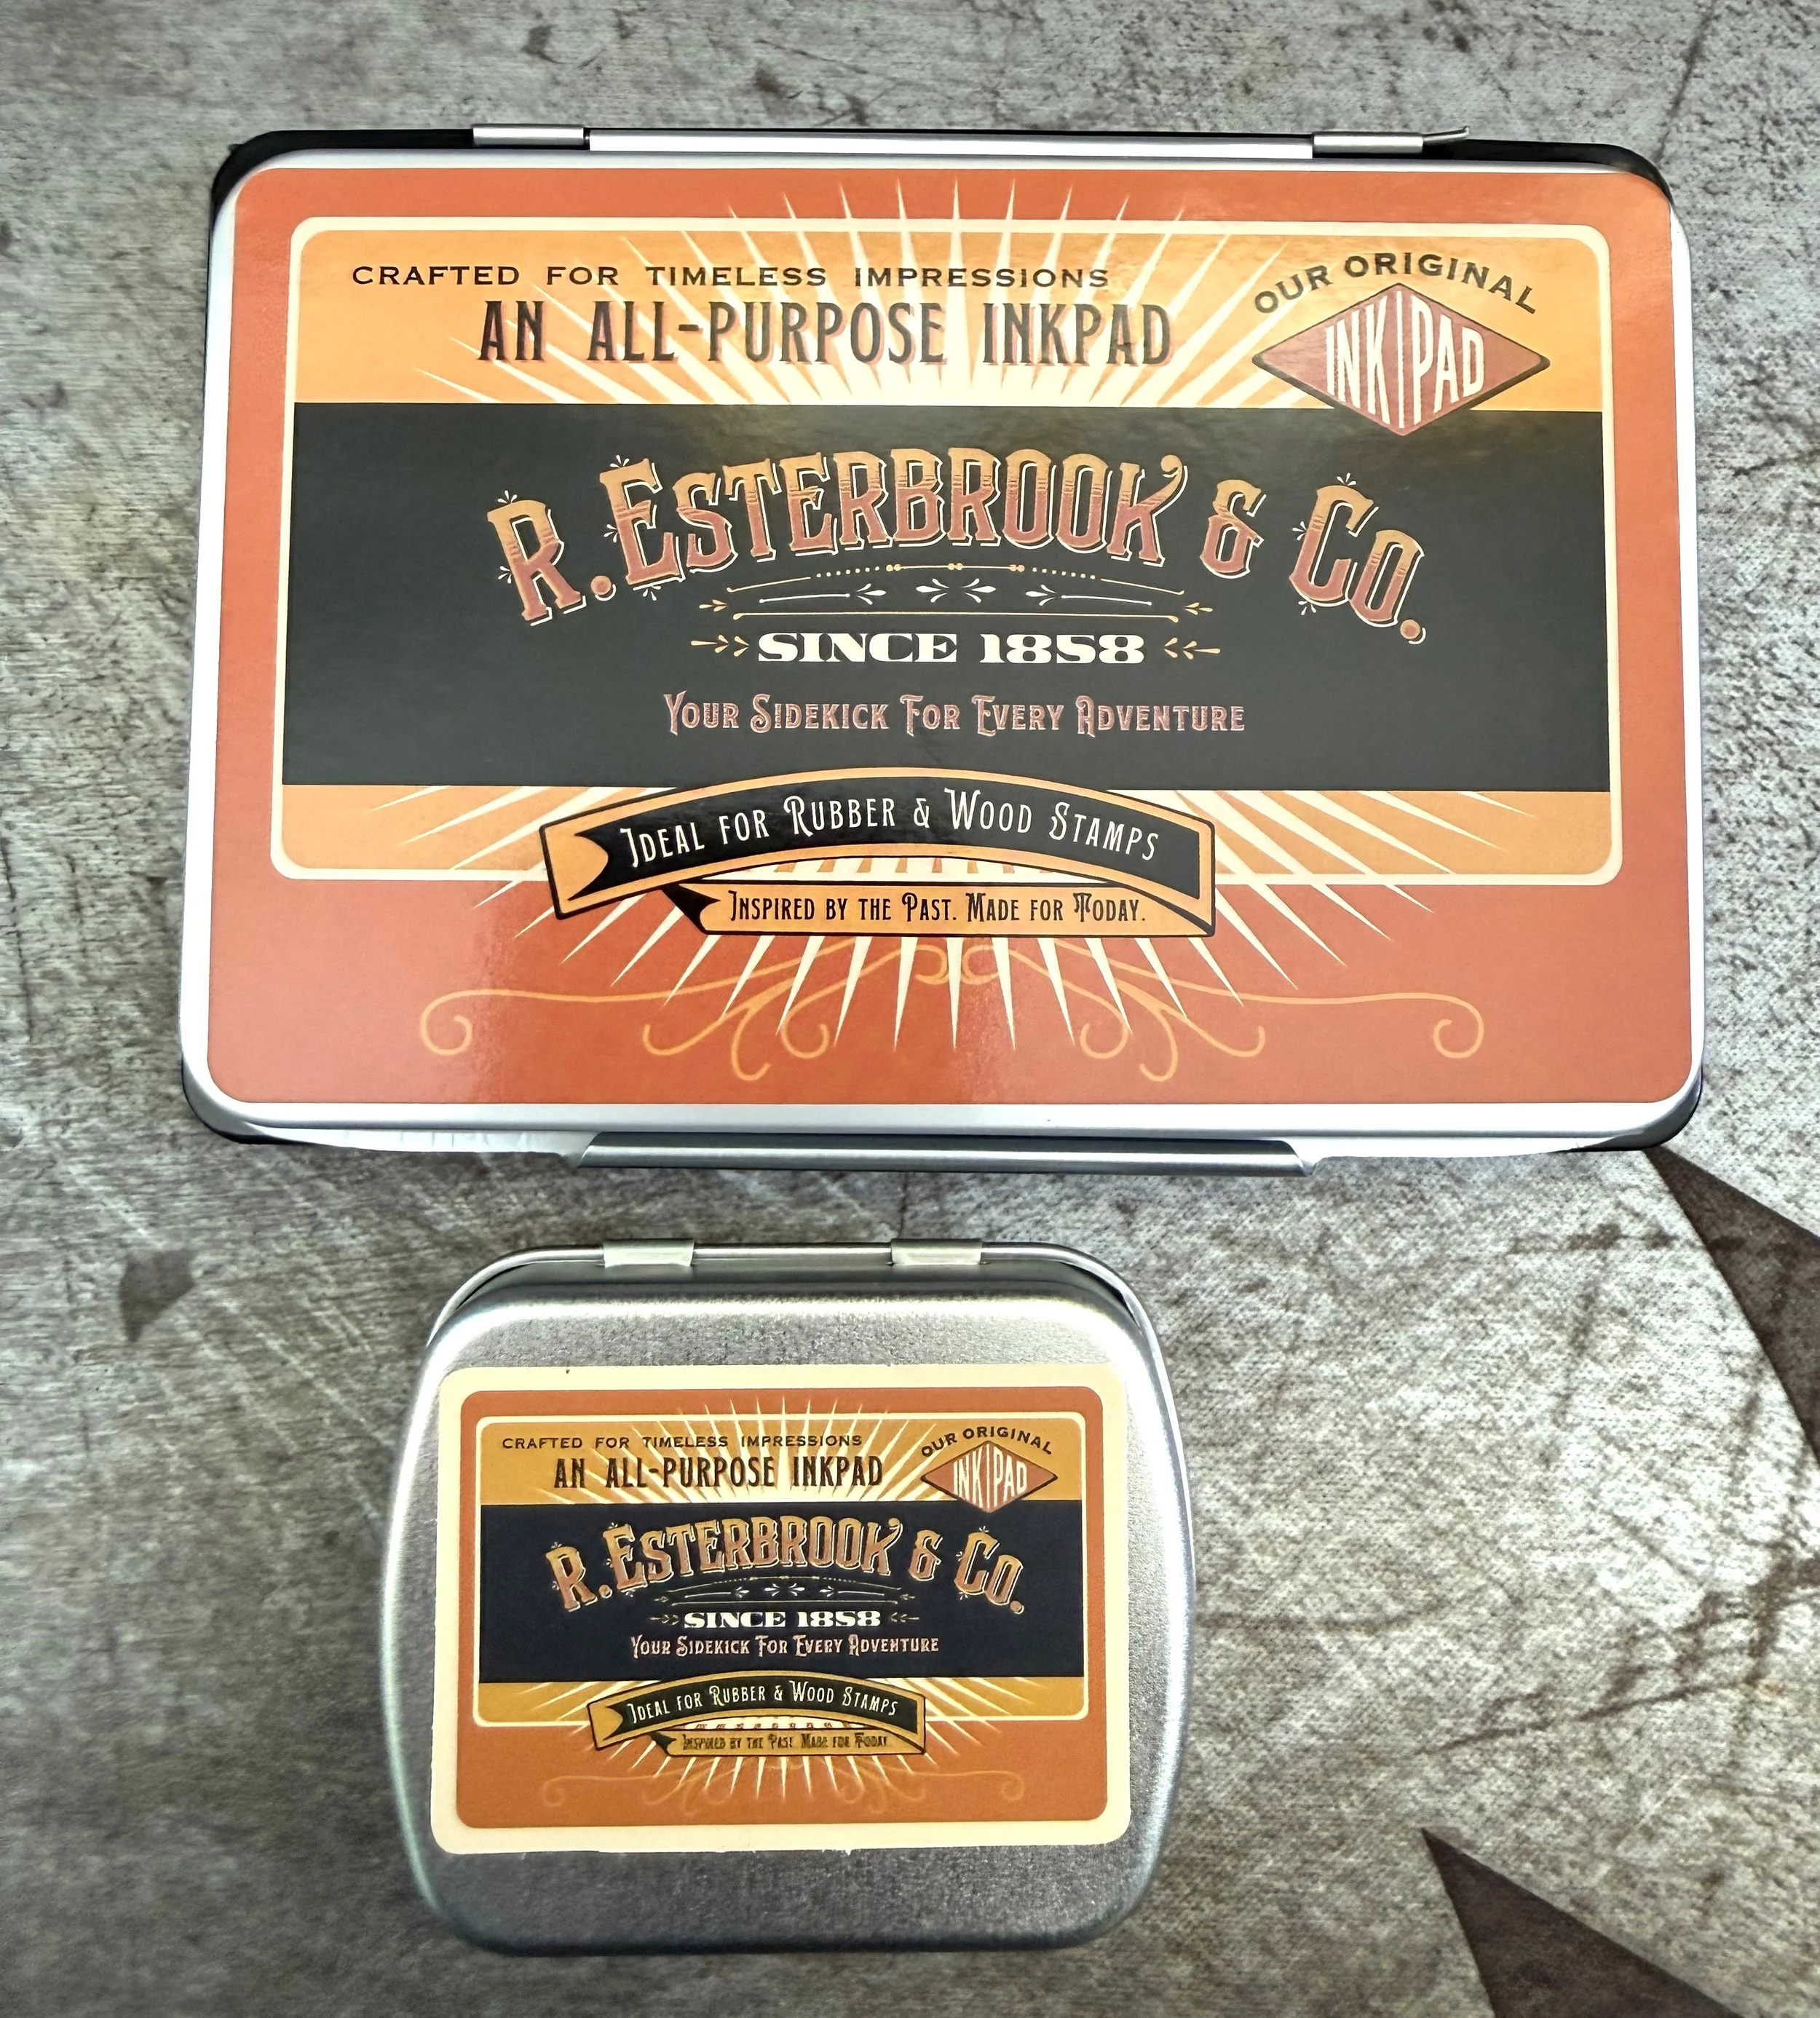
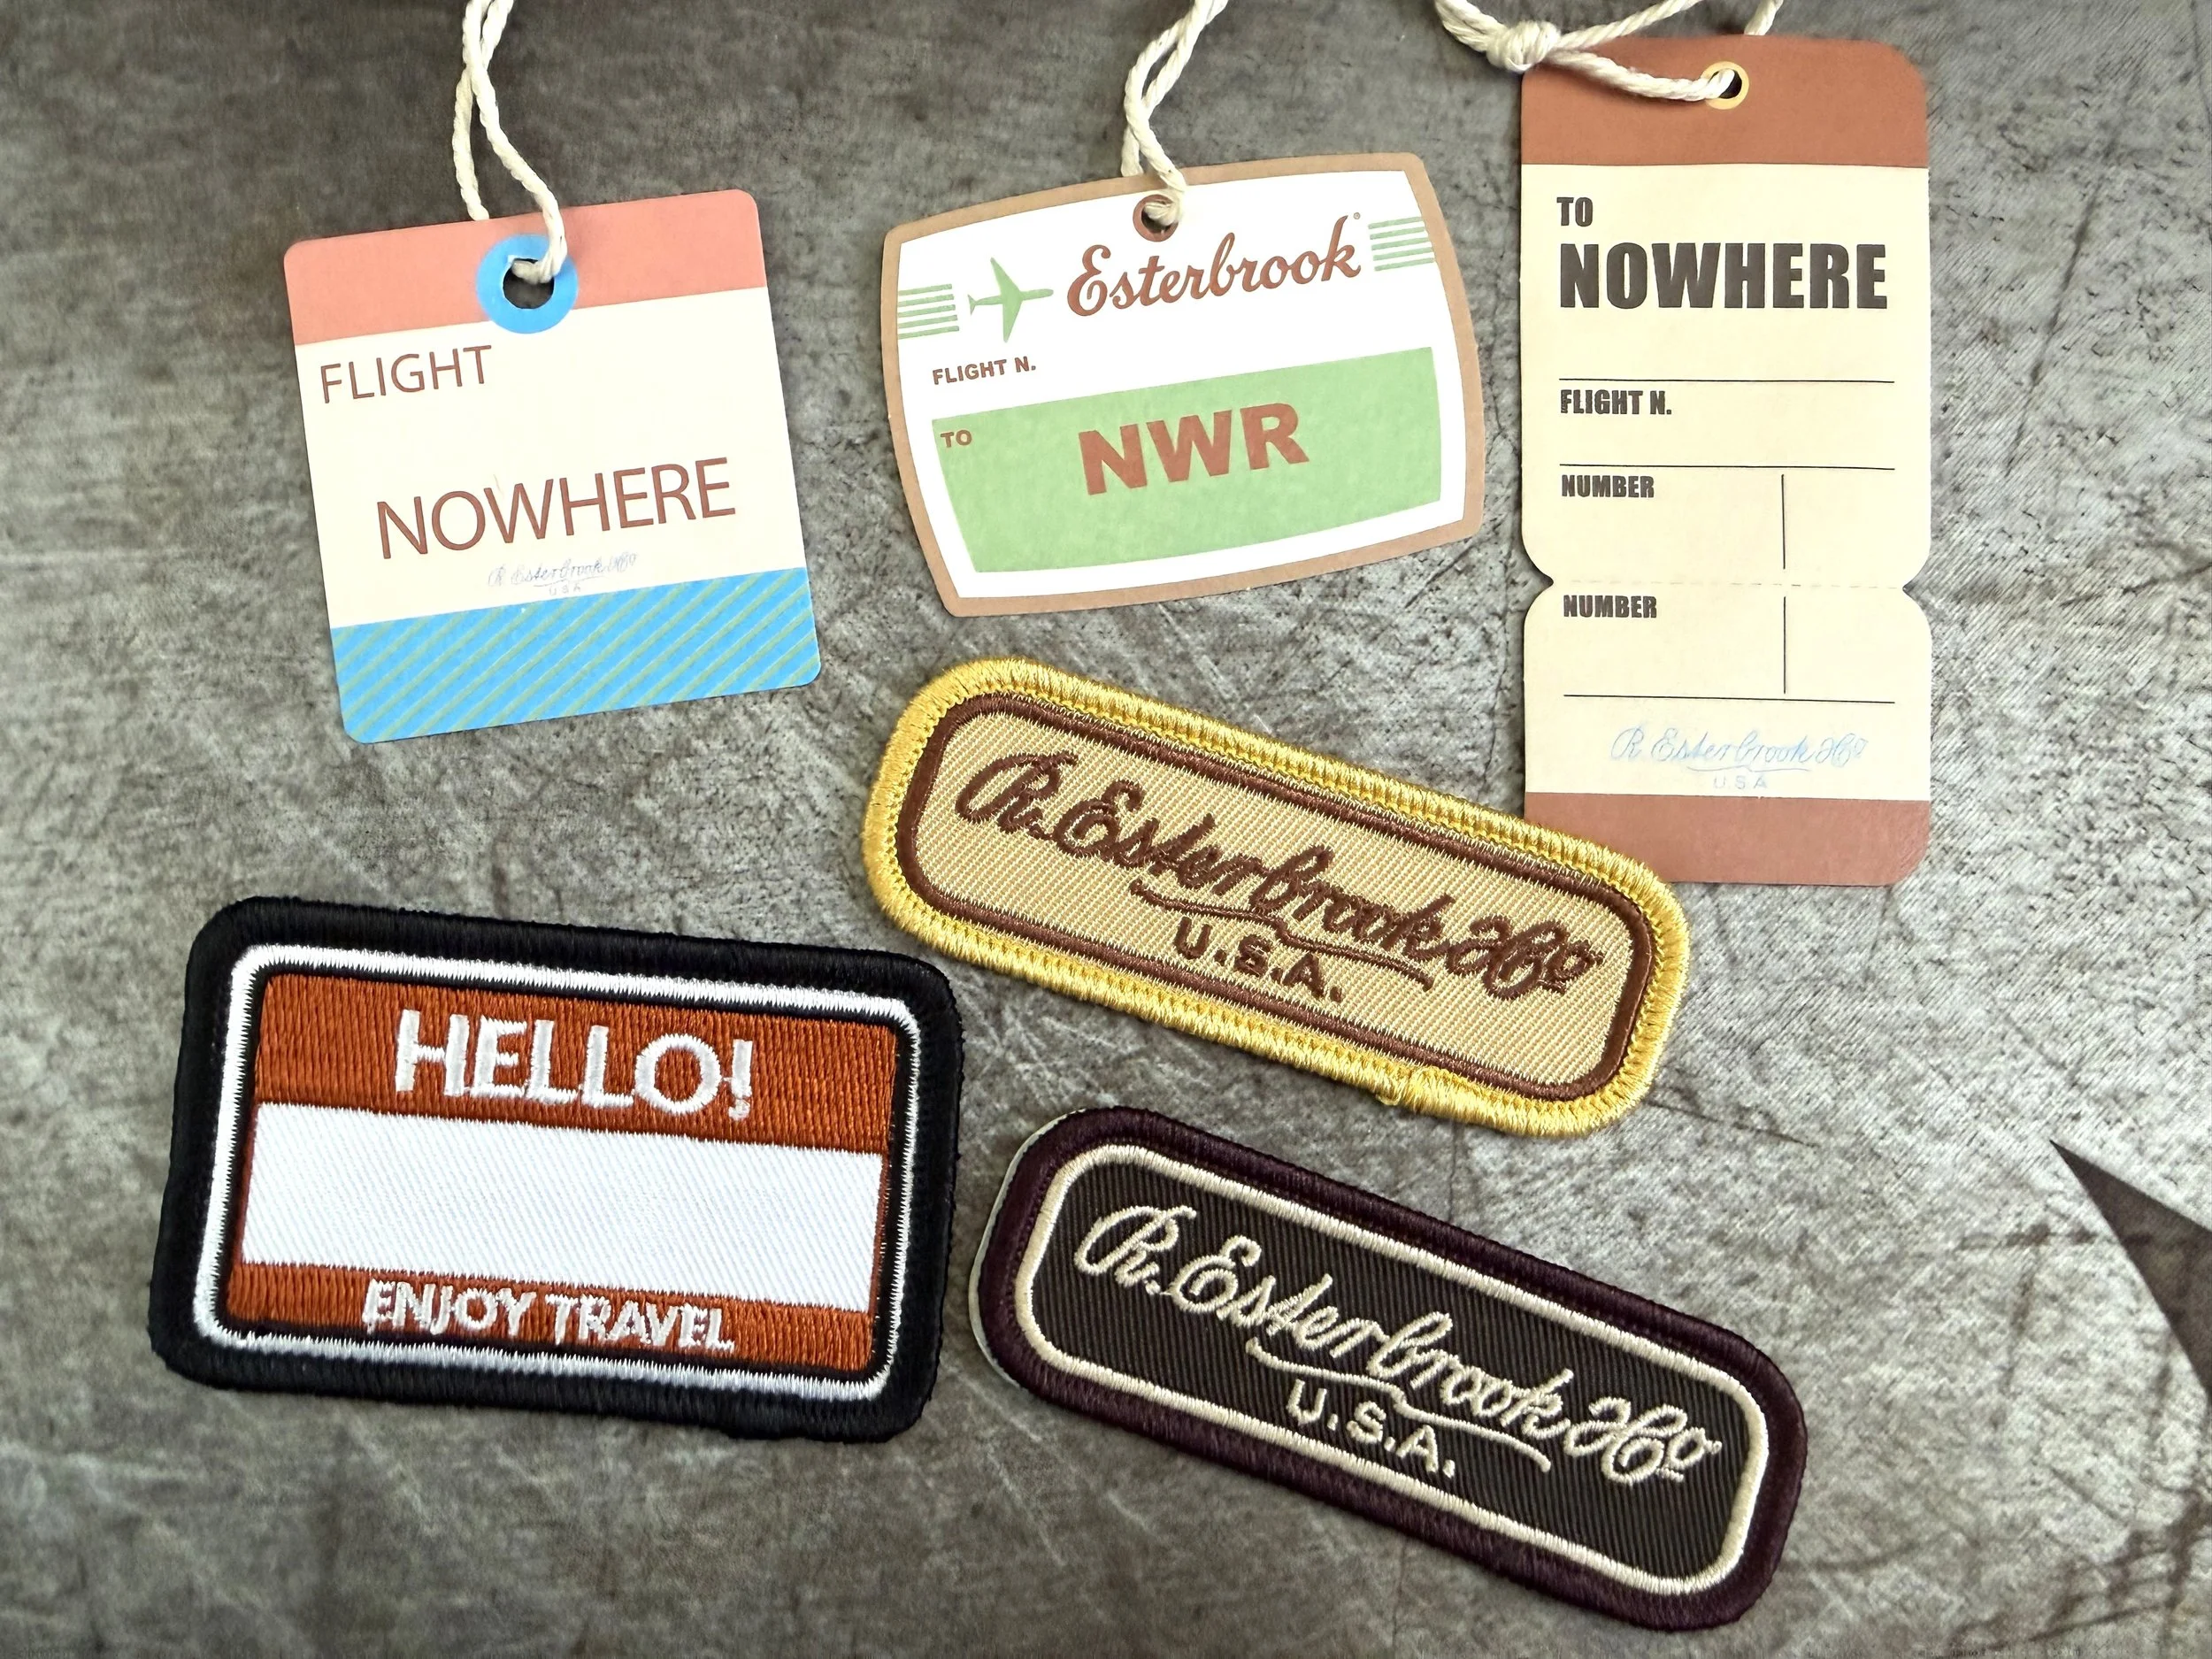
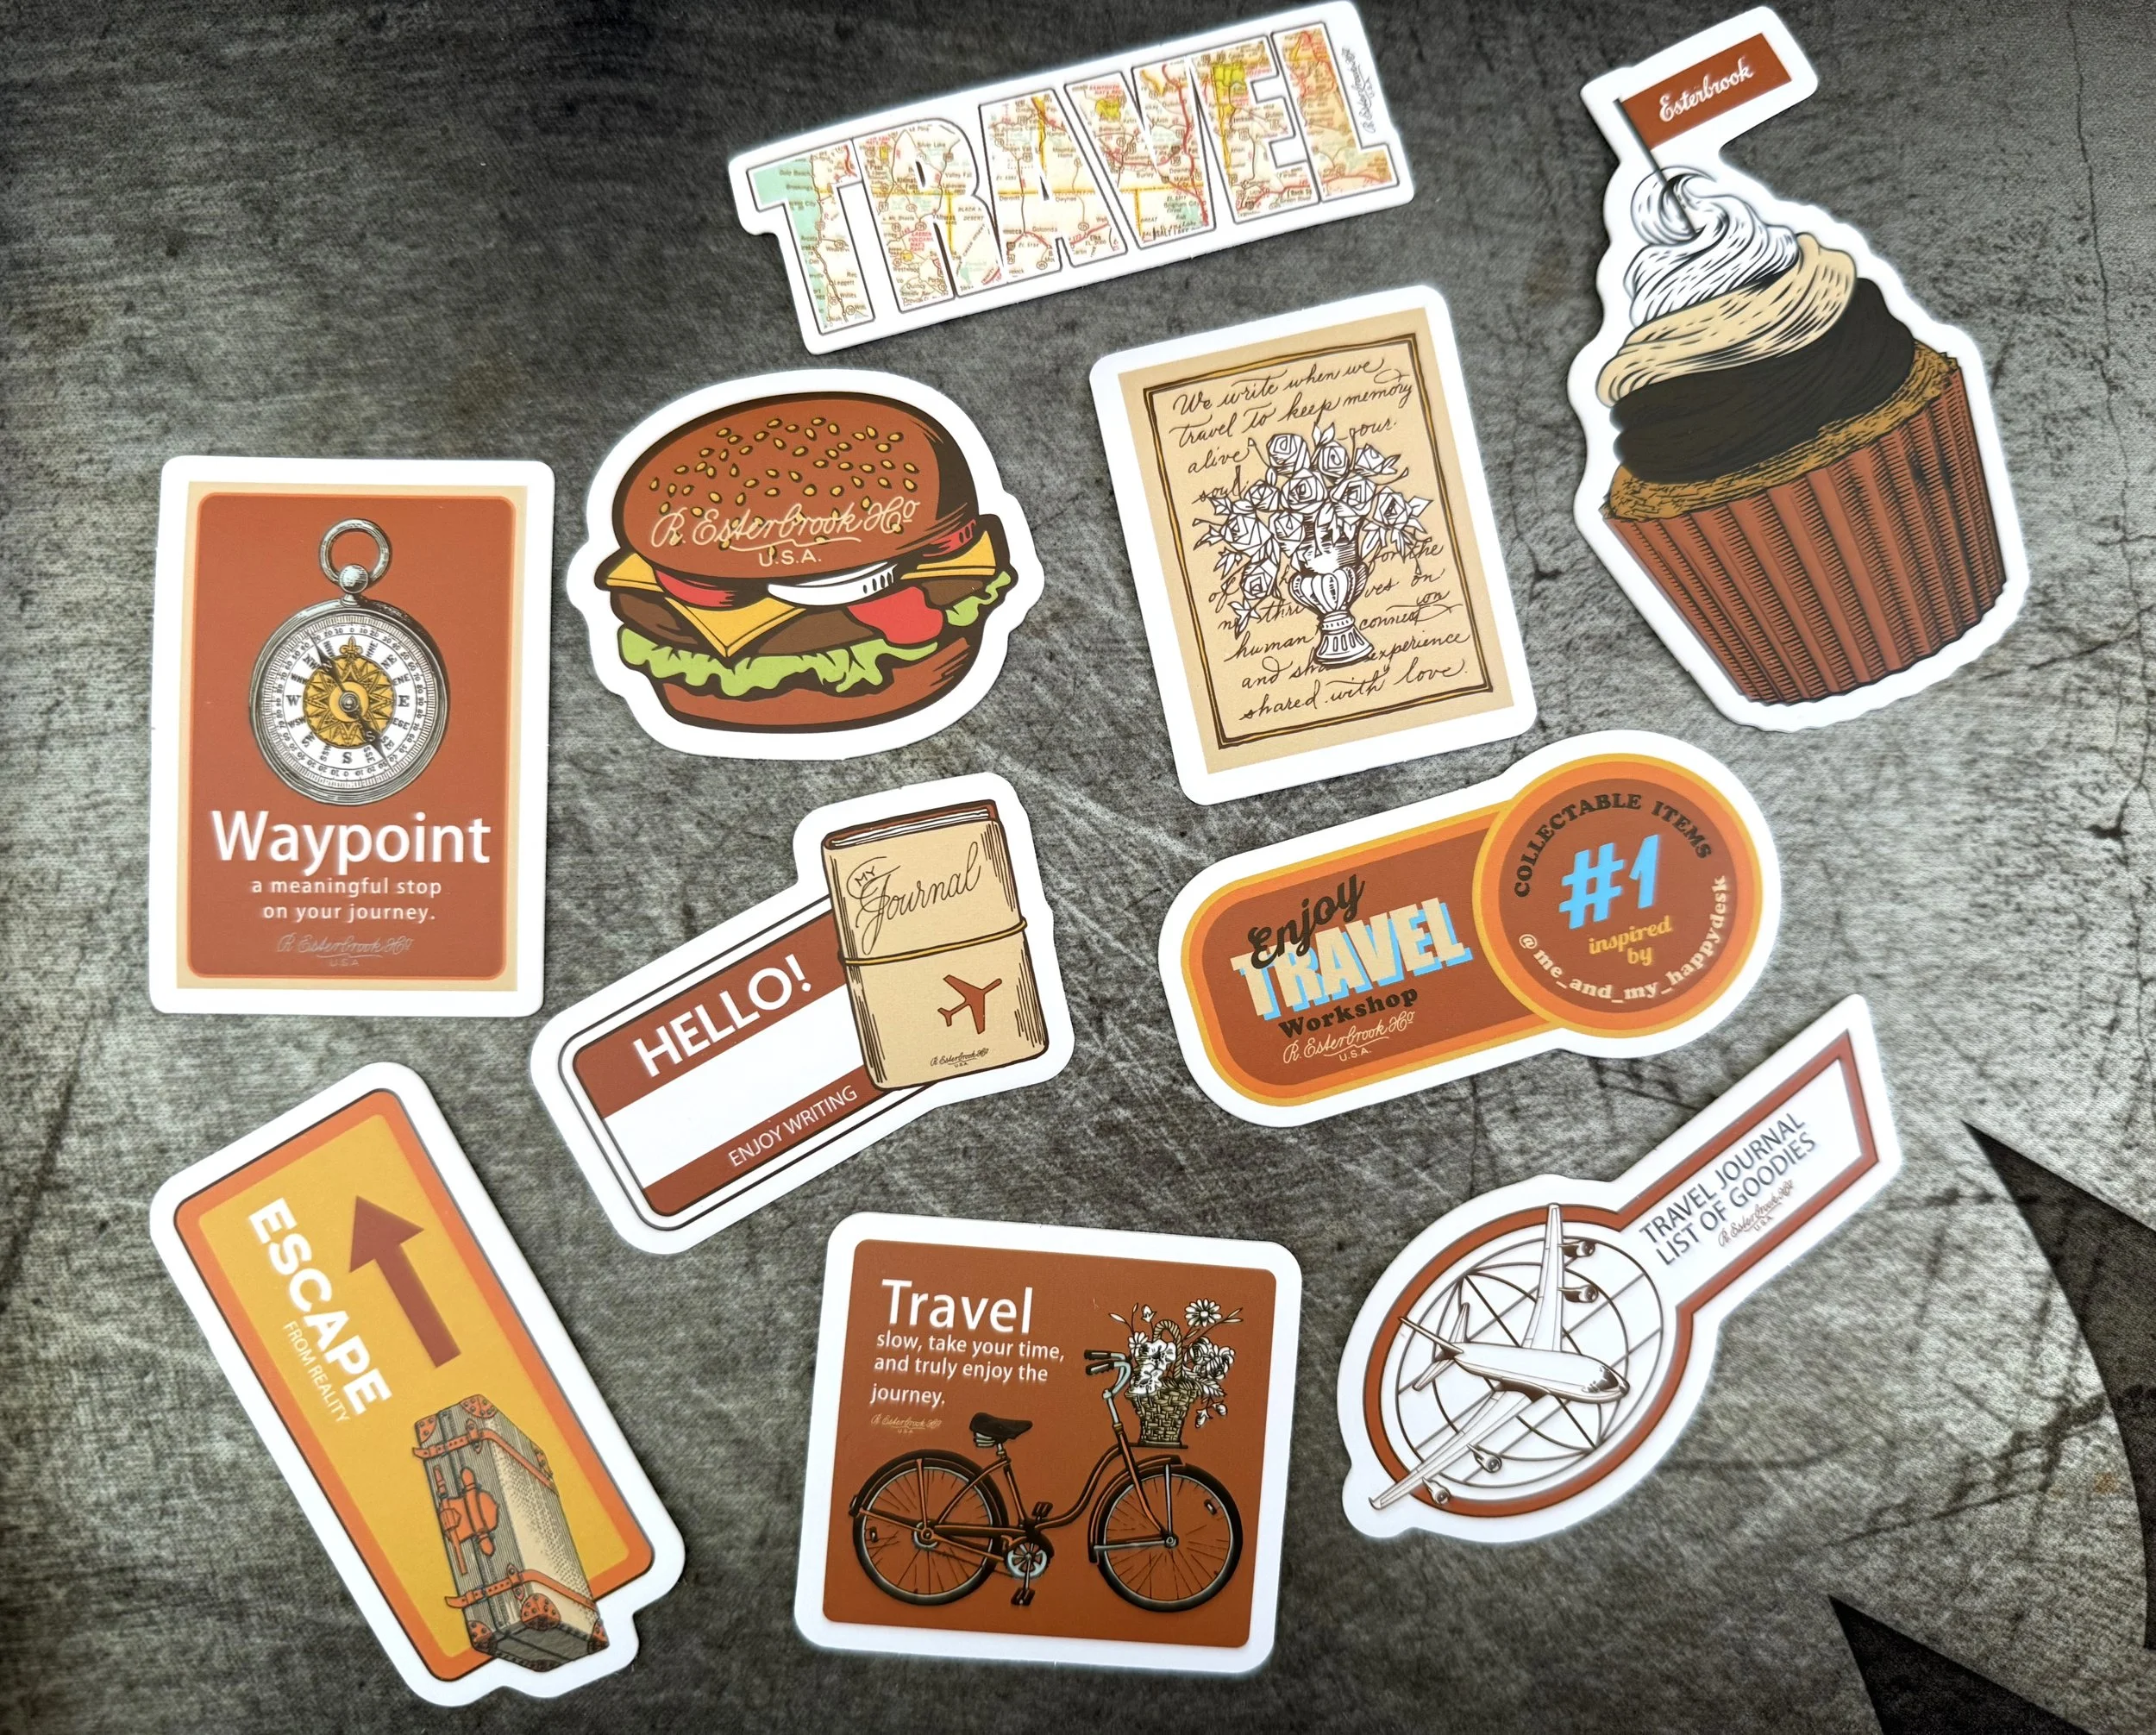
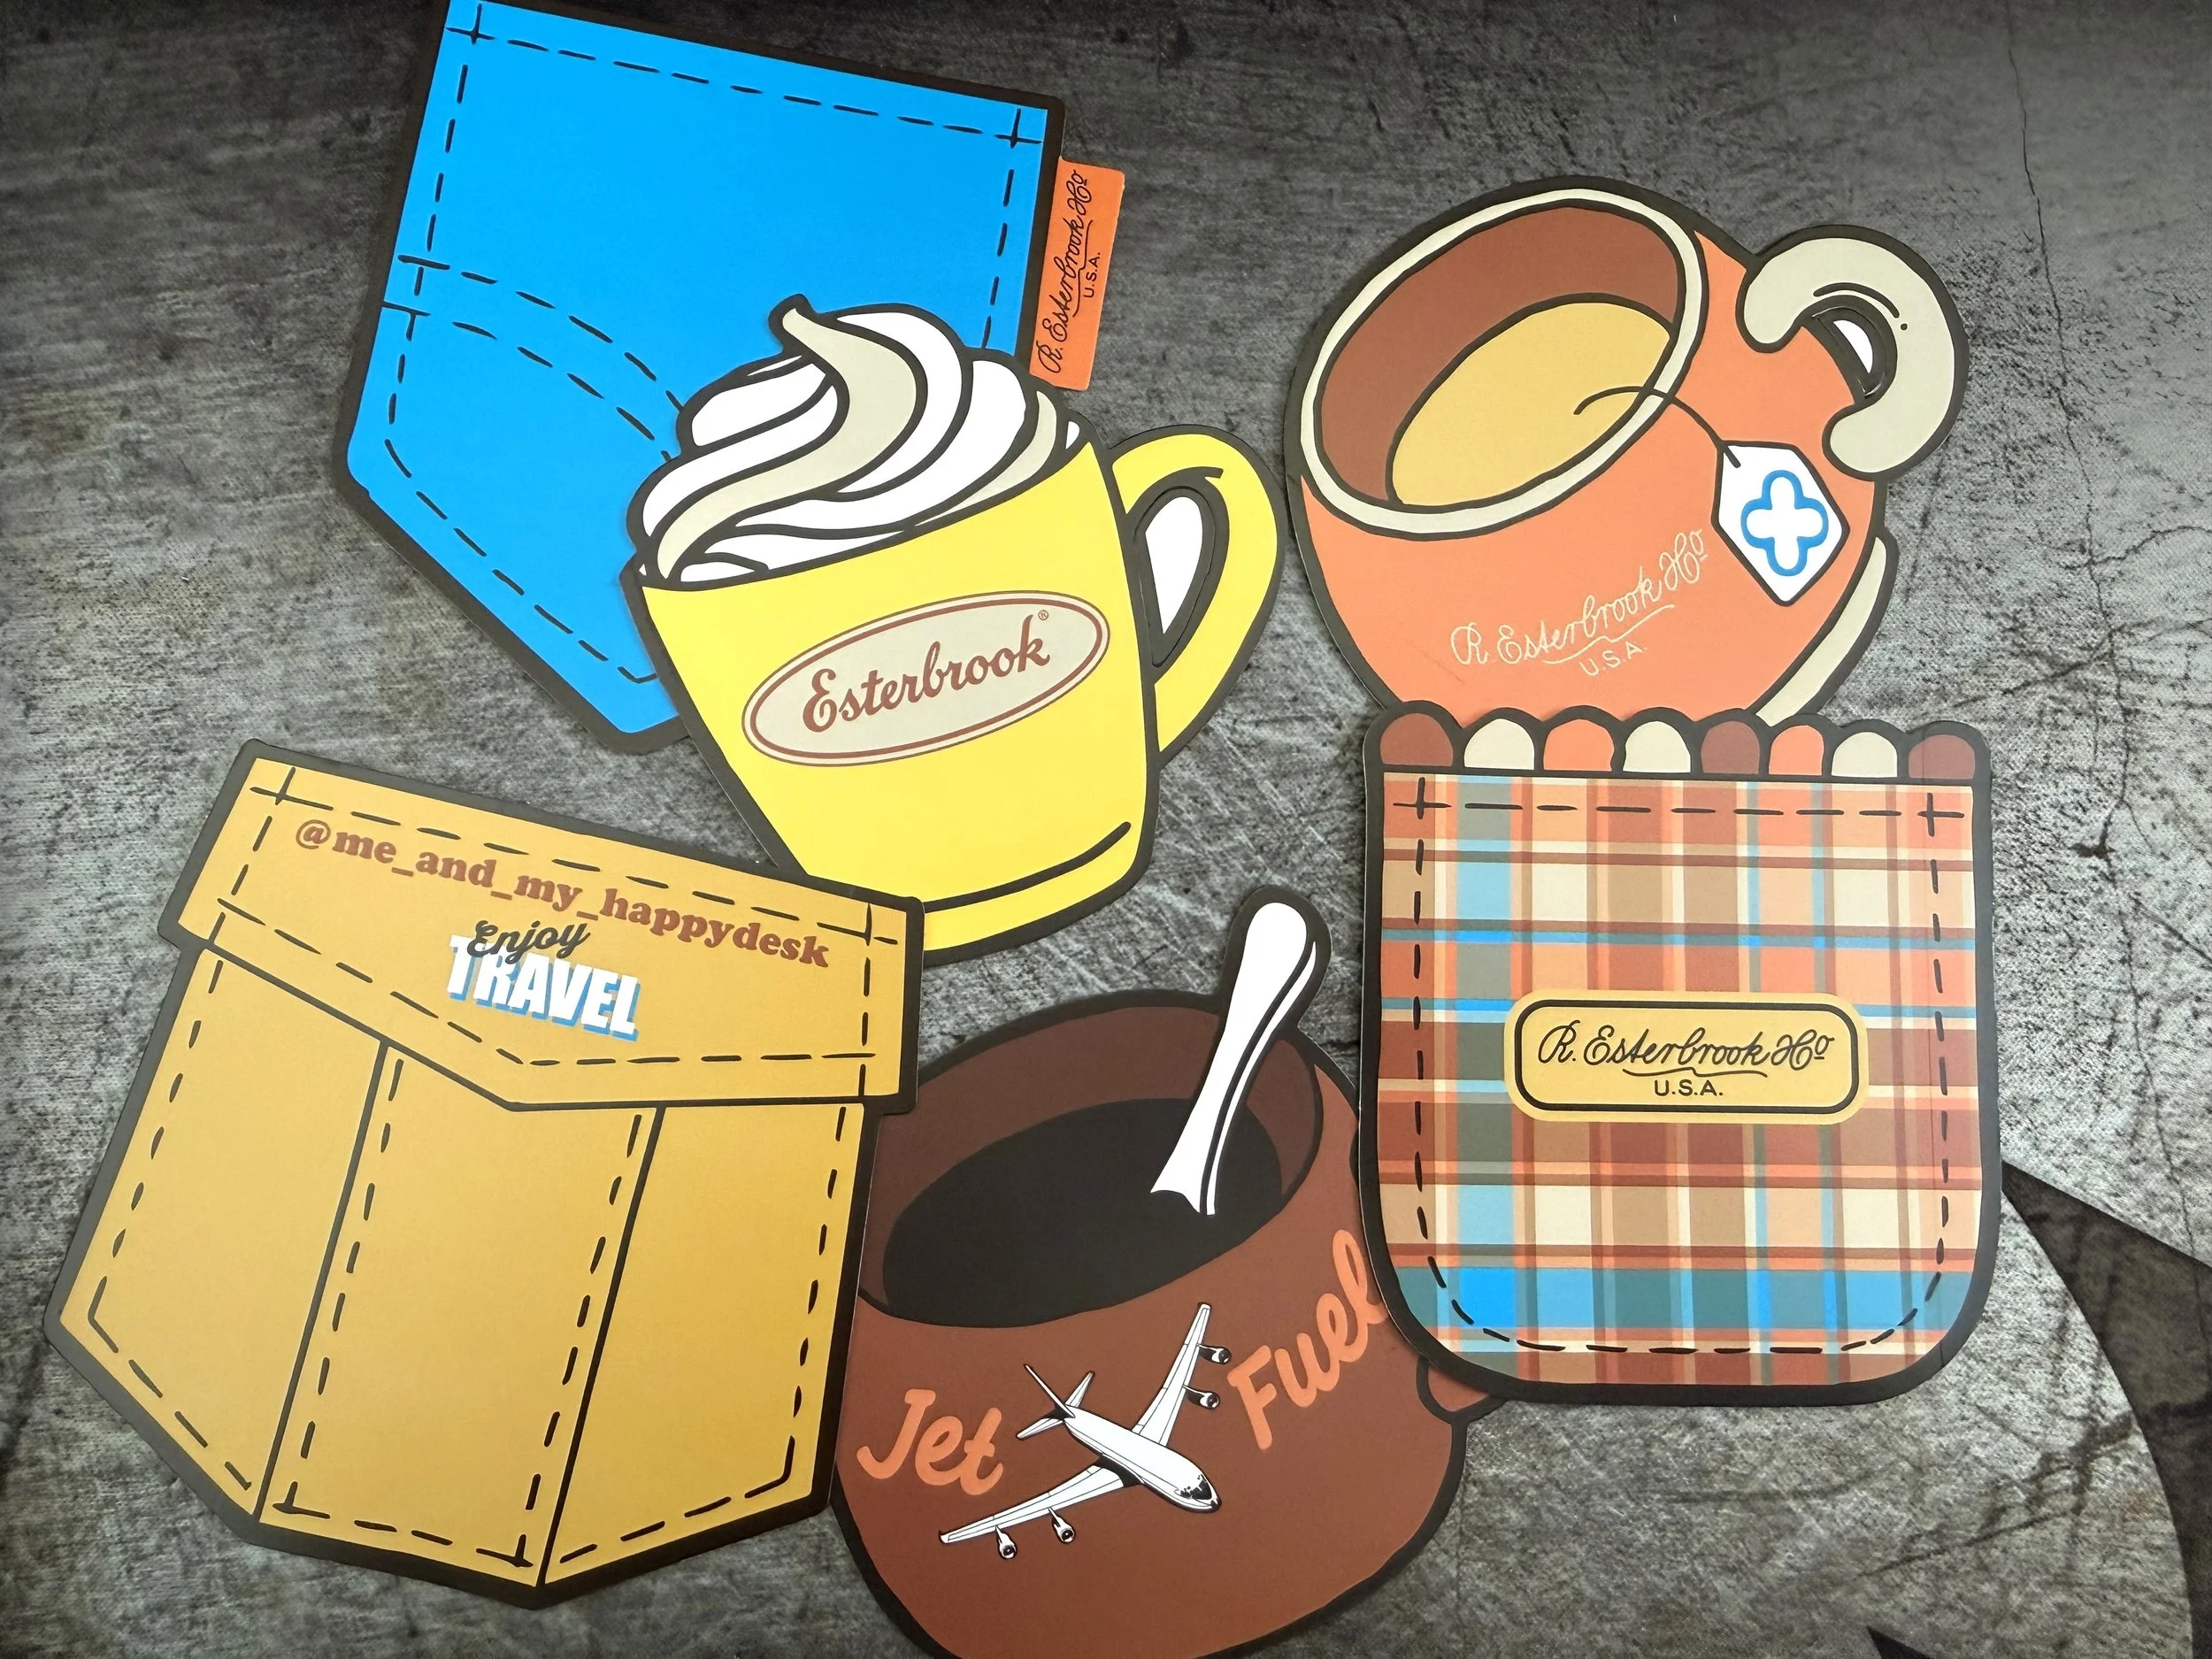
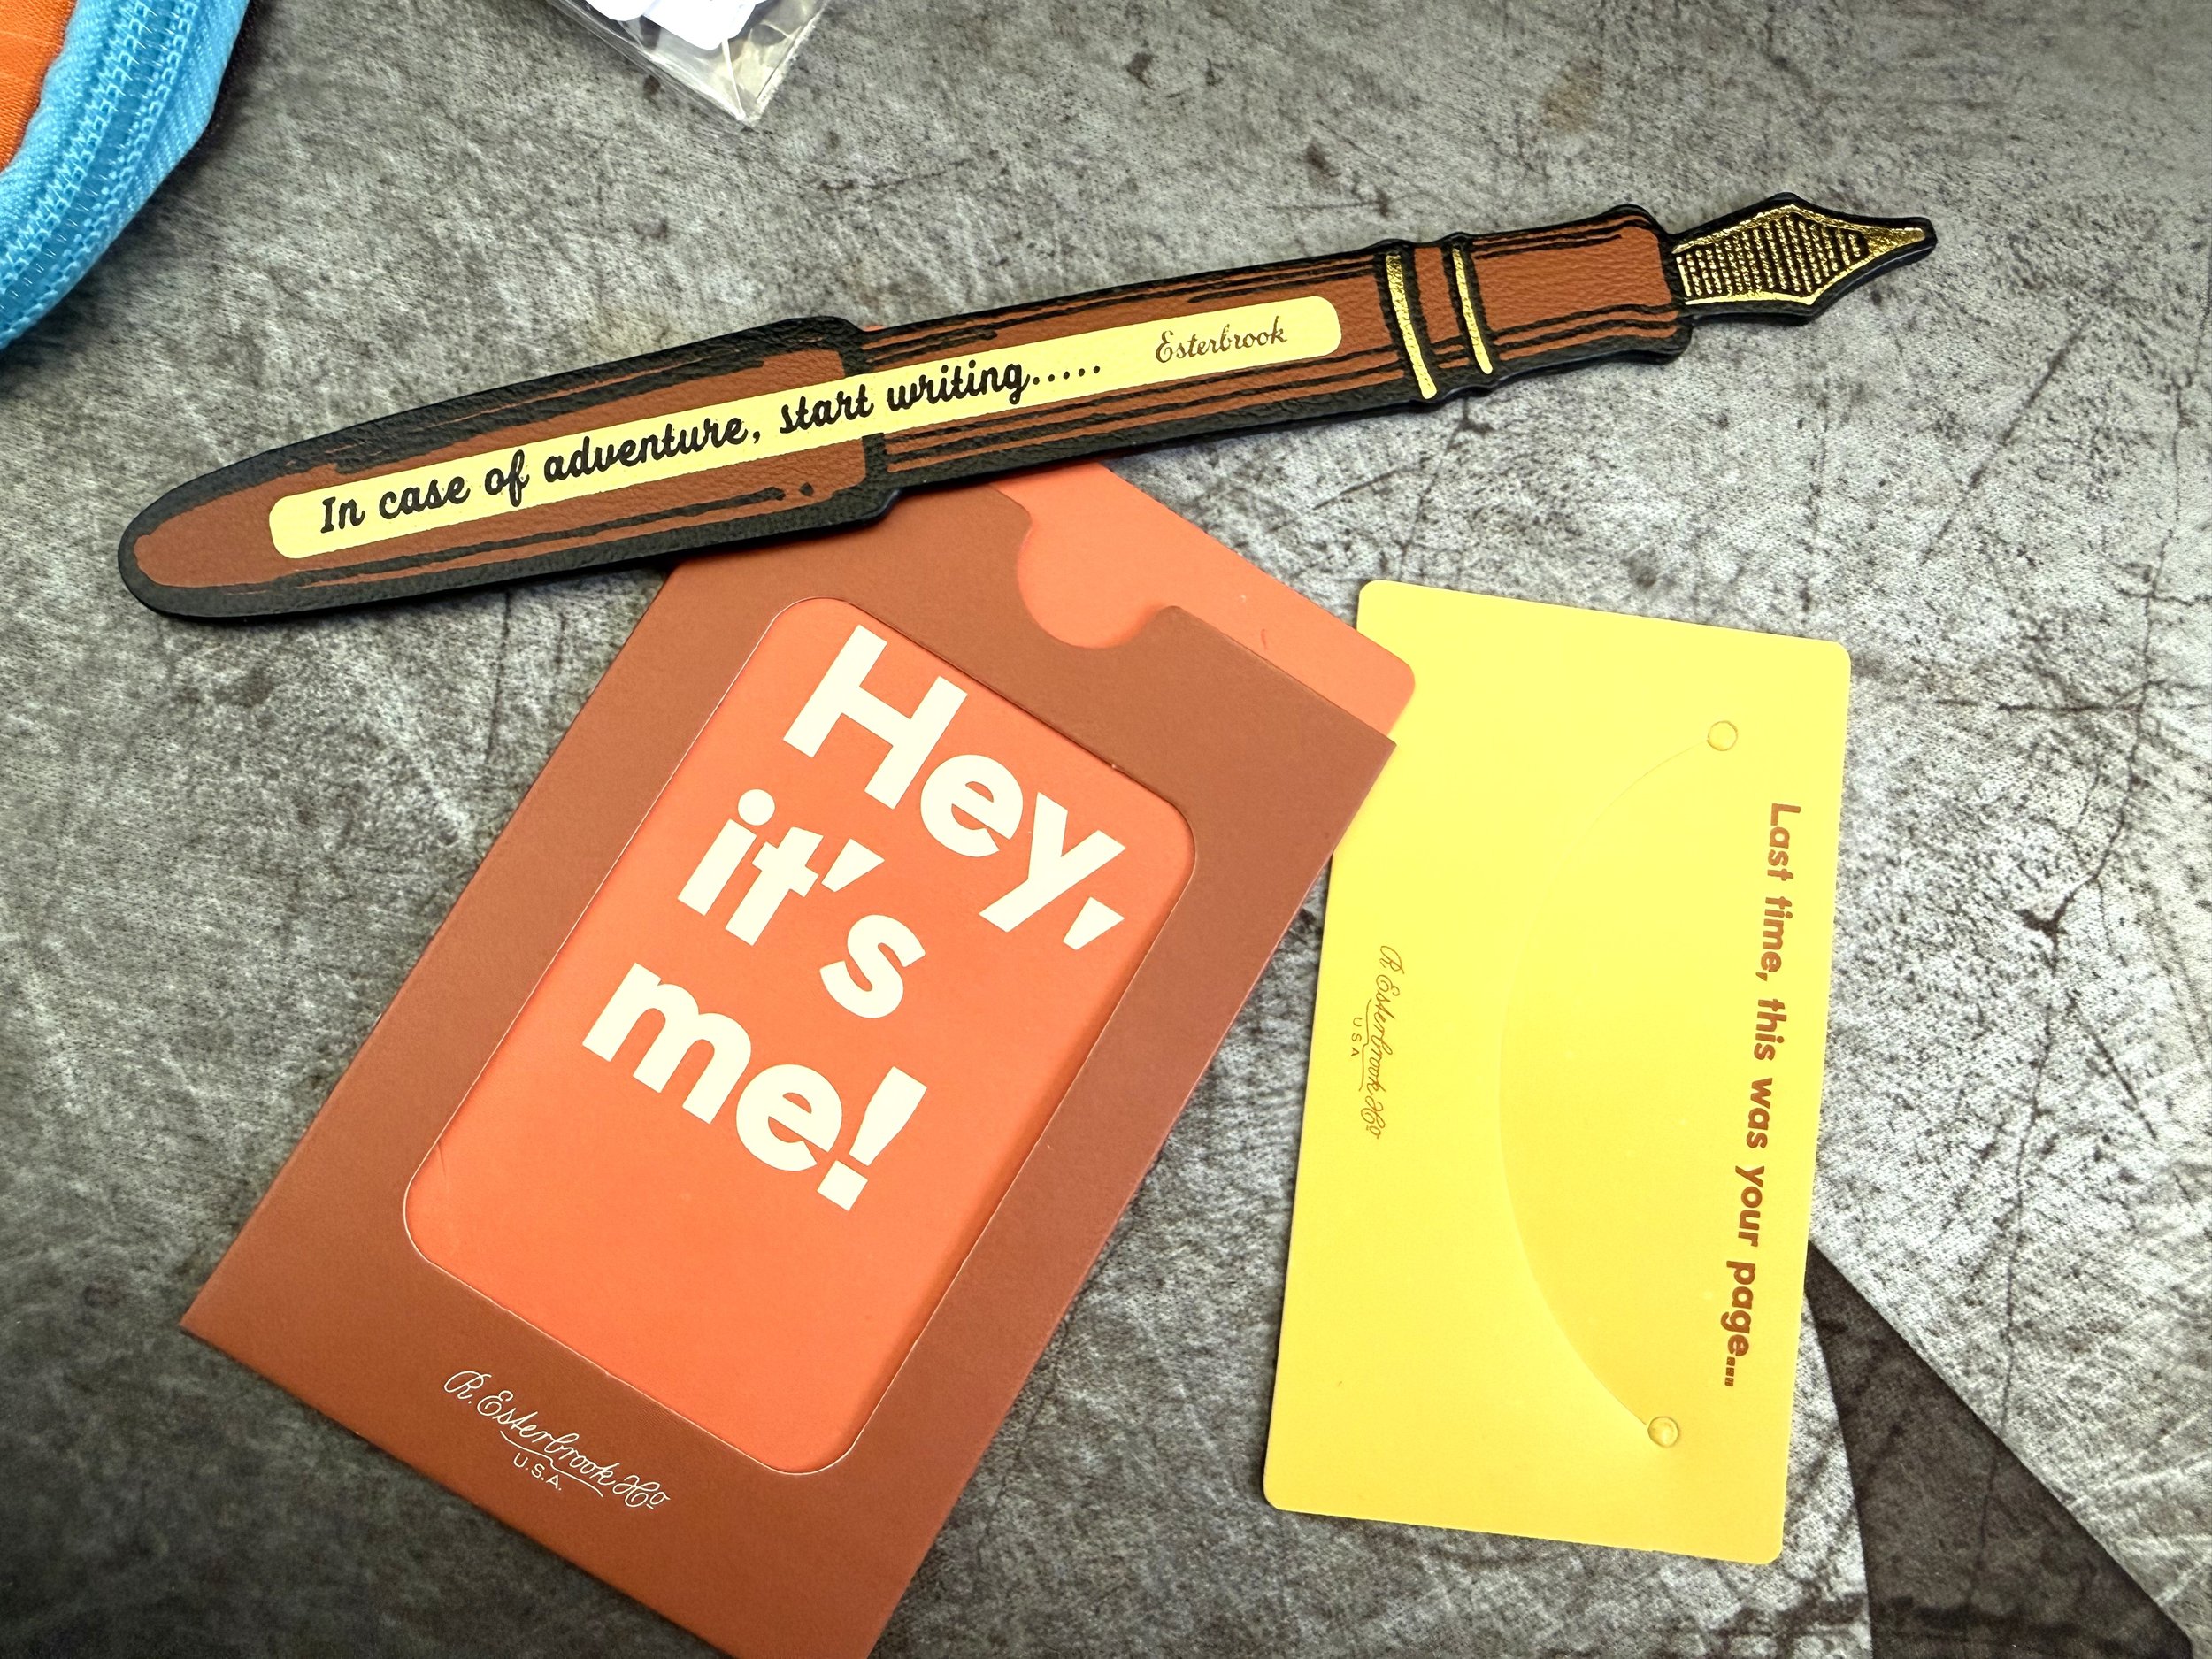
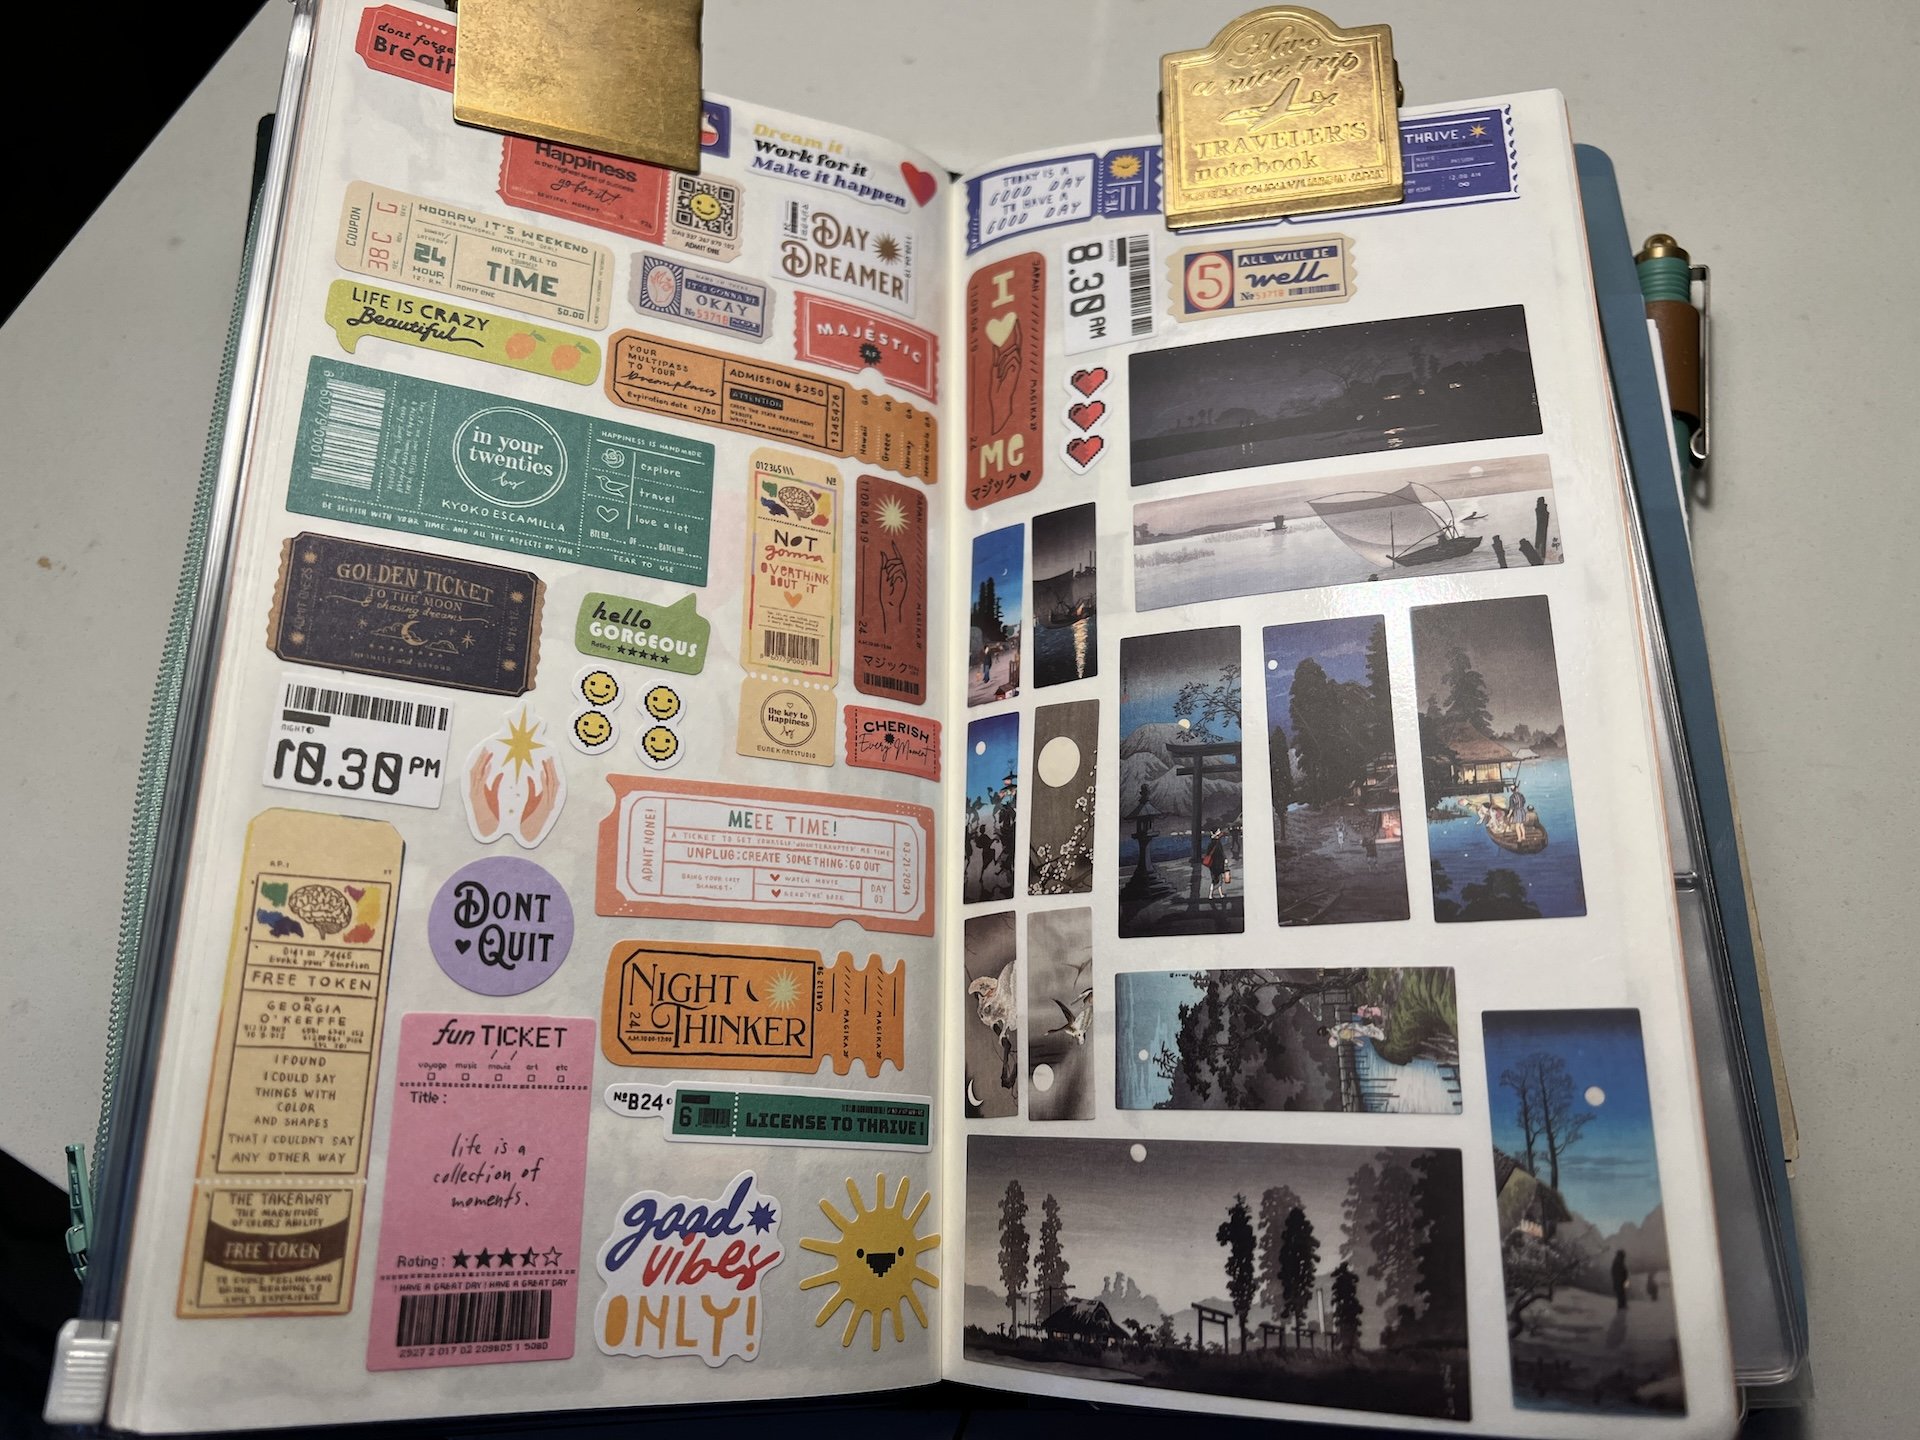
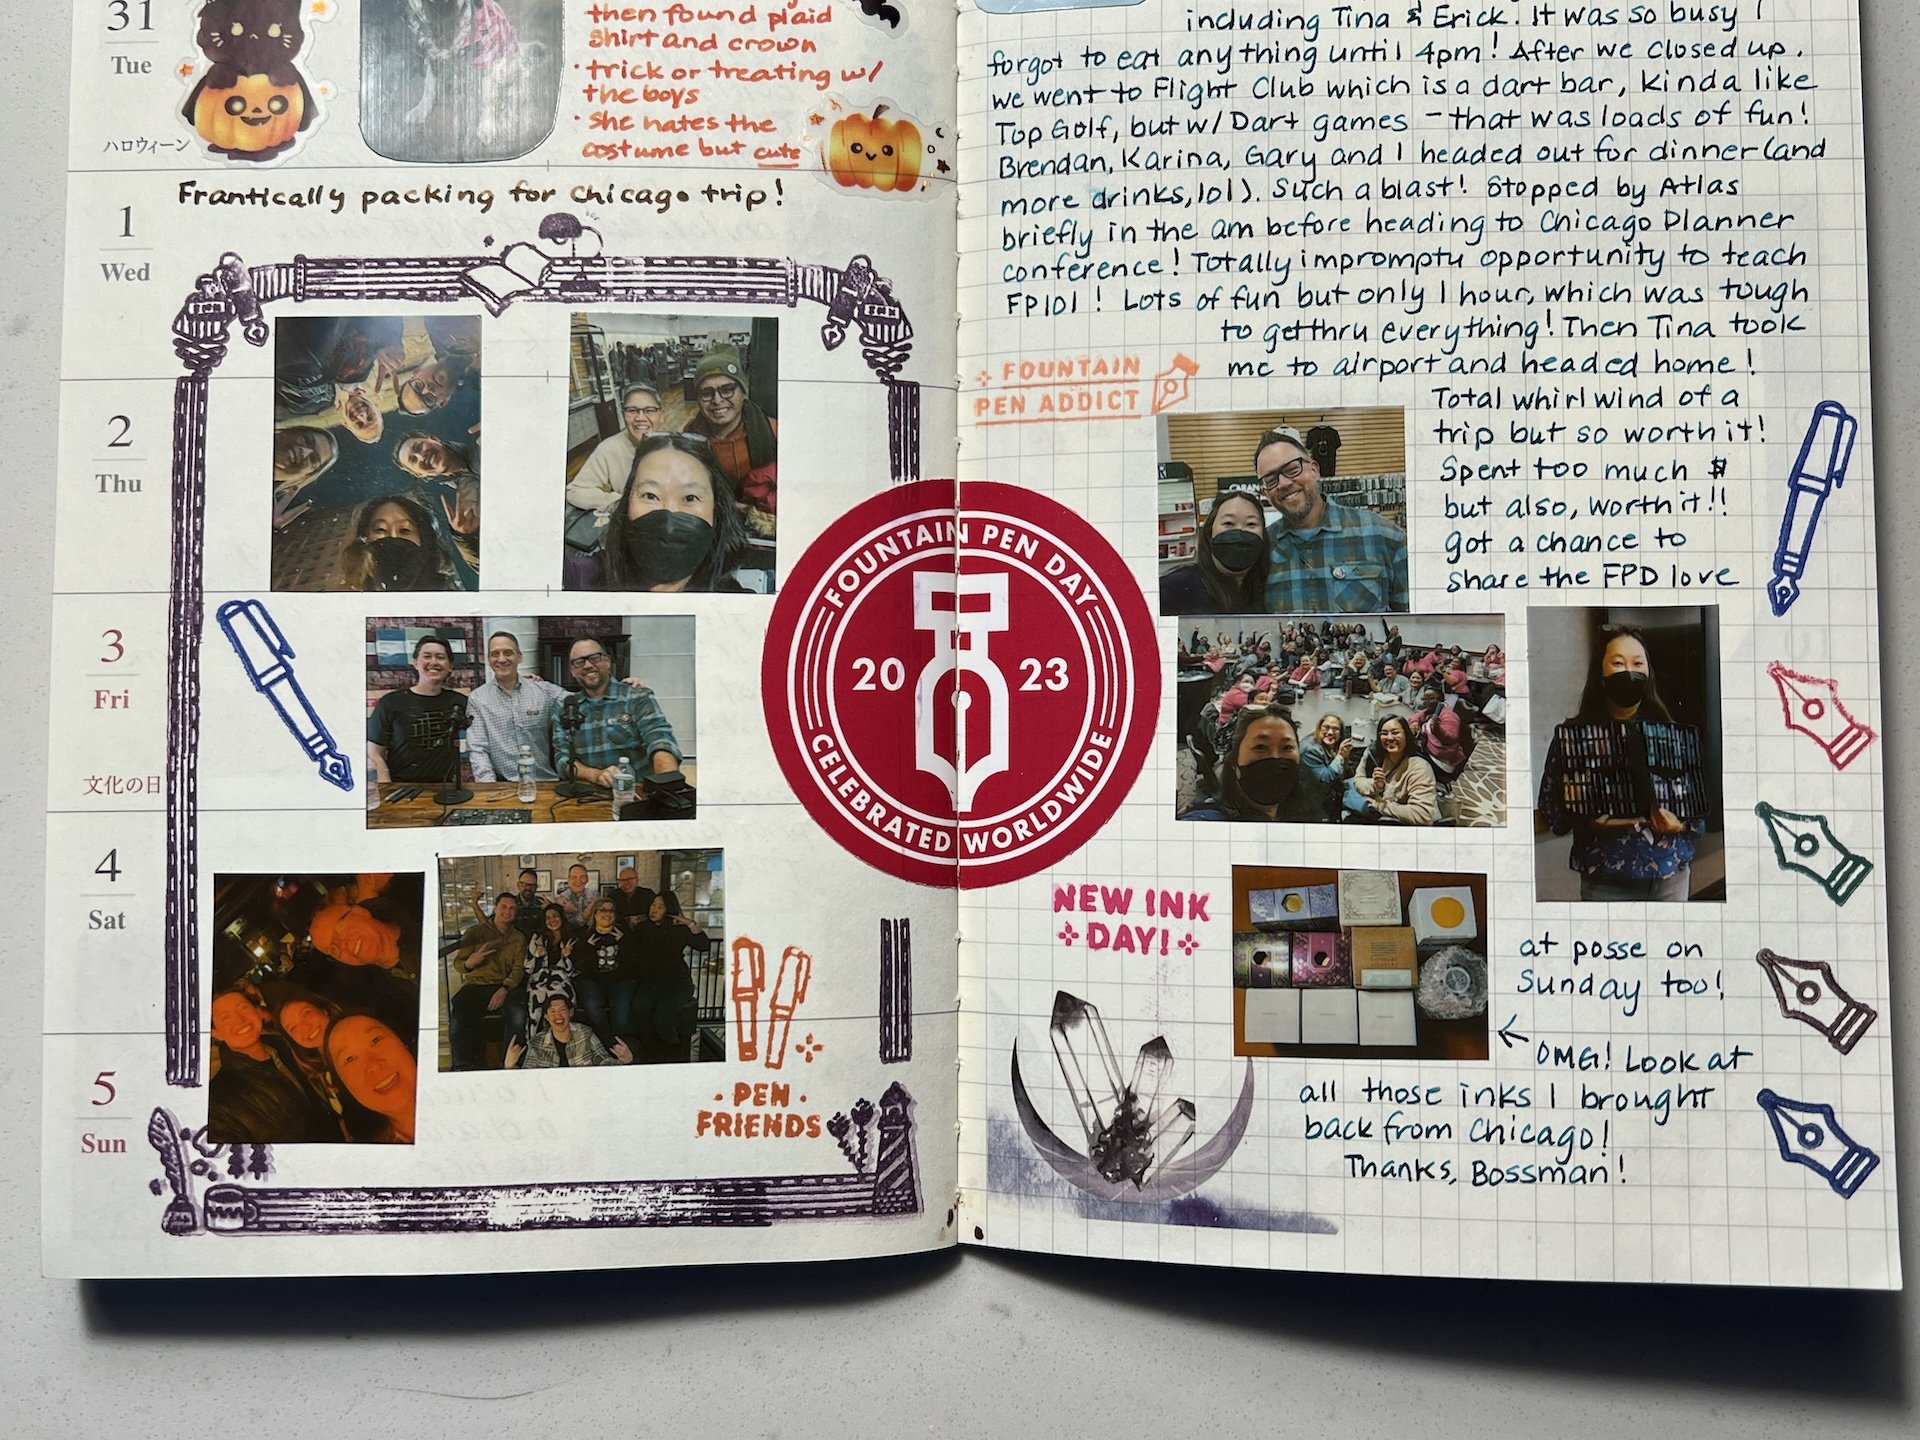
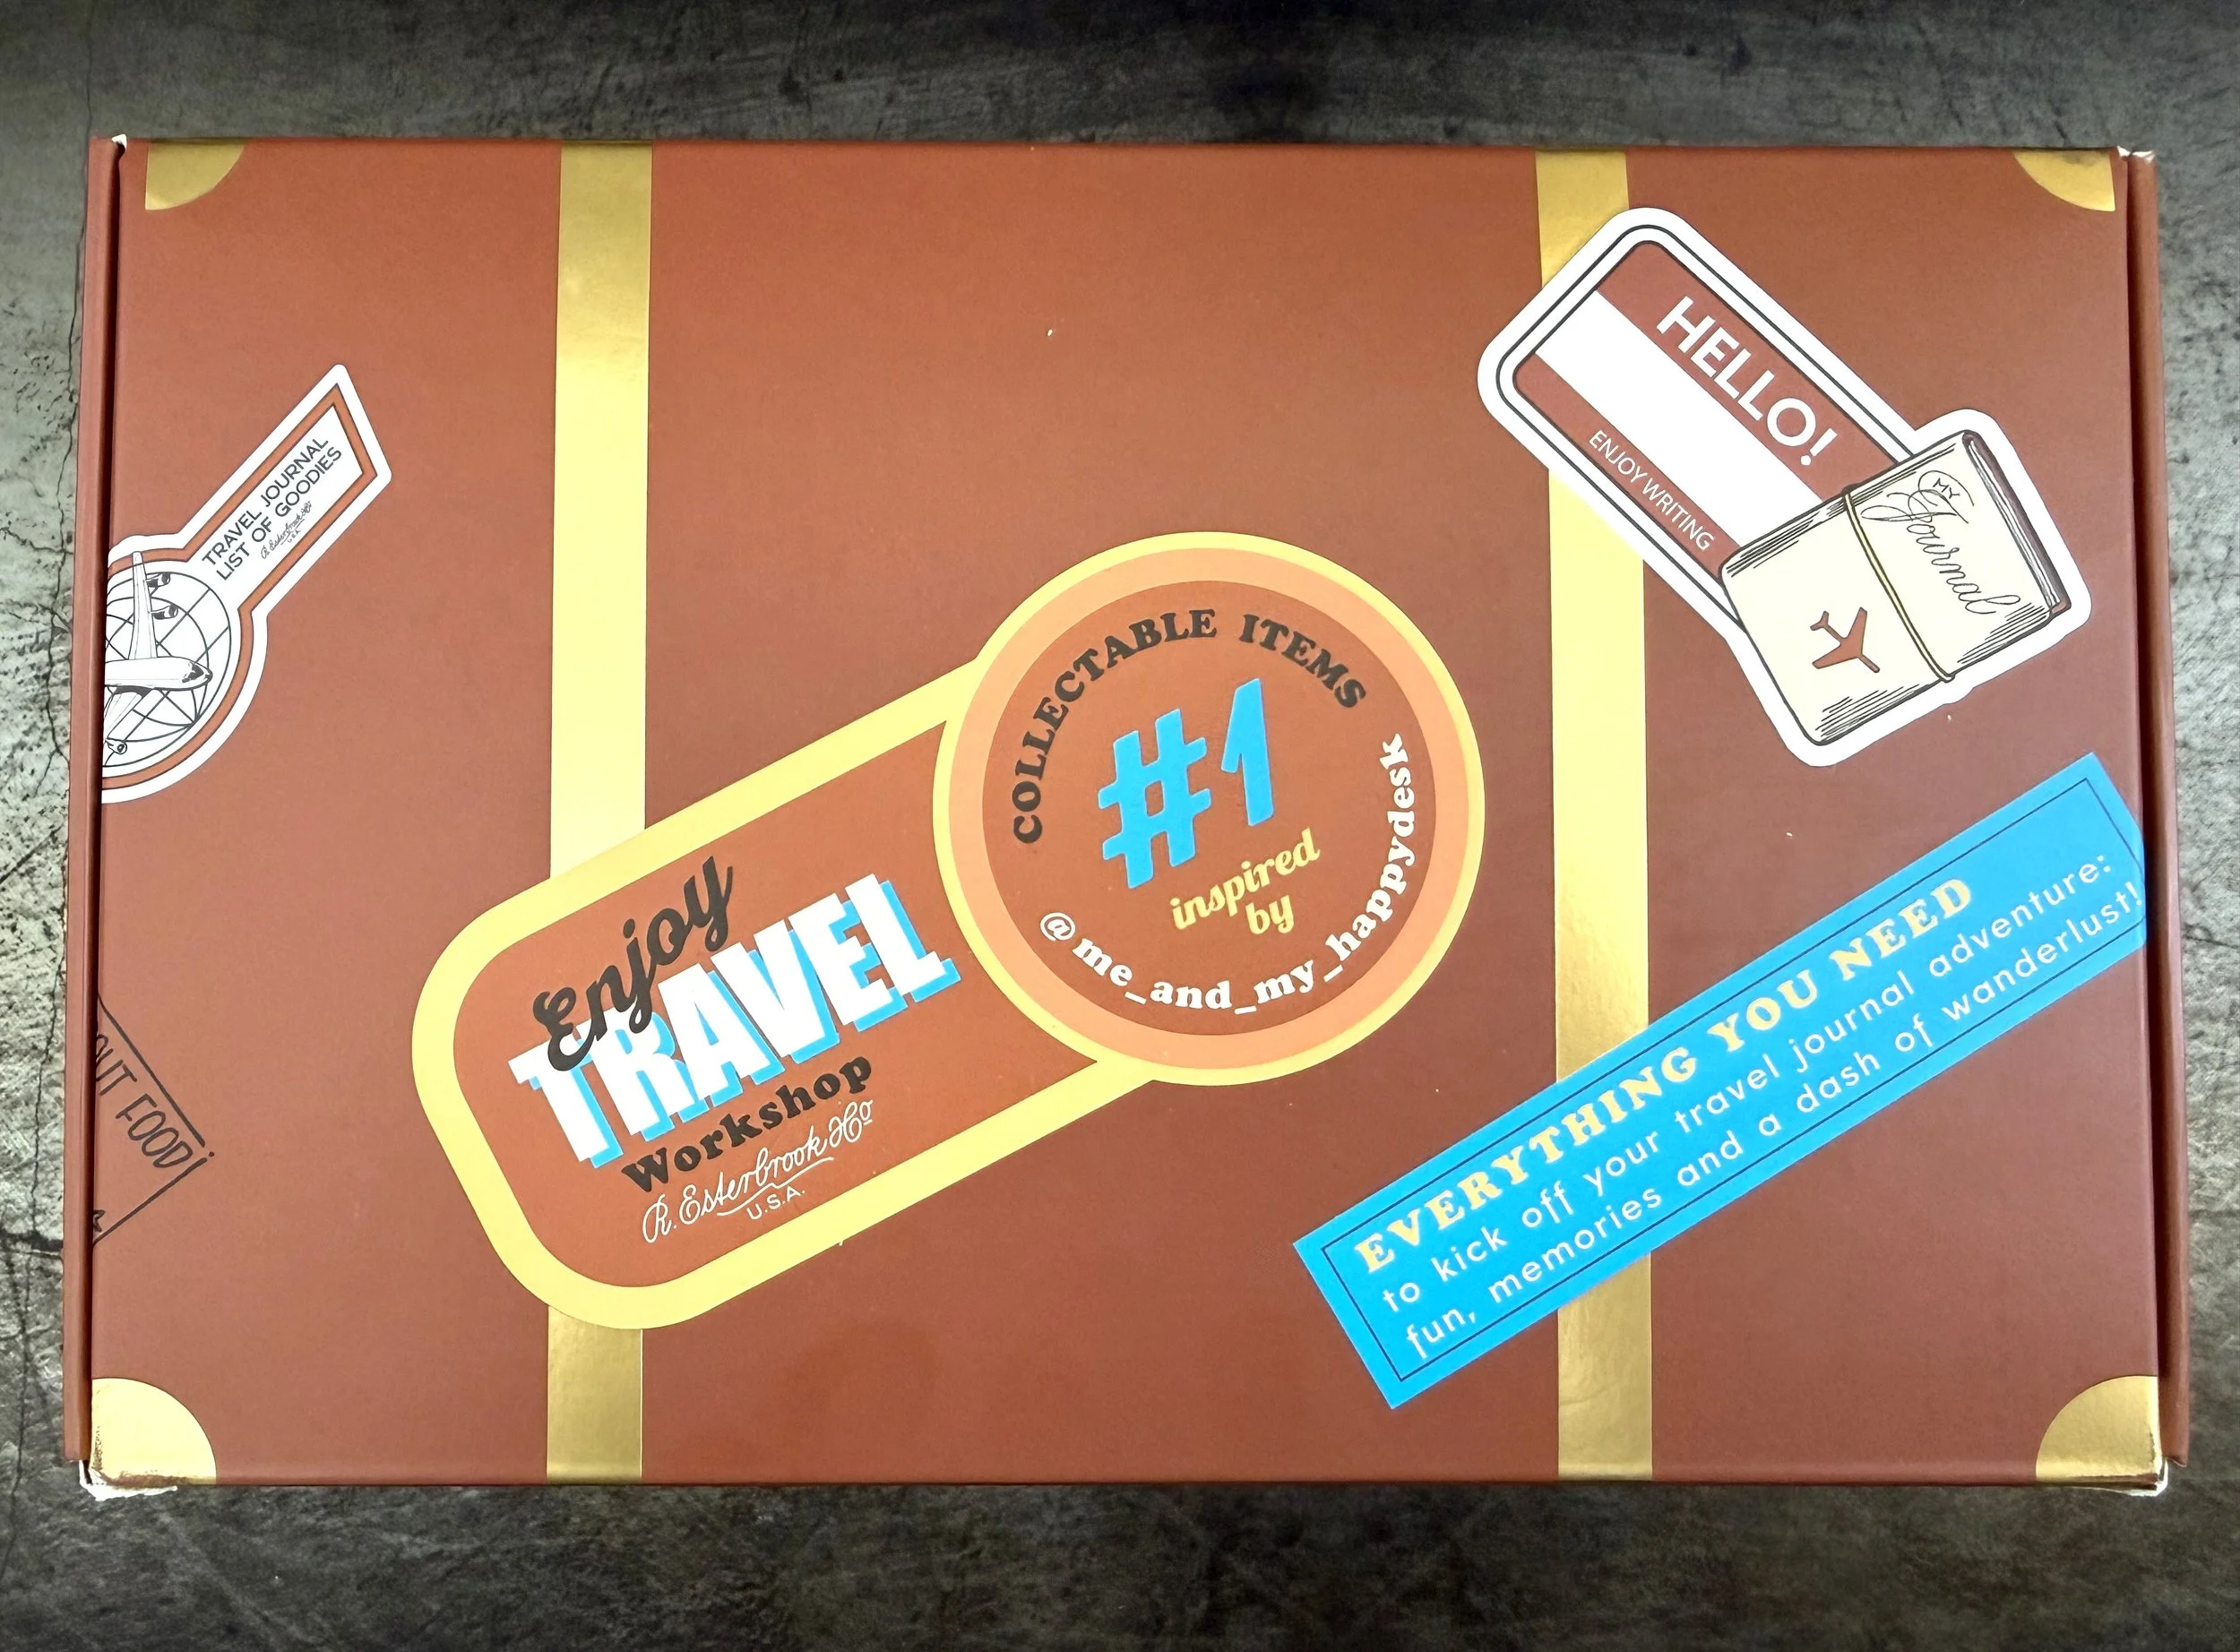
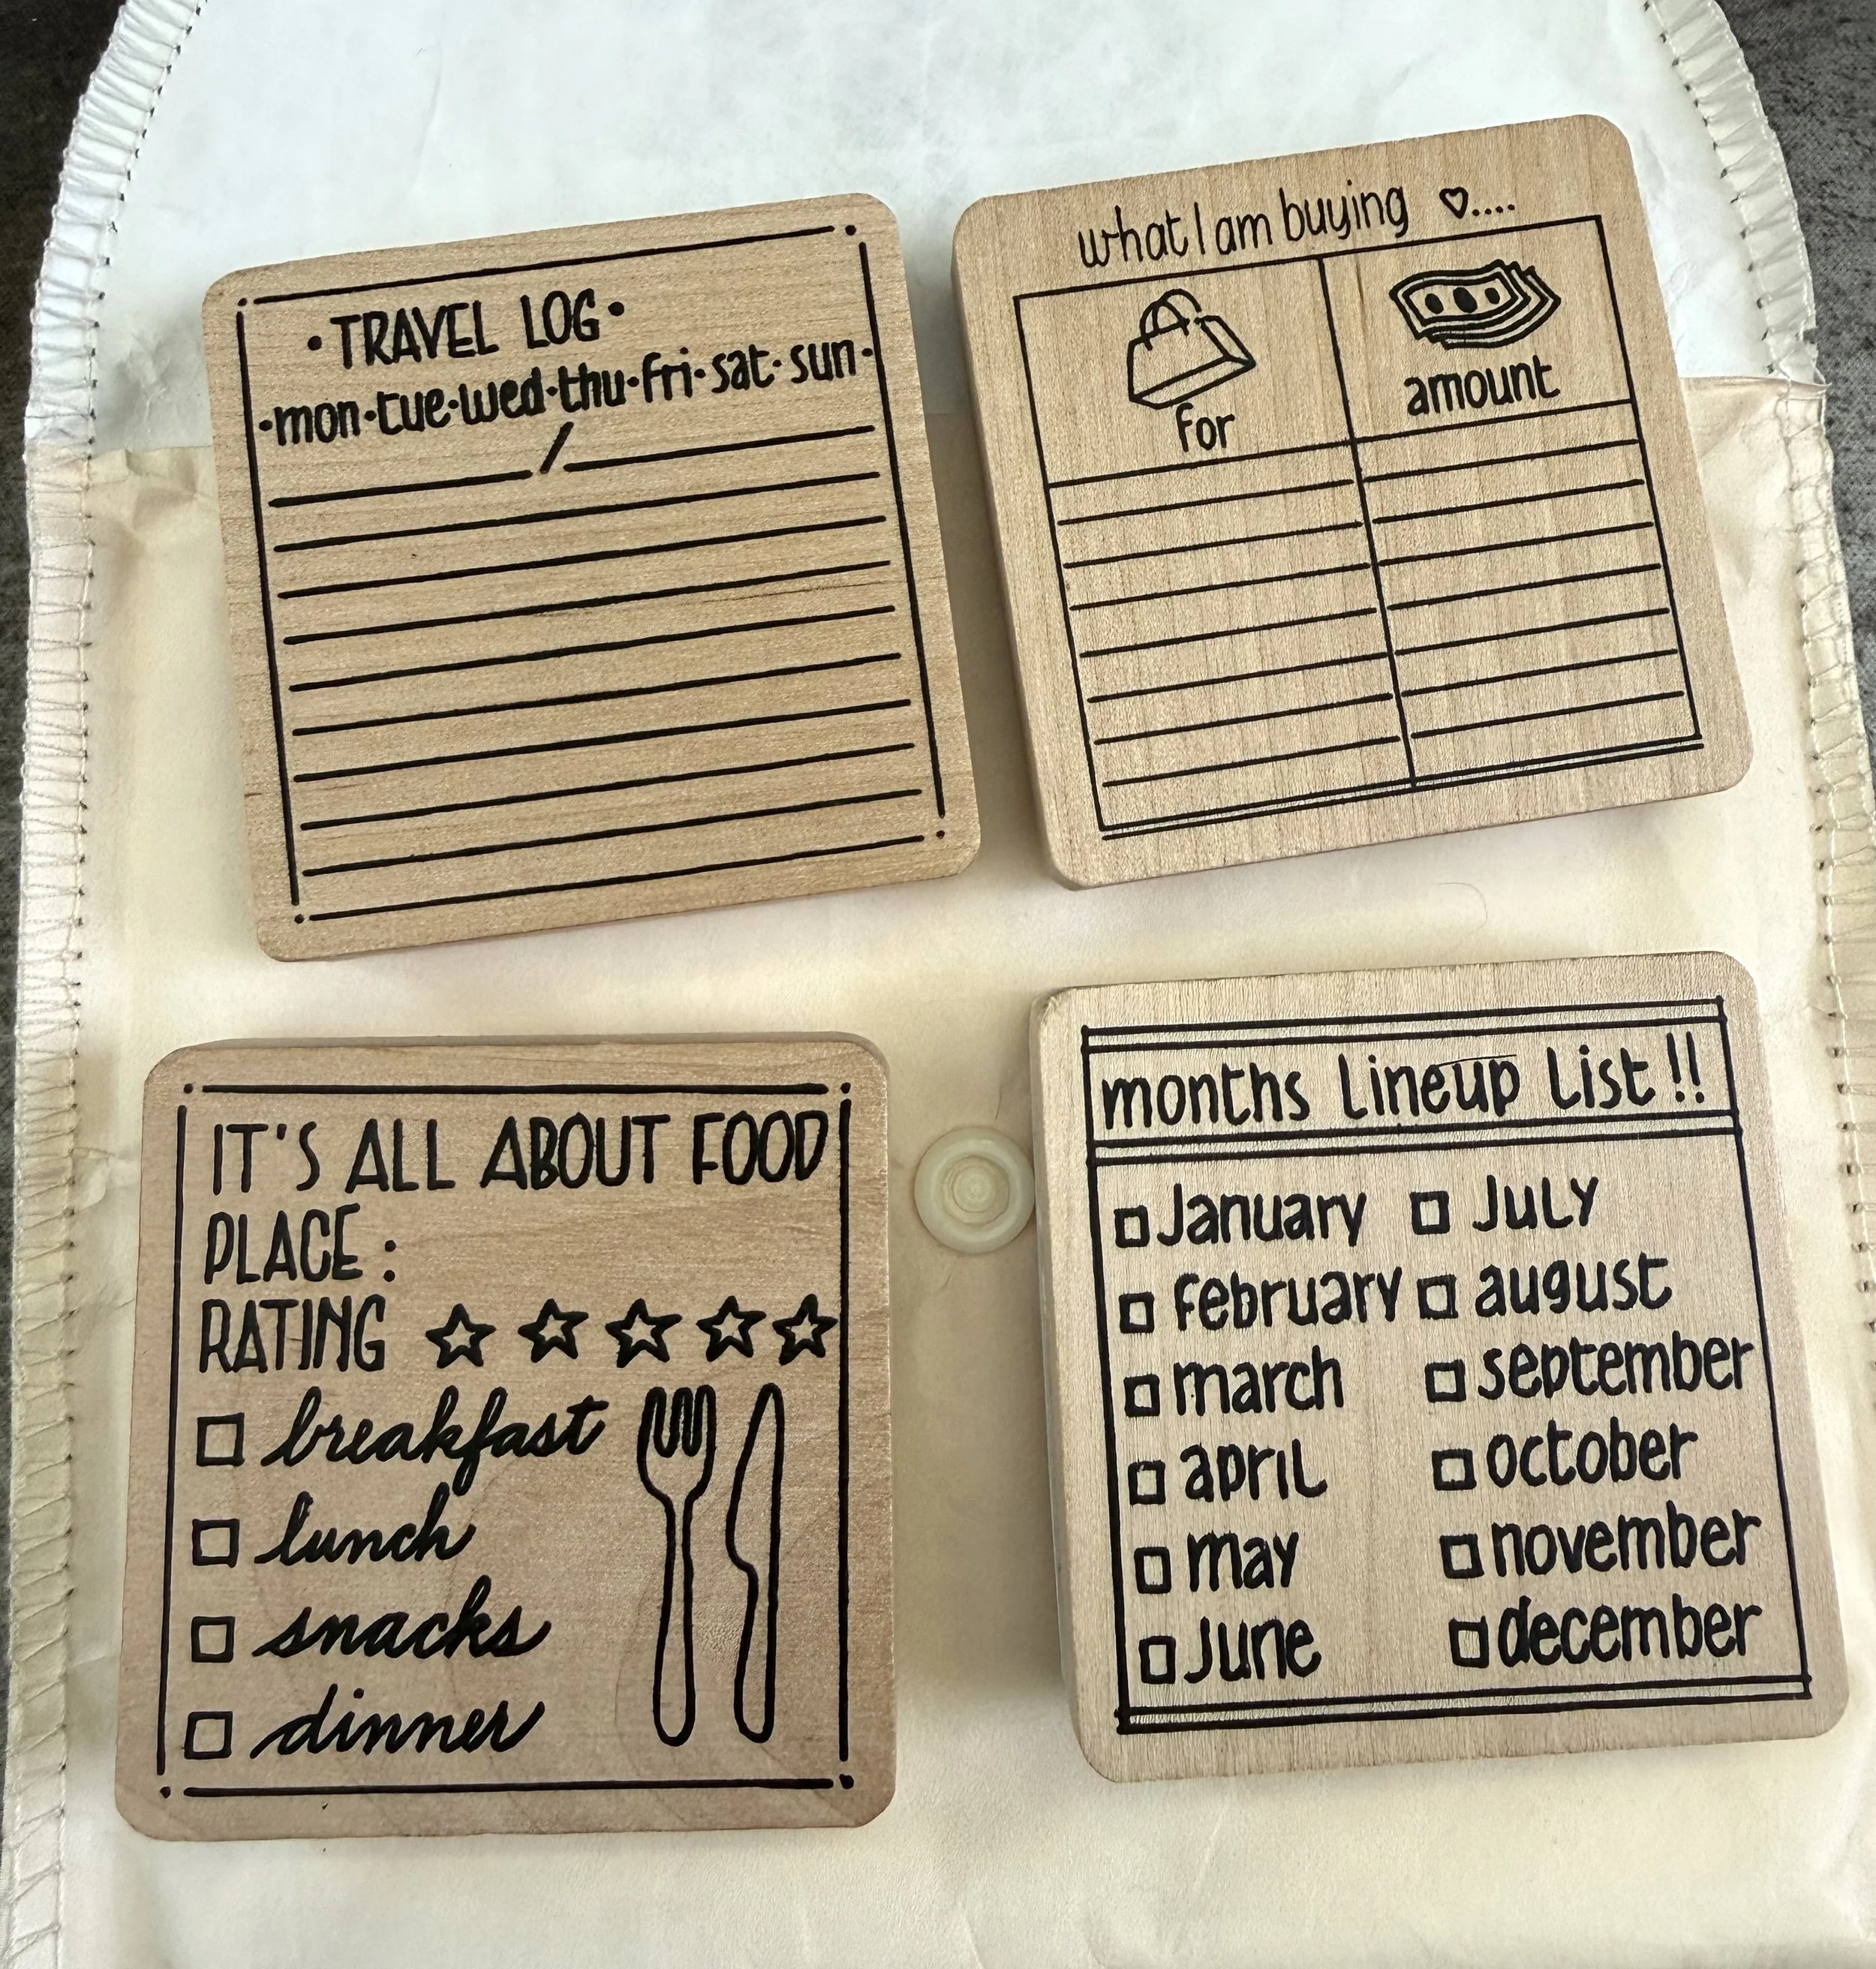
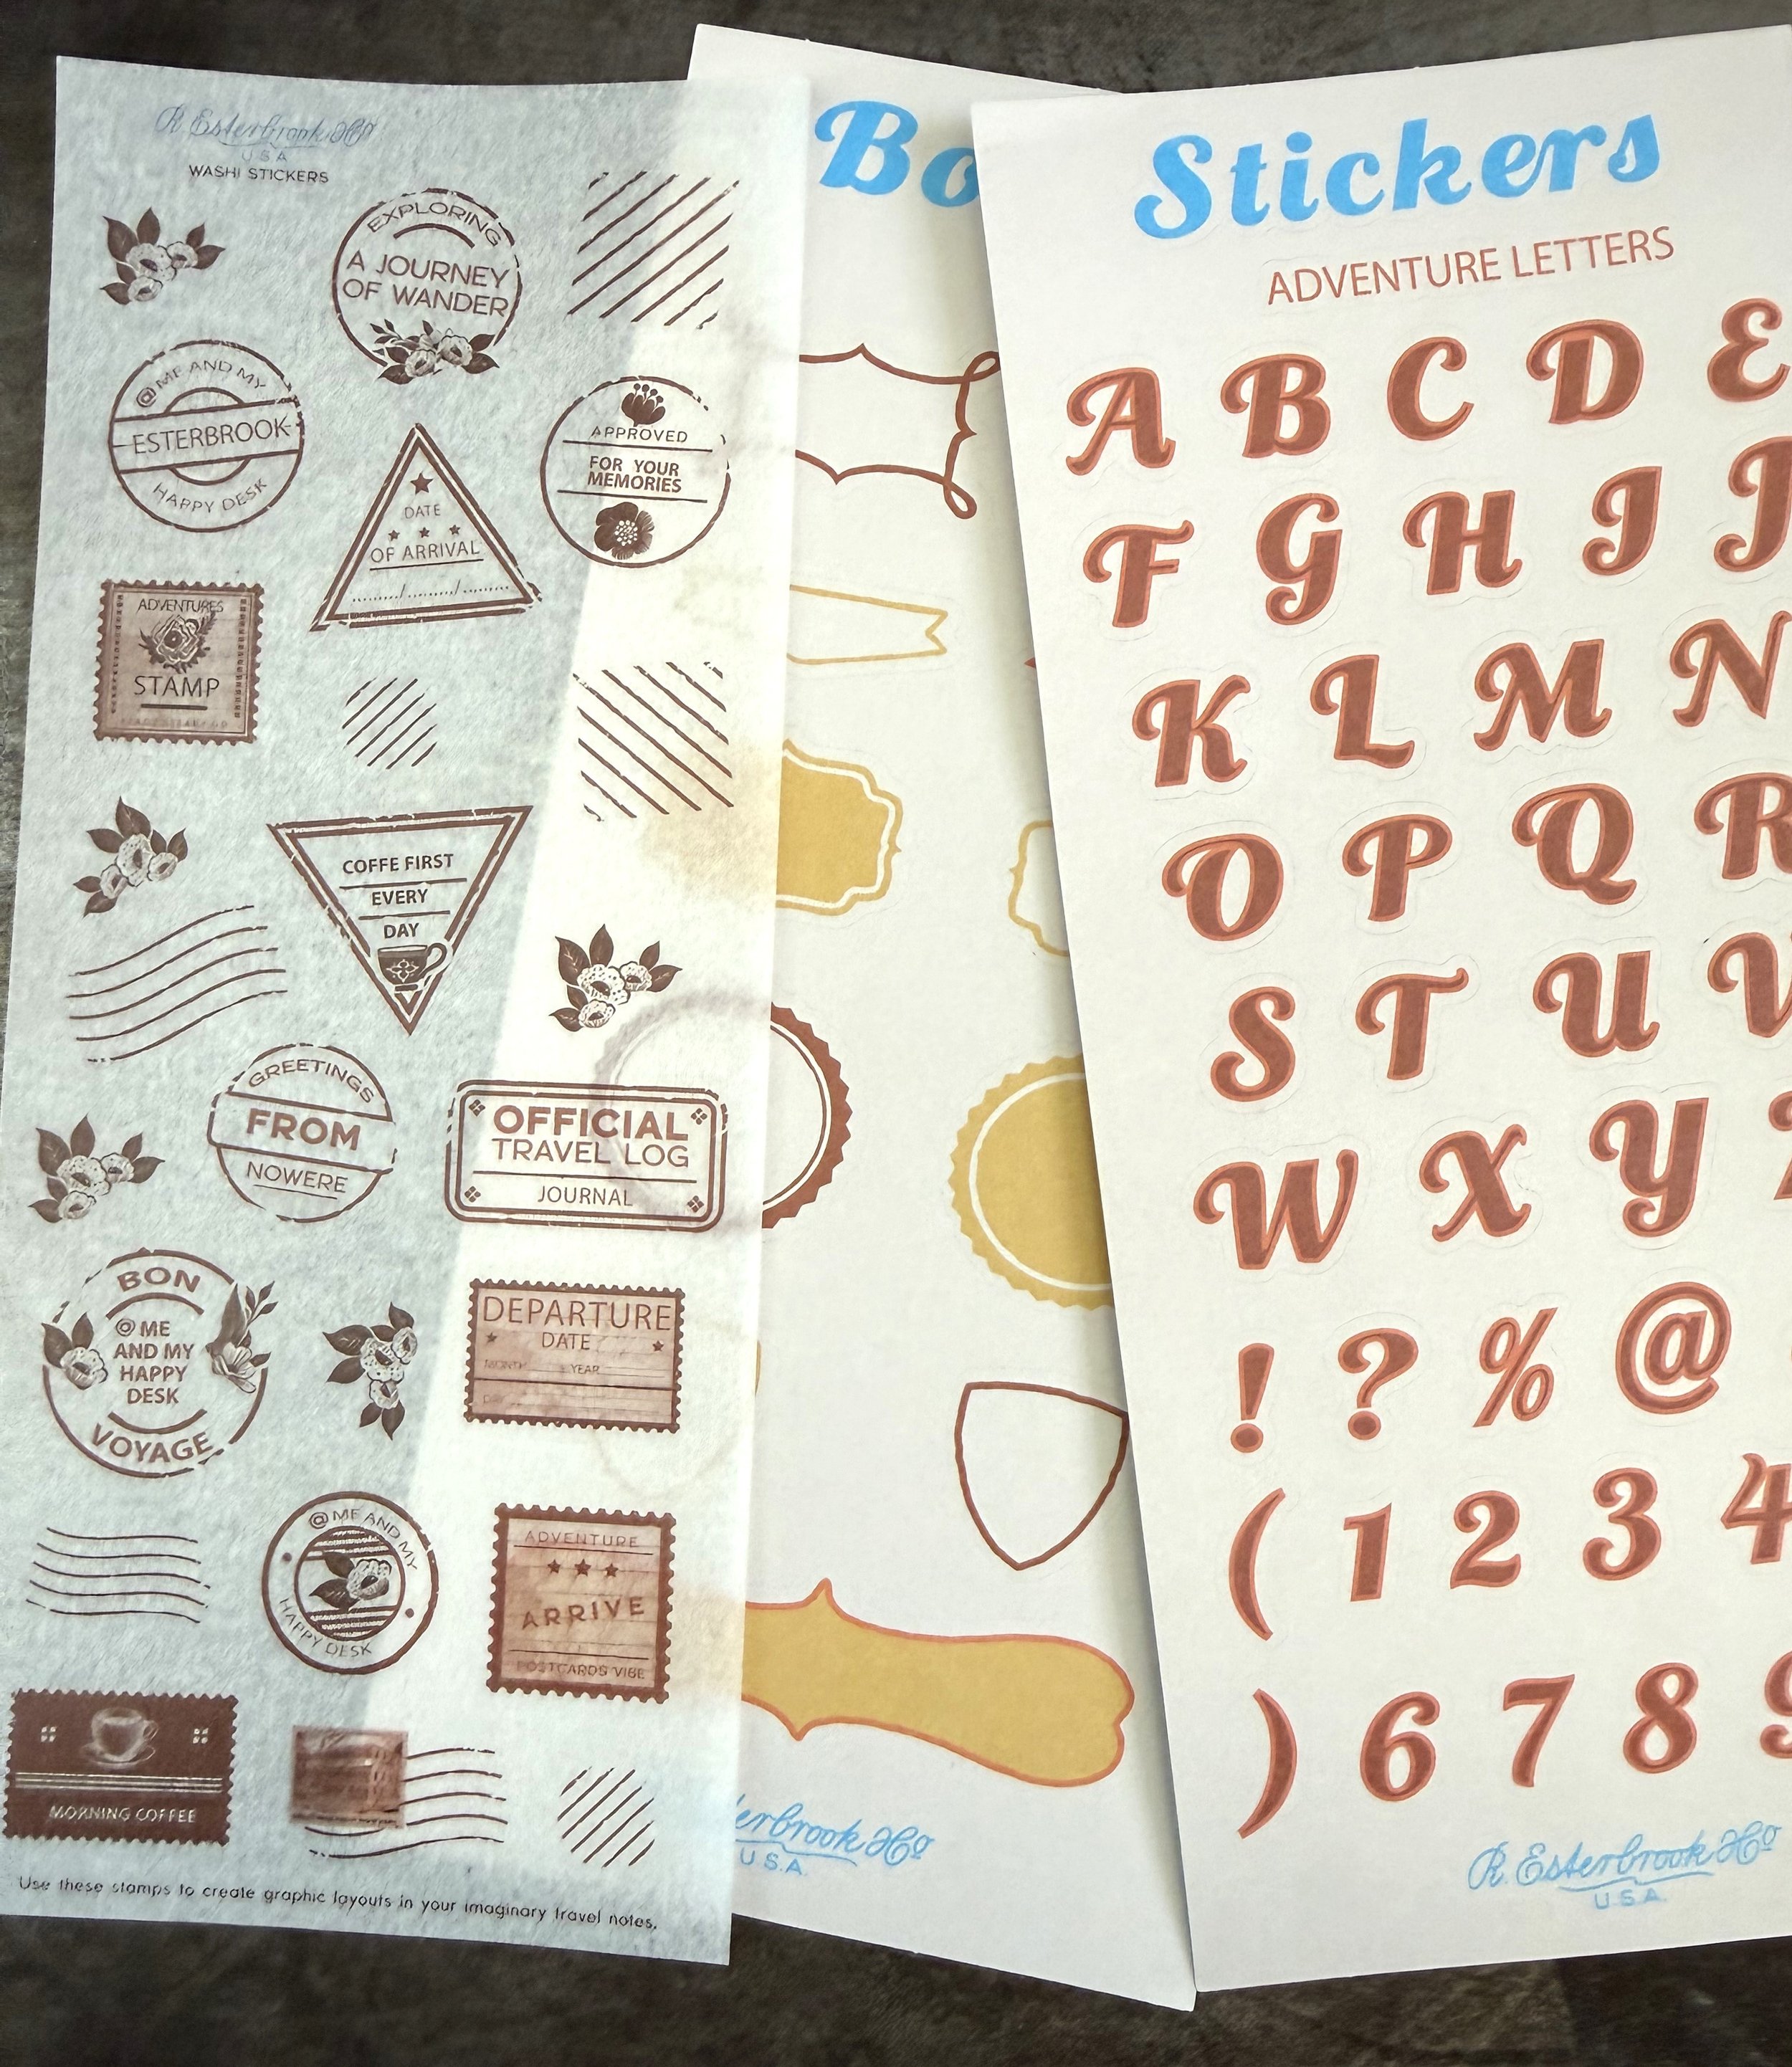
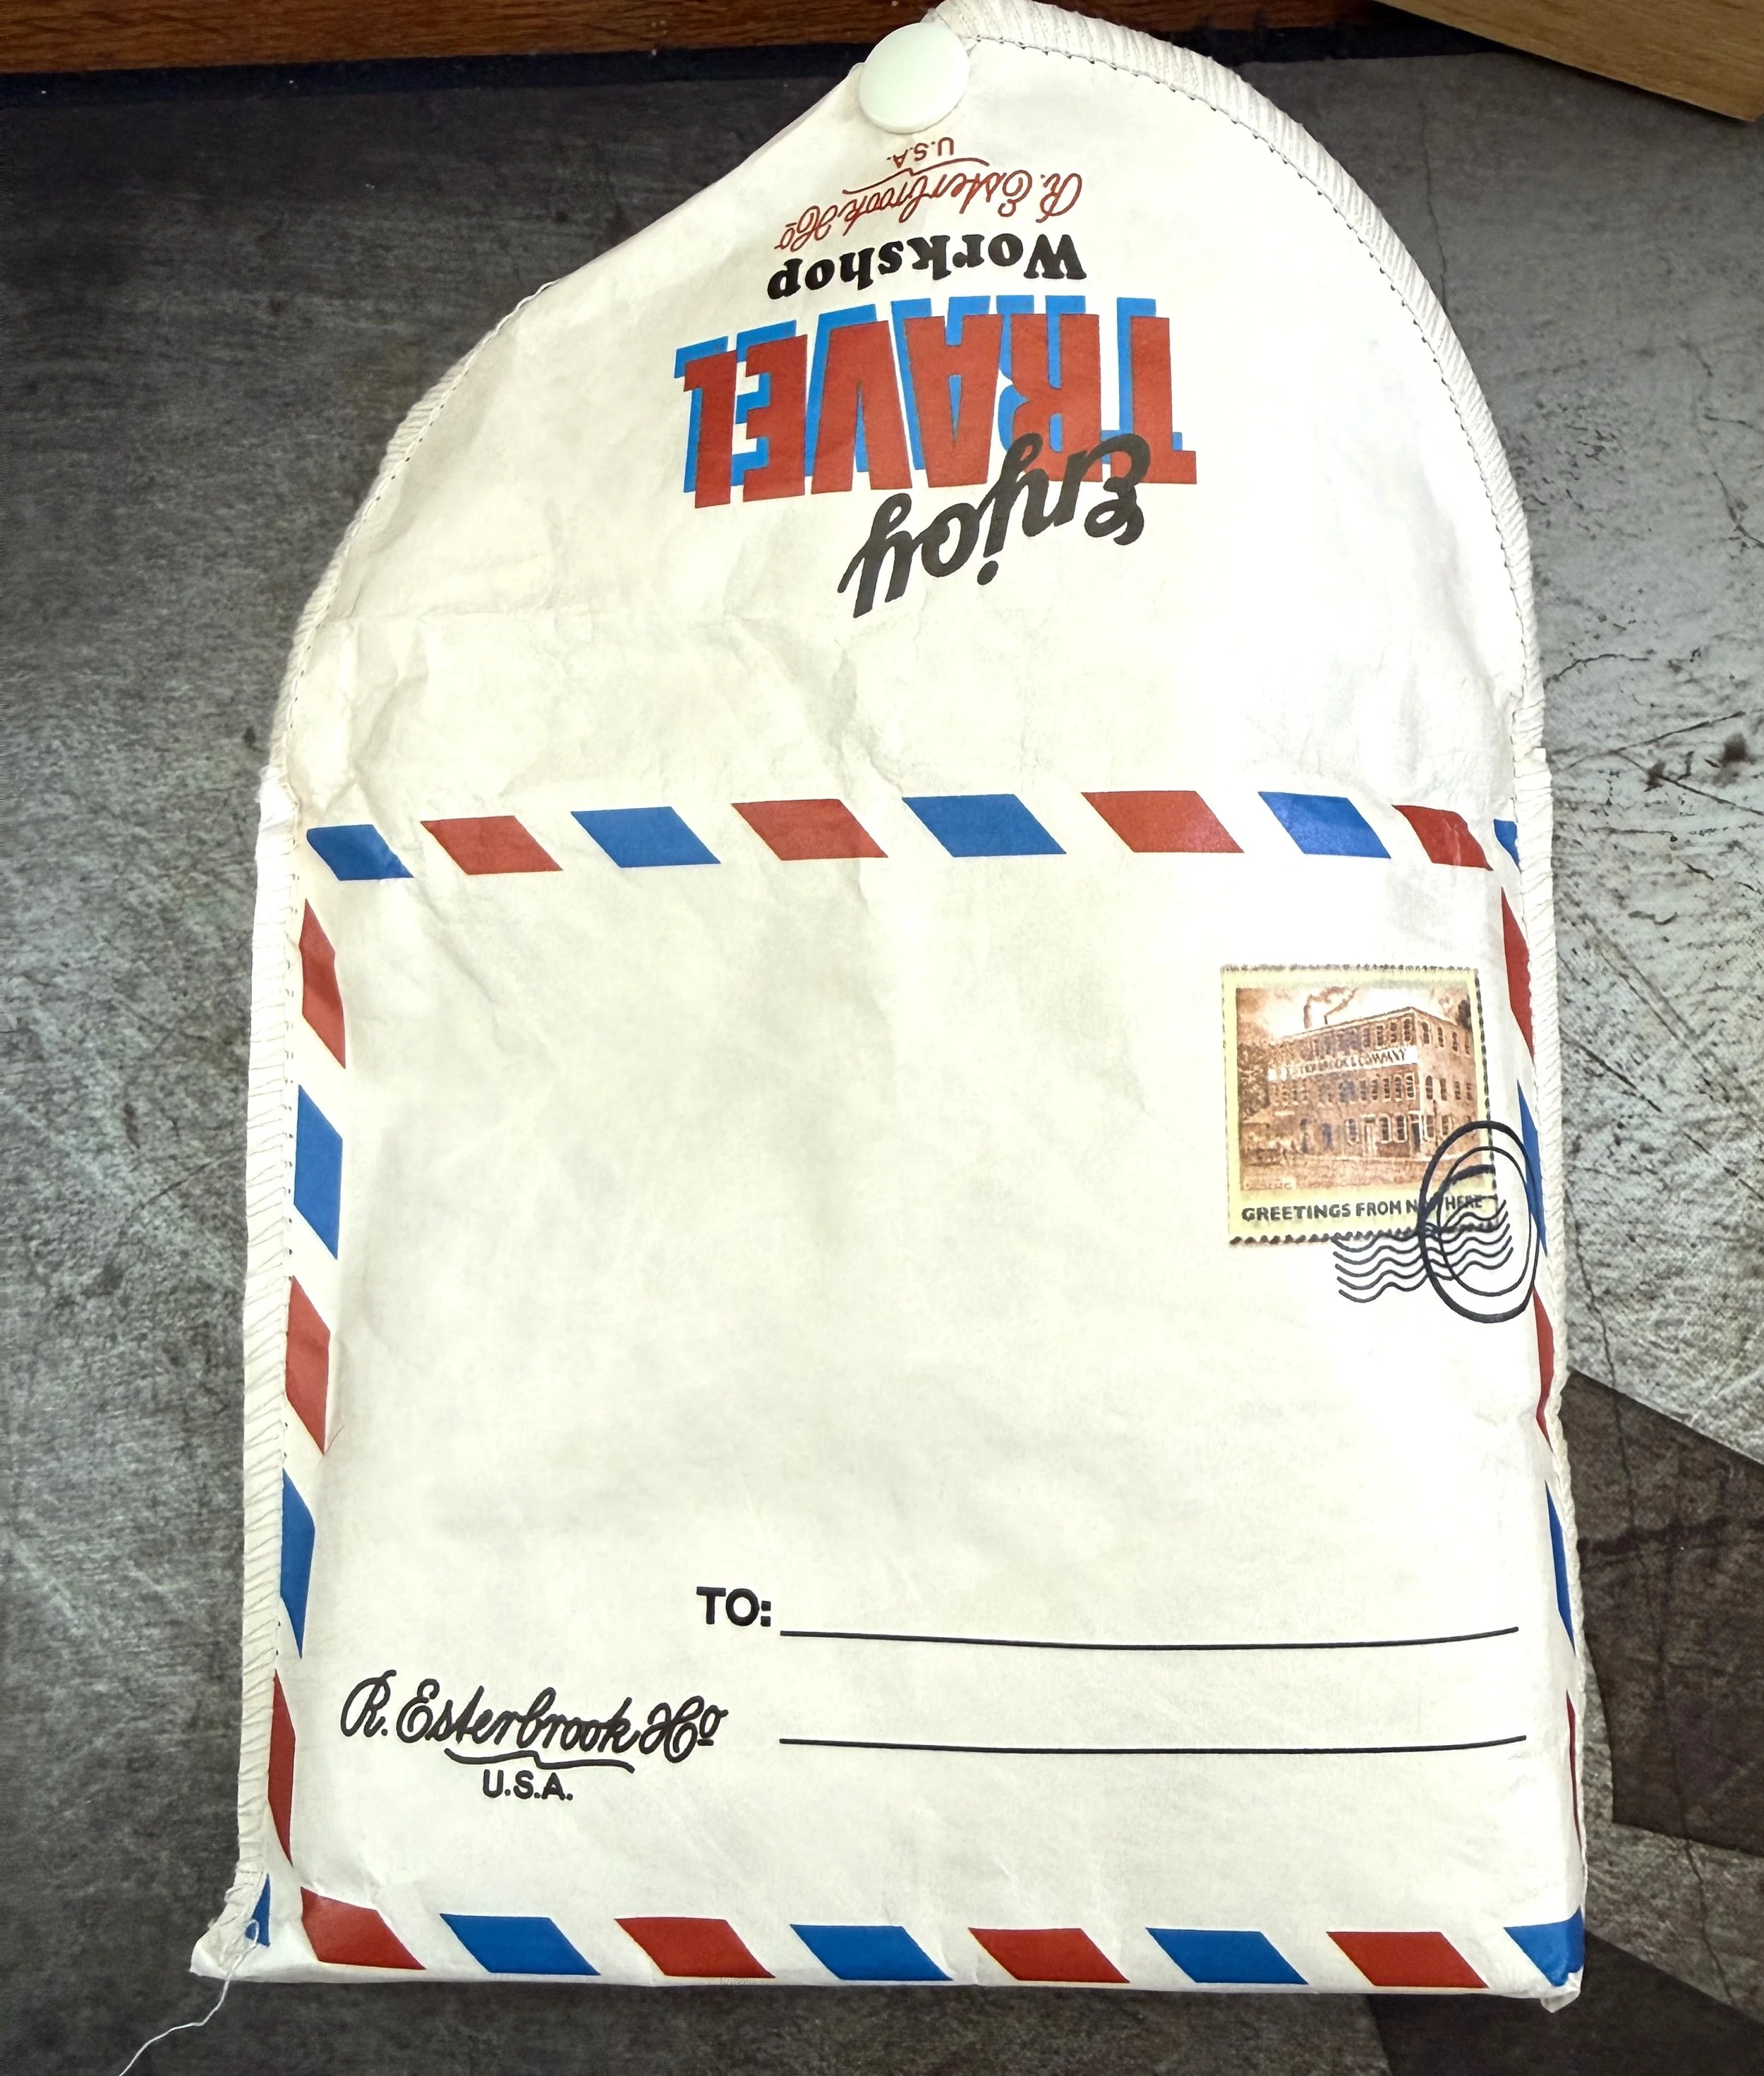
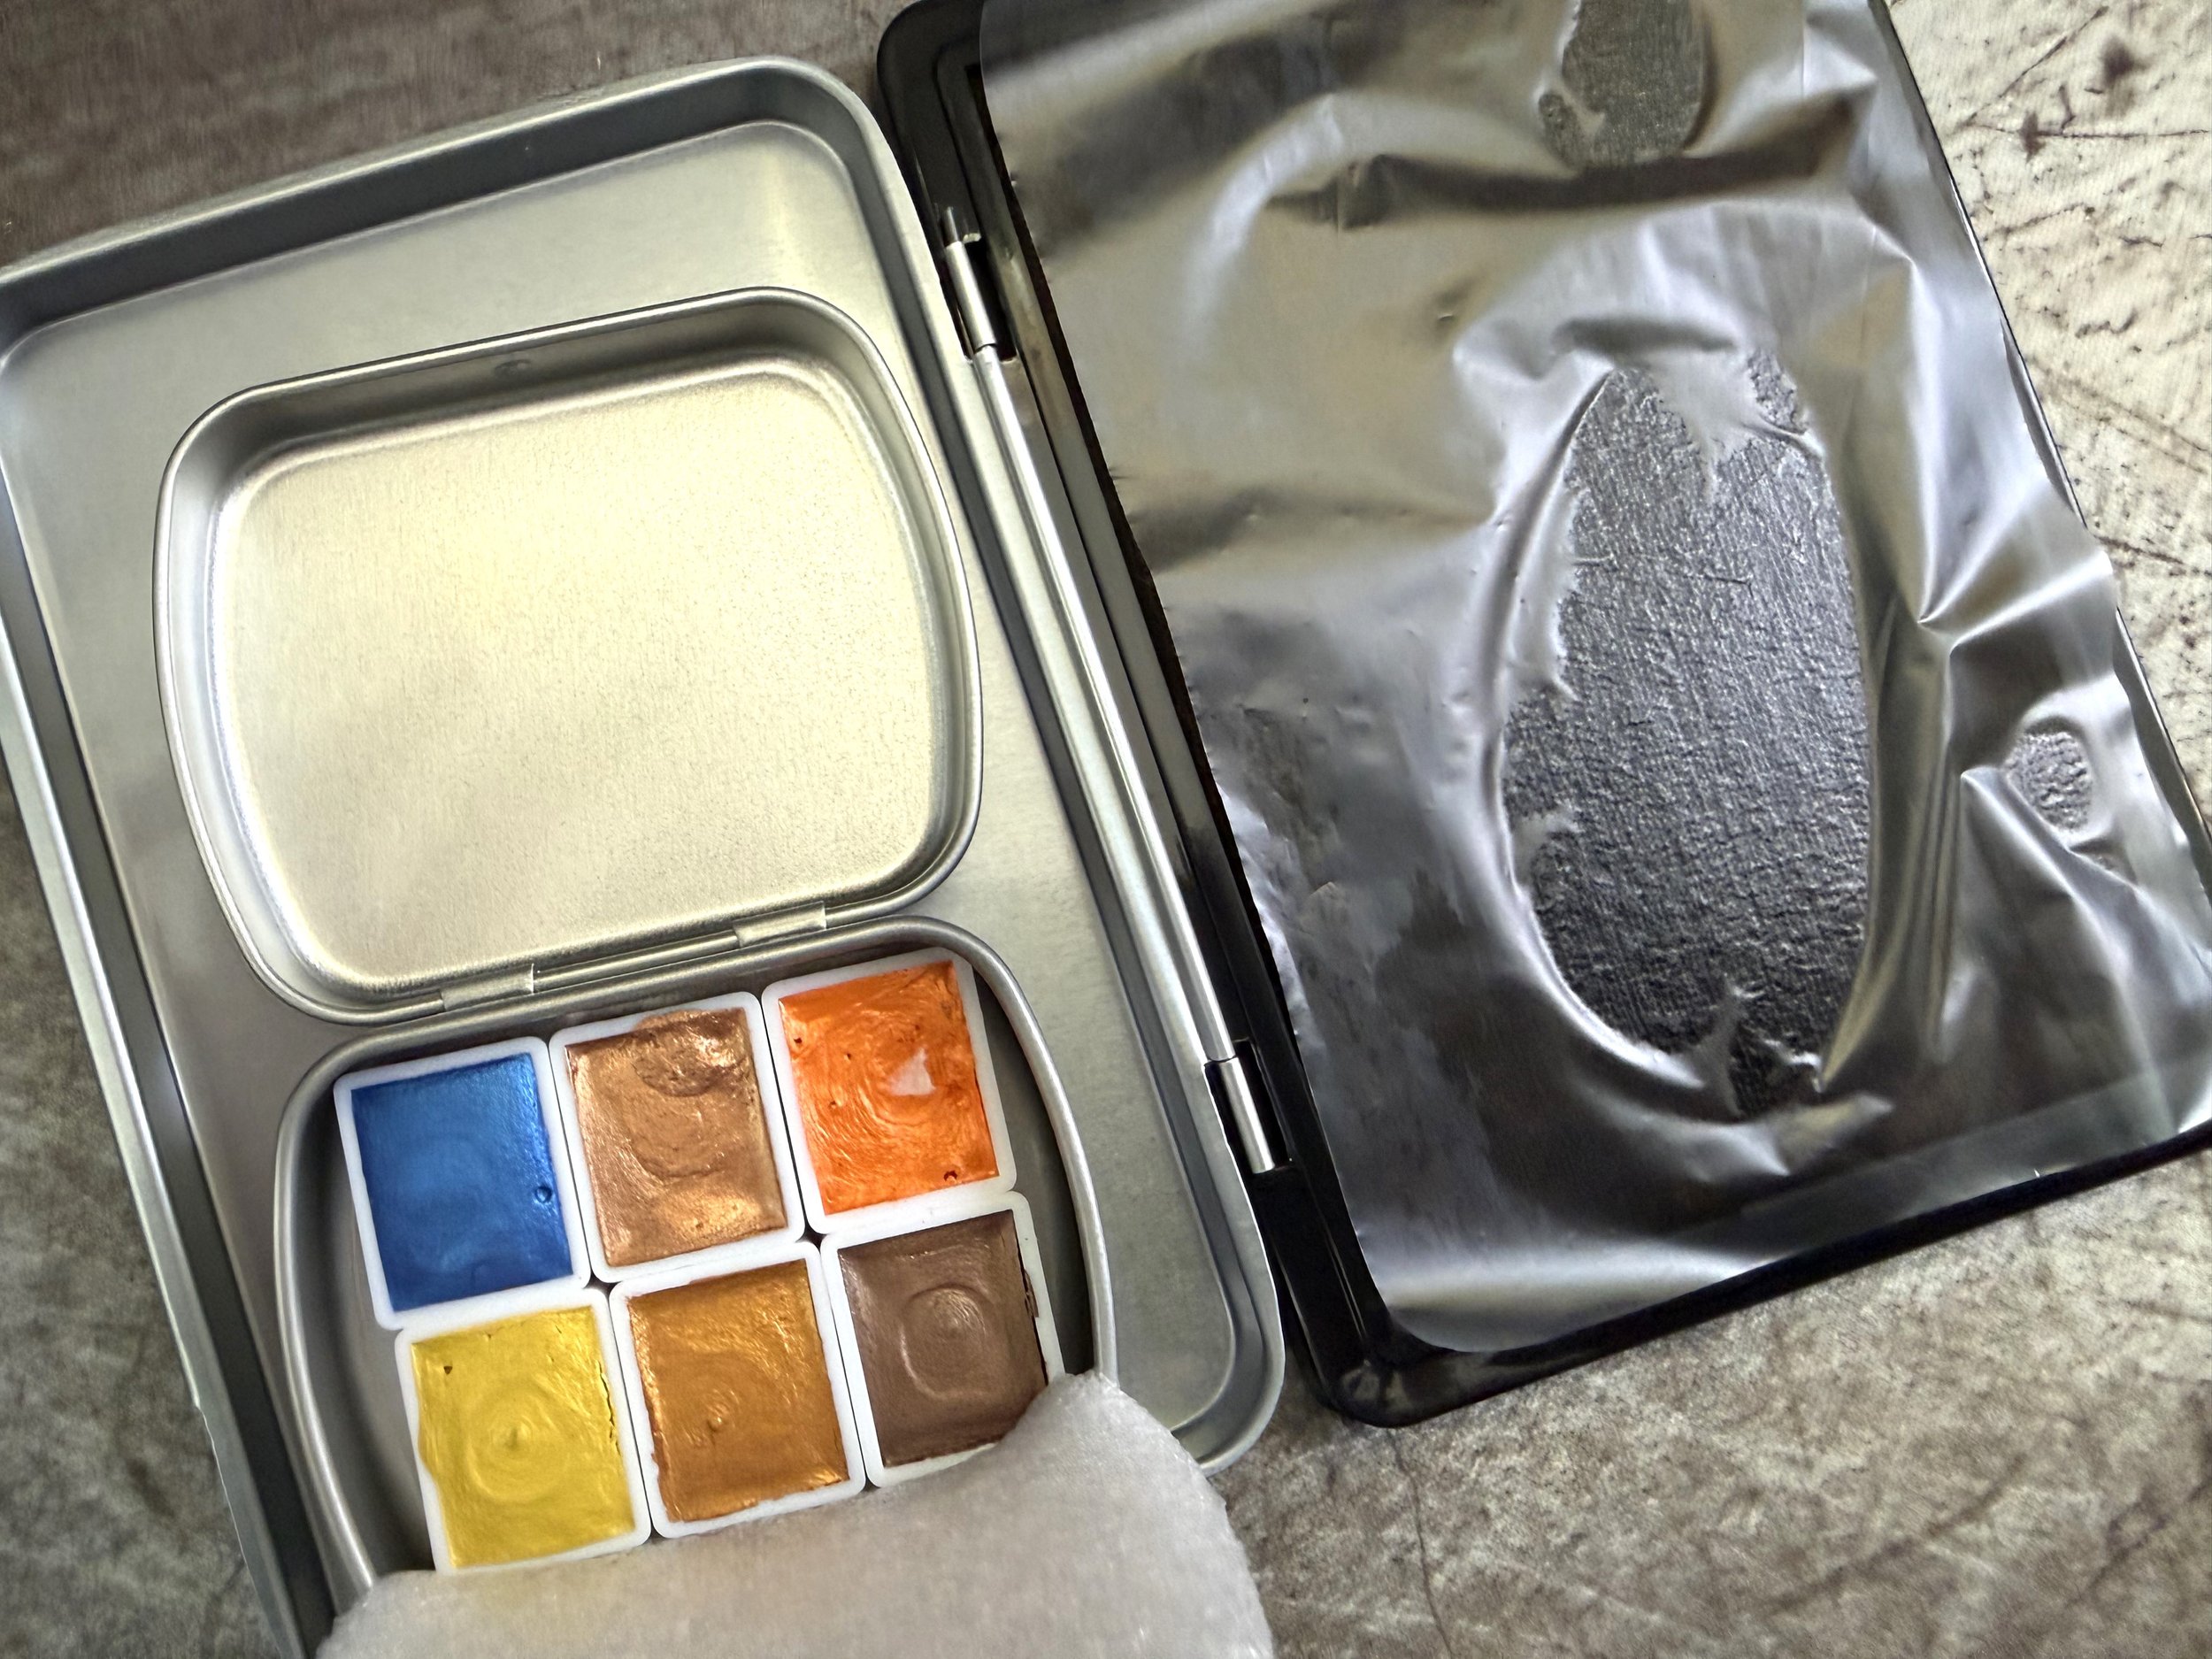
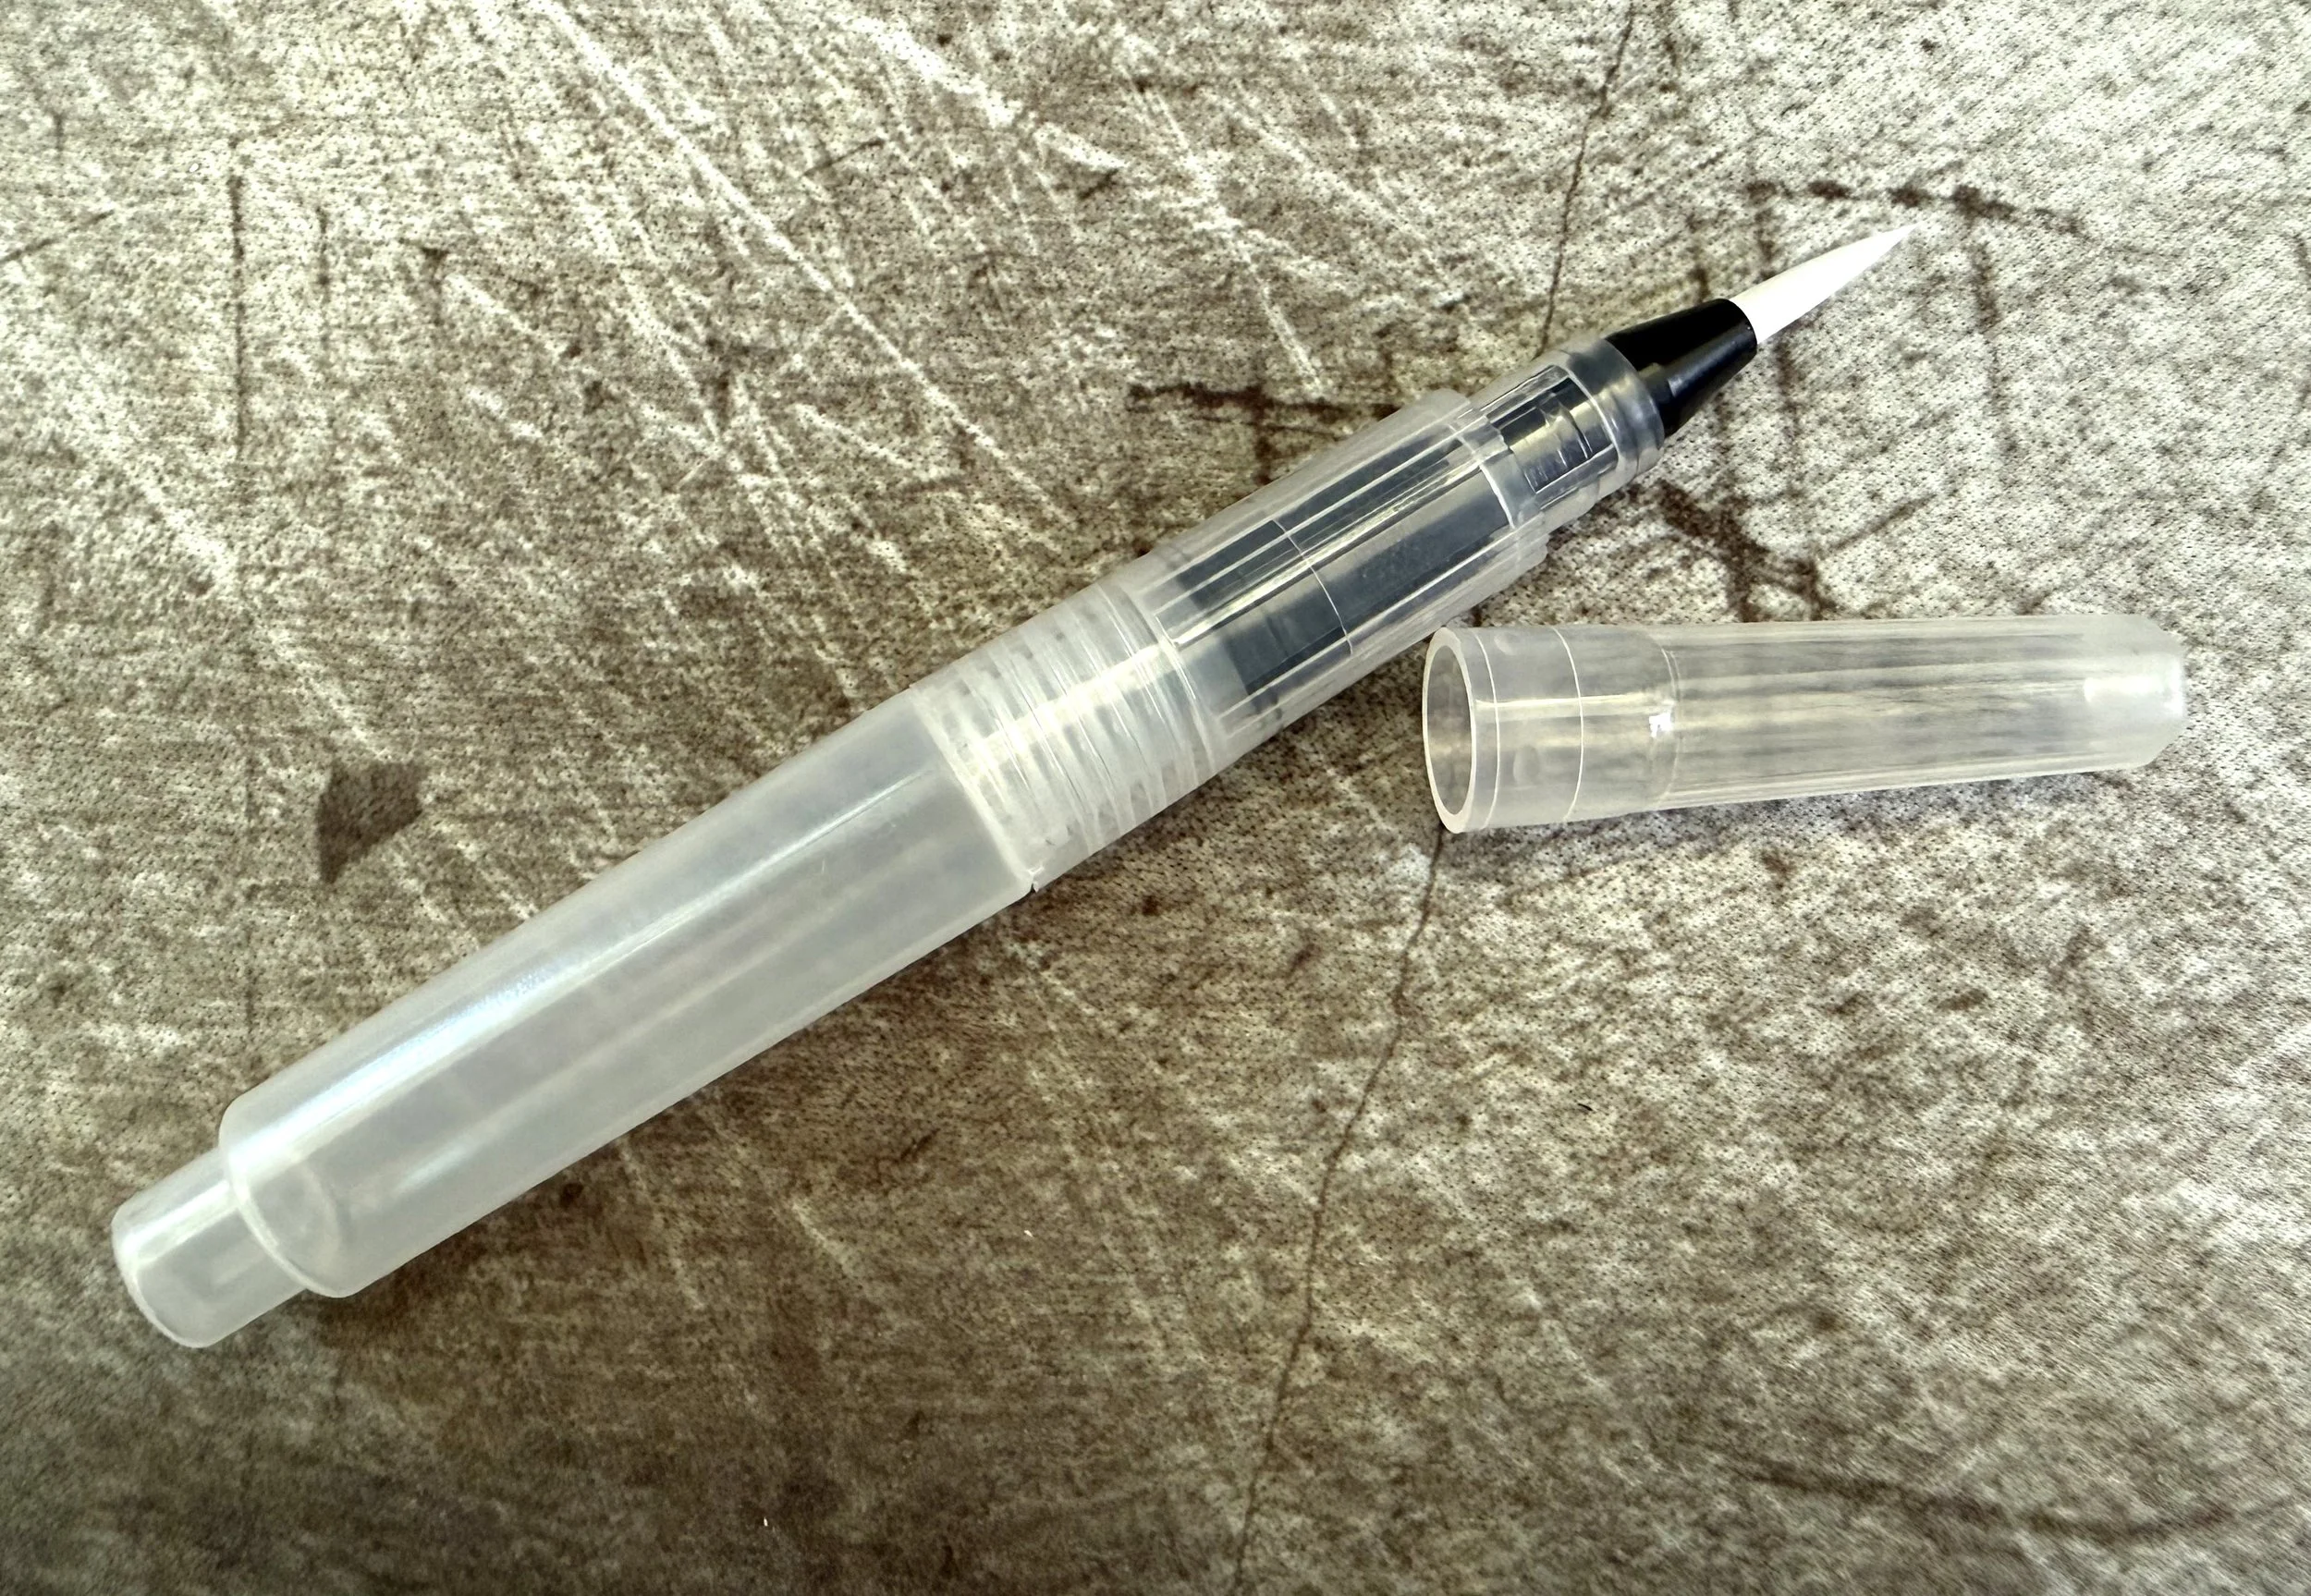
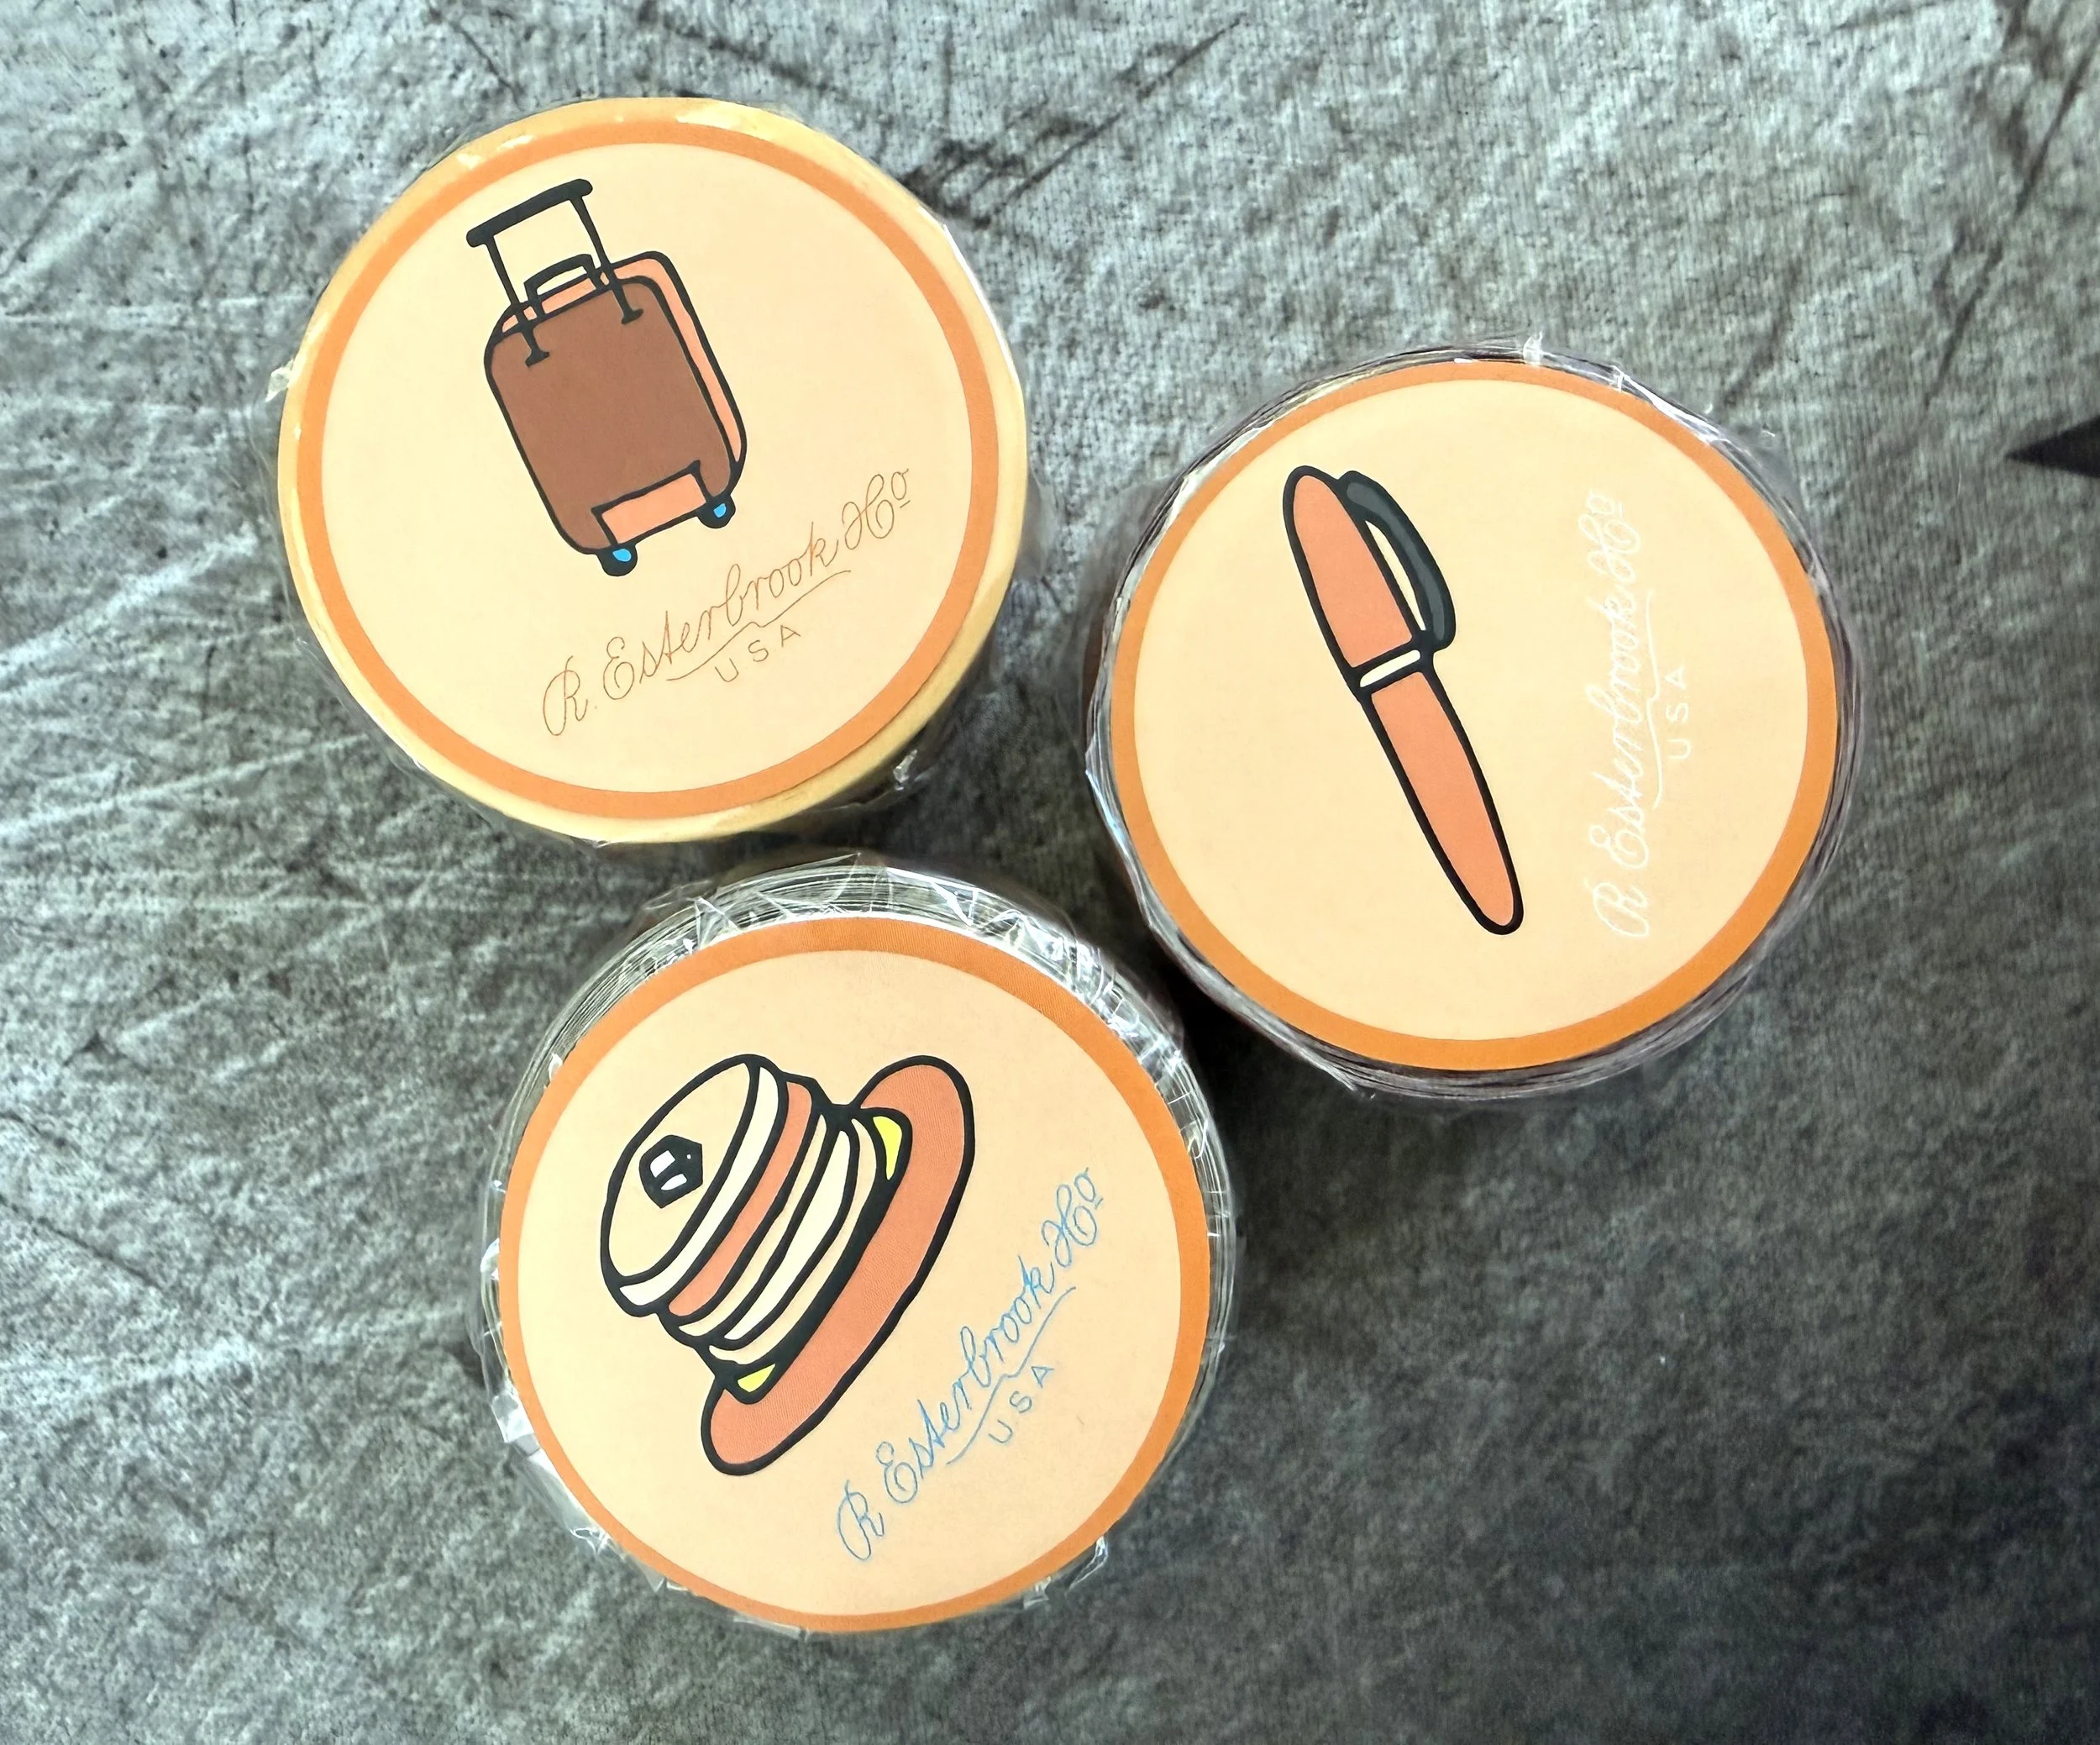
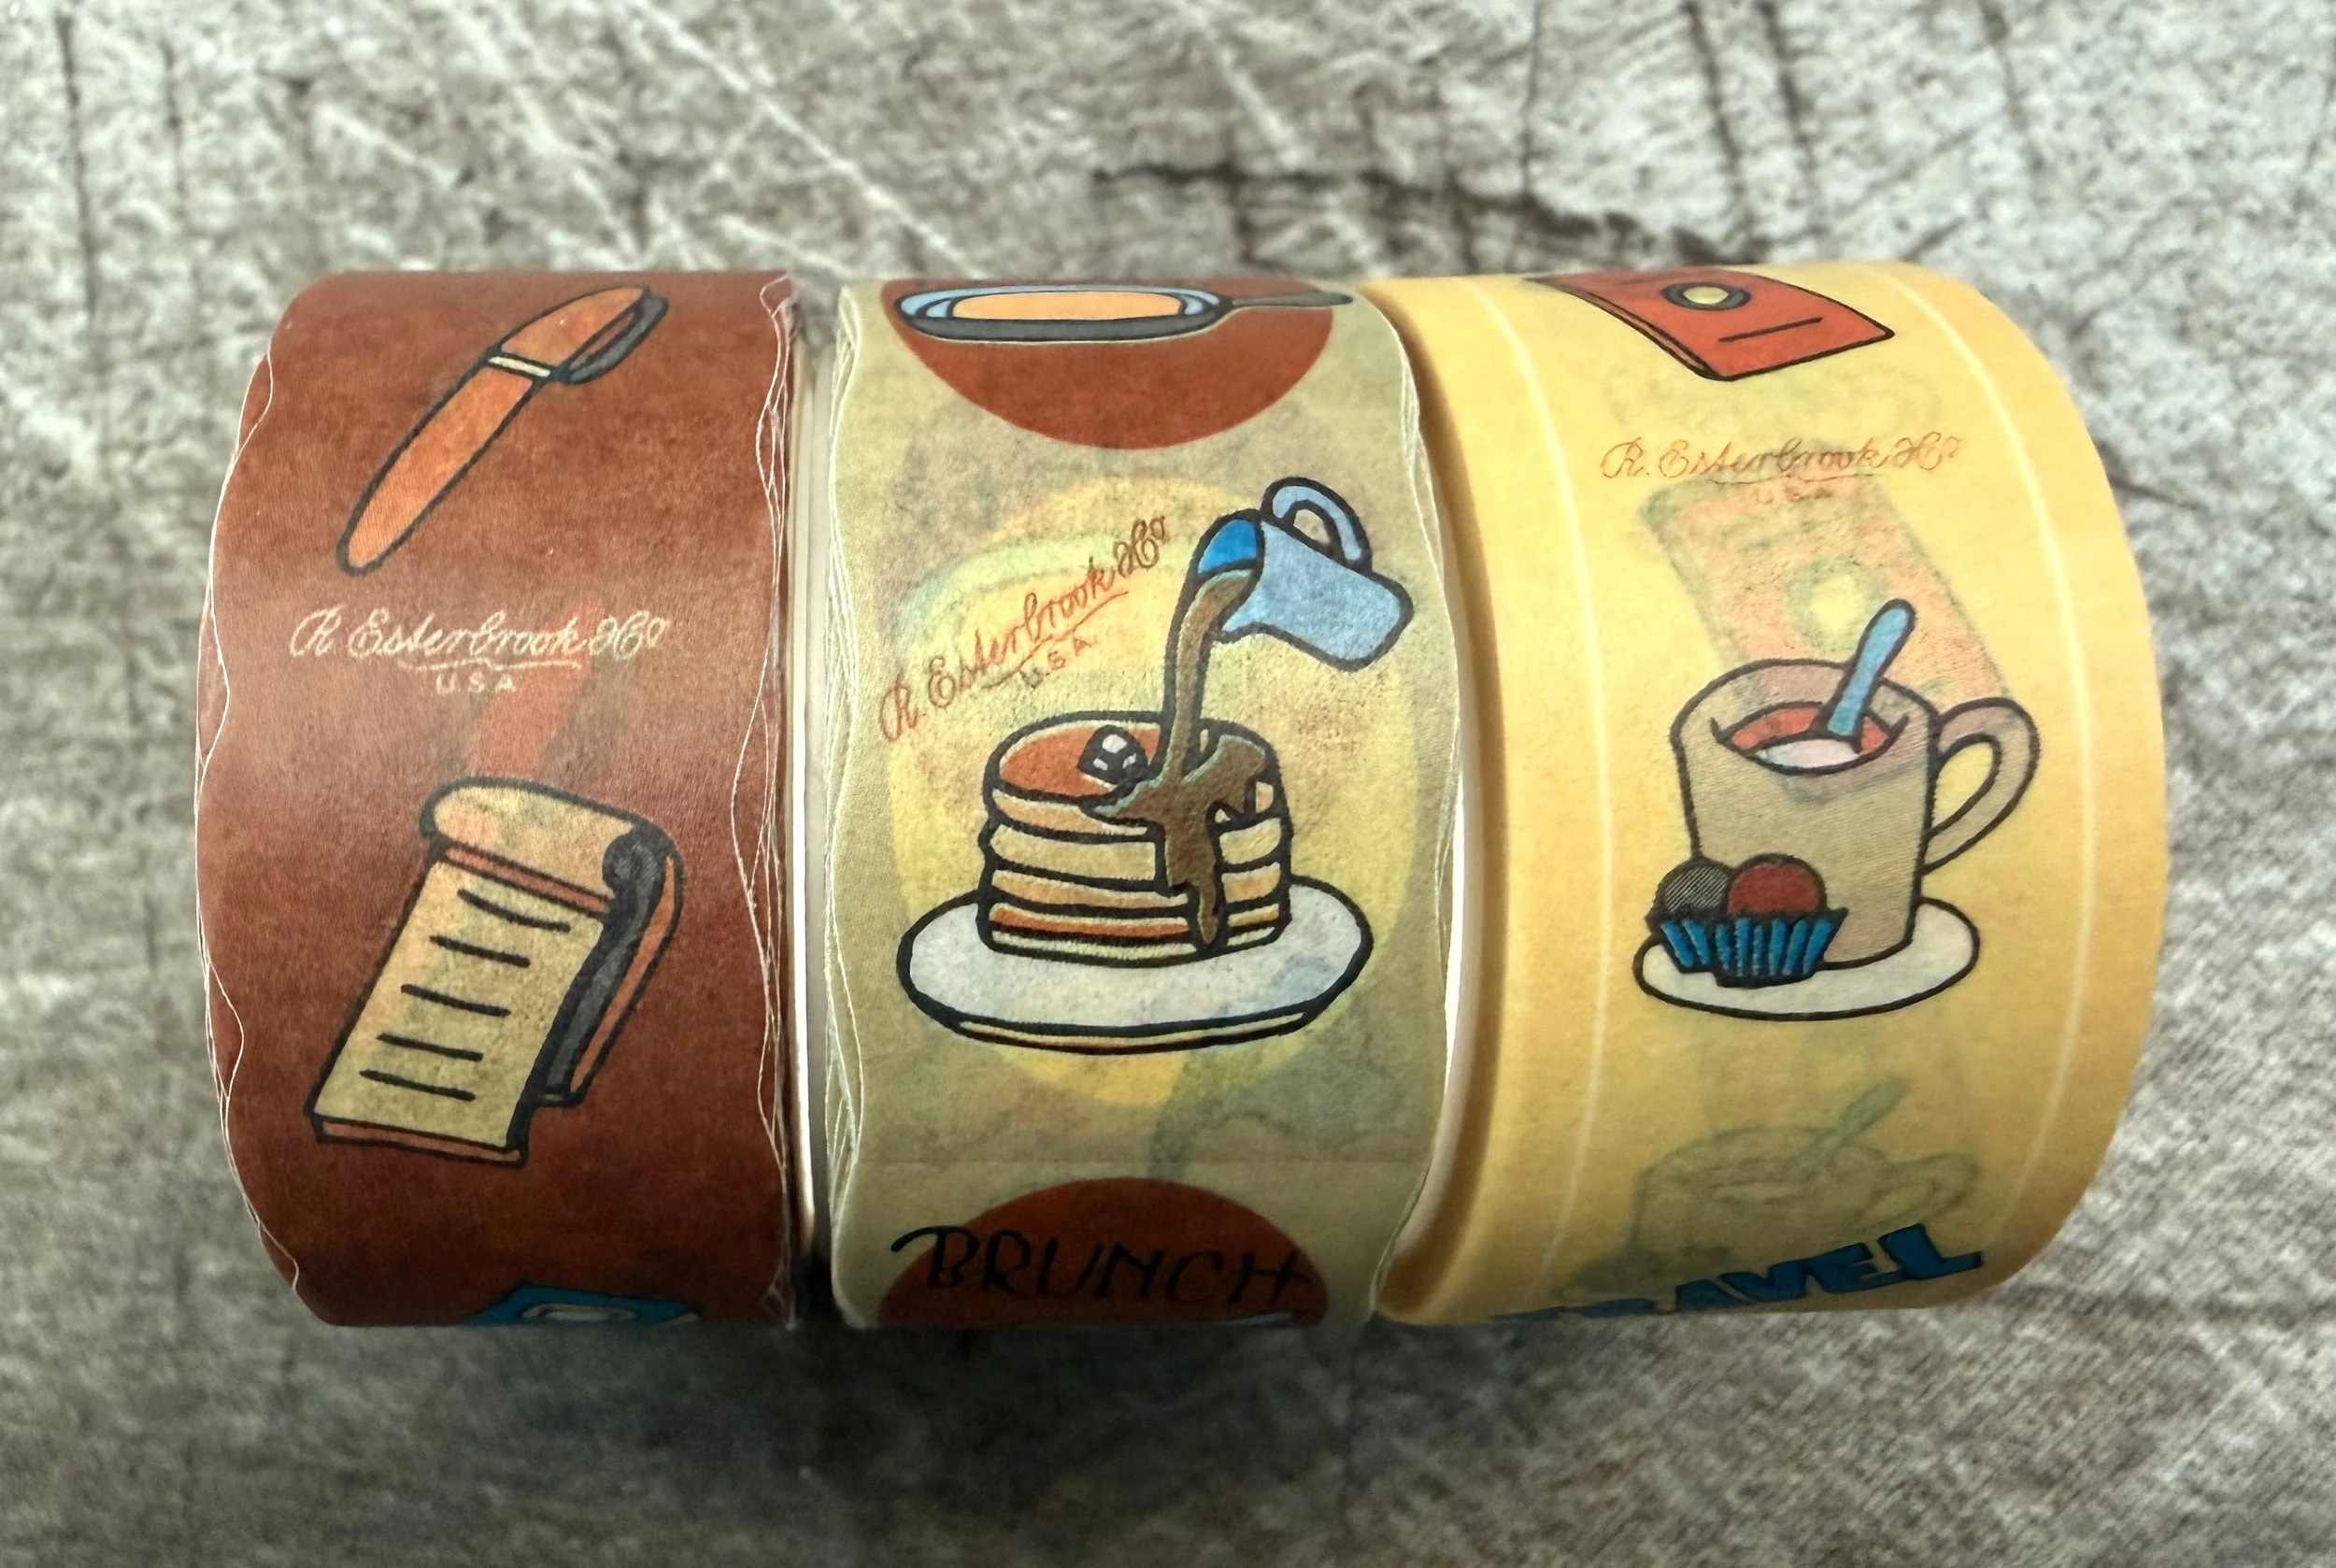
The set comes in a charming box that looks like a vintage travel trunk. Inside is everything you could ever imagine needing or wanting for a travel journal. It was a clown car of accessories. They just kept coming. Every time I thought I reached the bottom of the box, I found another envelope. There are: luggage tags, bookmarks, stickers aplenty, attachable pockets, bookmarks, patches, ink stamps, inkpads, a water brush, a set of watercolor paints, washi tape, a nylon storage bag, and the journal itself, which contains two notebook inserts (one lined, one grid), and a clear plastic pocket insert. This is a comprehensive assembly. Someone new to the hobby could instantly have it all. They better love Esterbrook, though, because everything is heavily branded. The design was inspired by Mareike Mert, a popular journaler with a fun, vintage vibe.

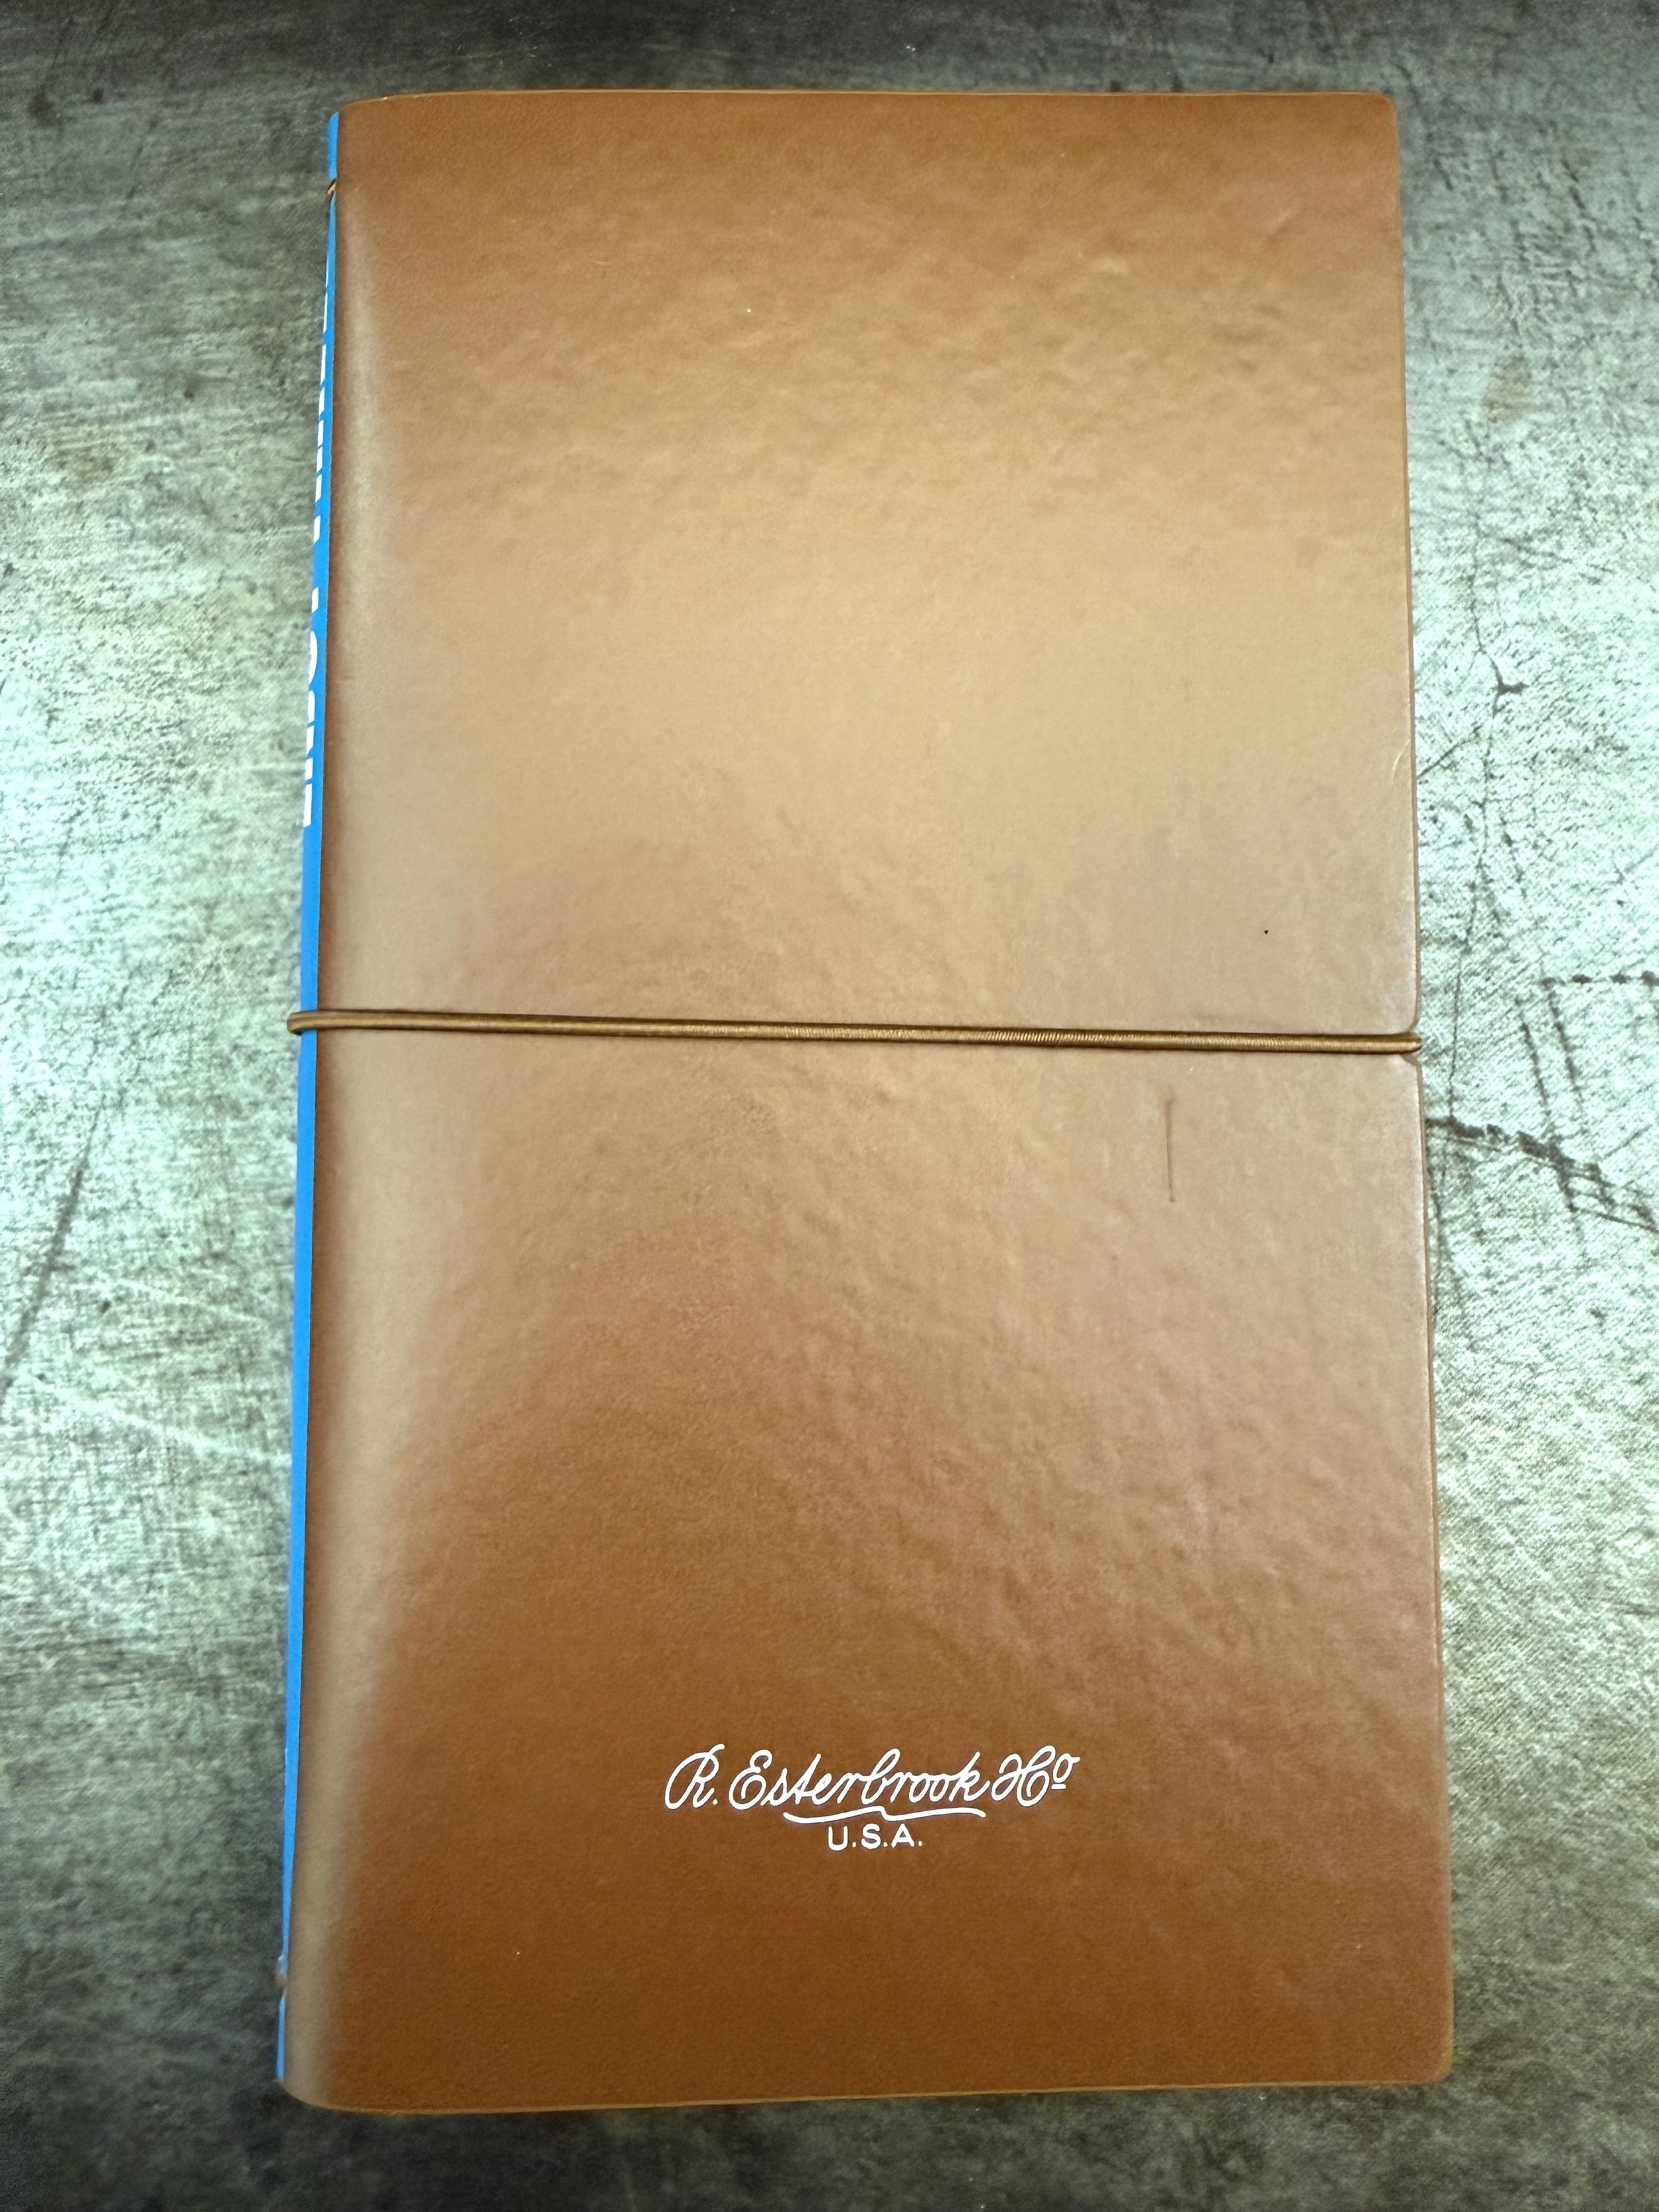
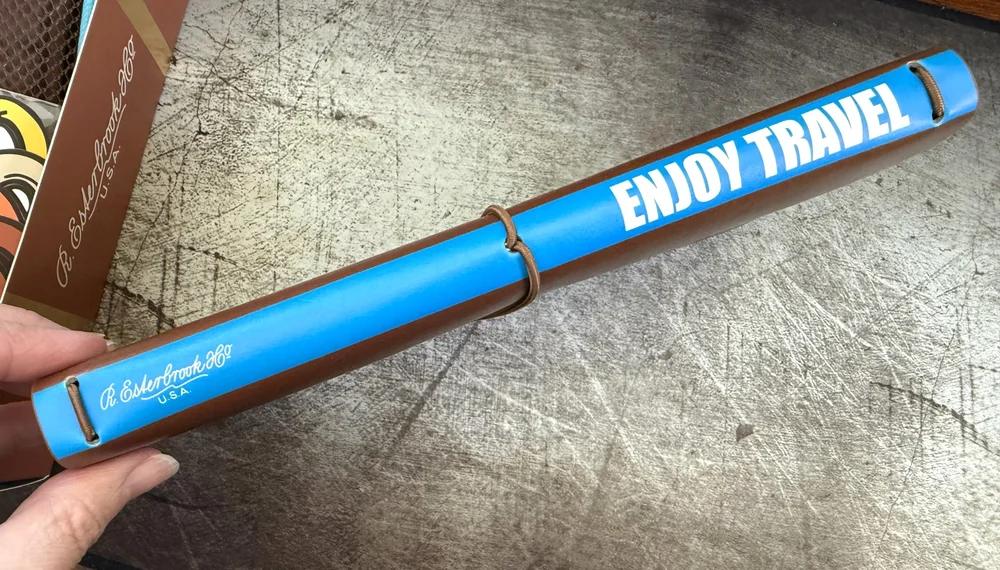
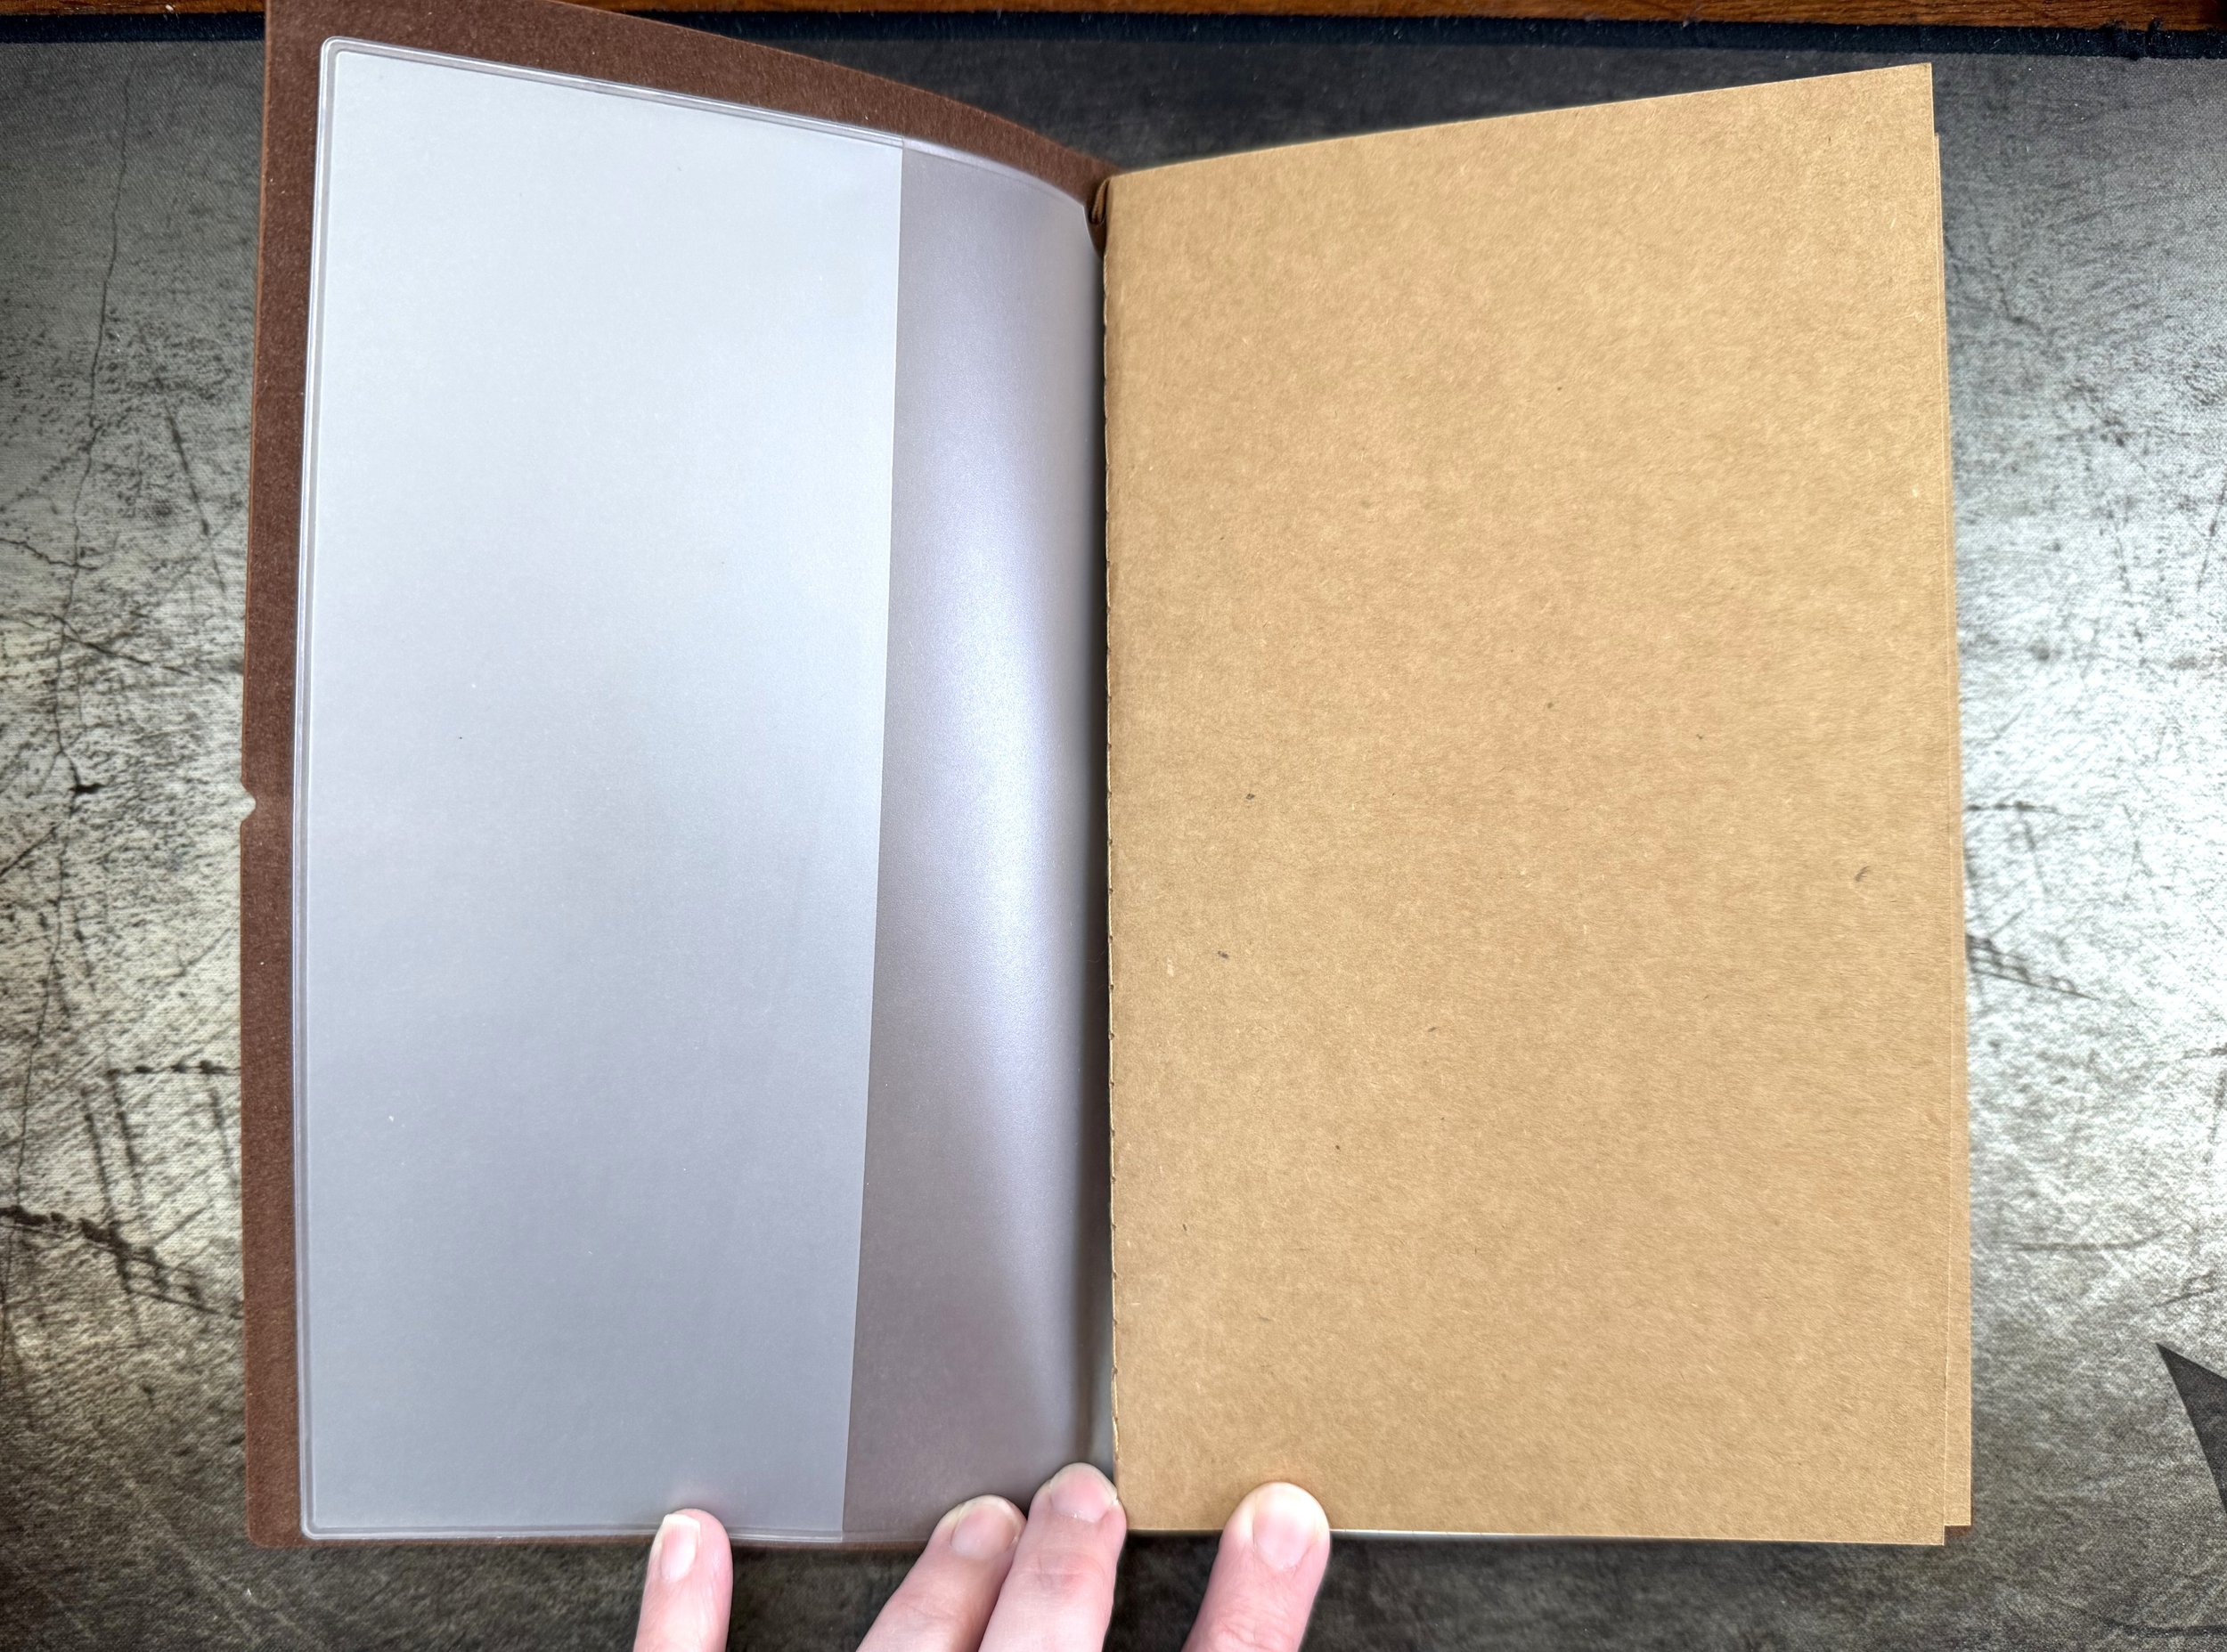
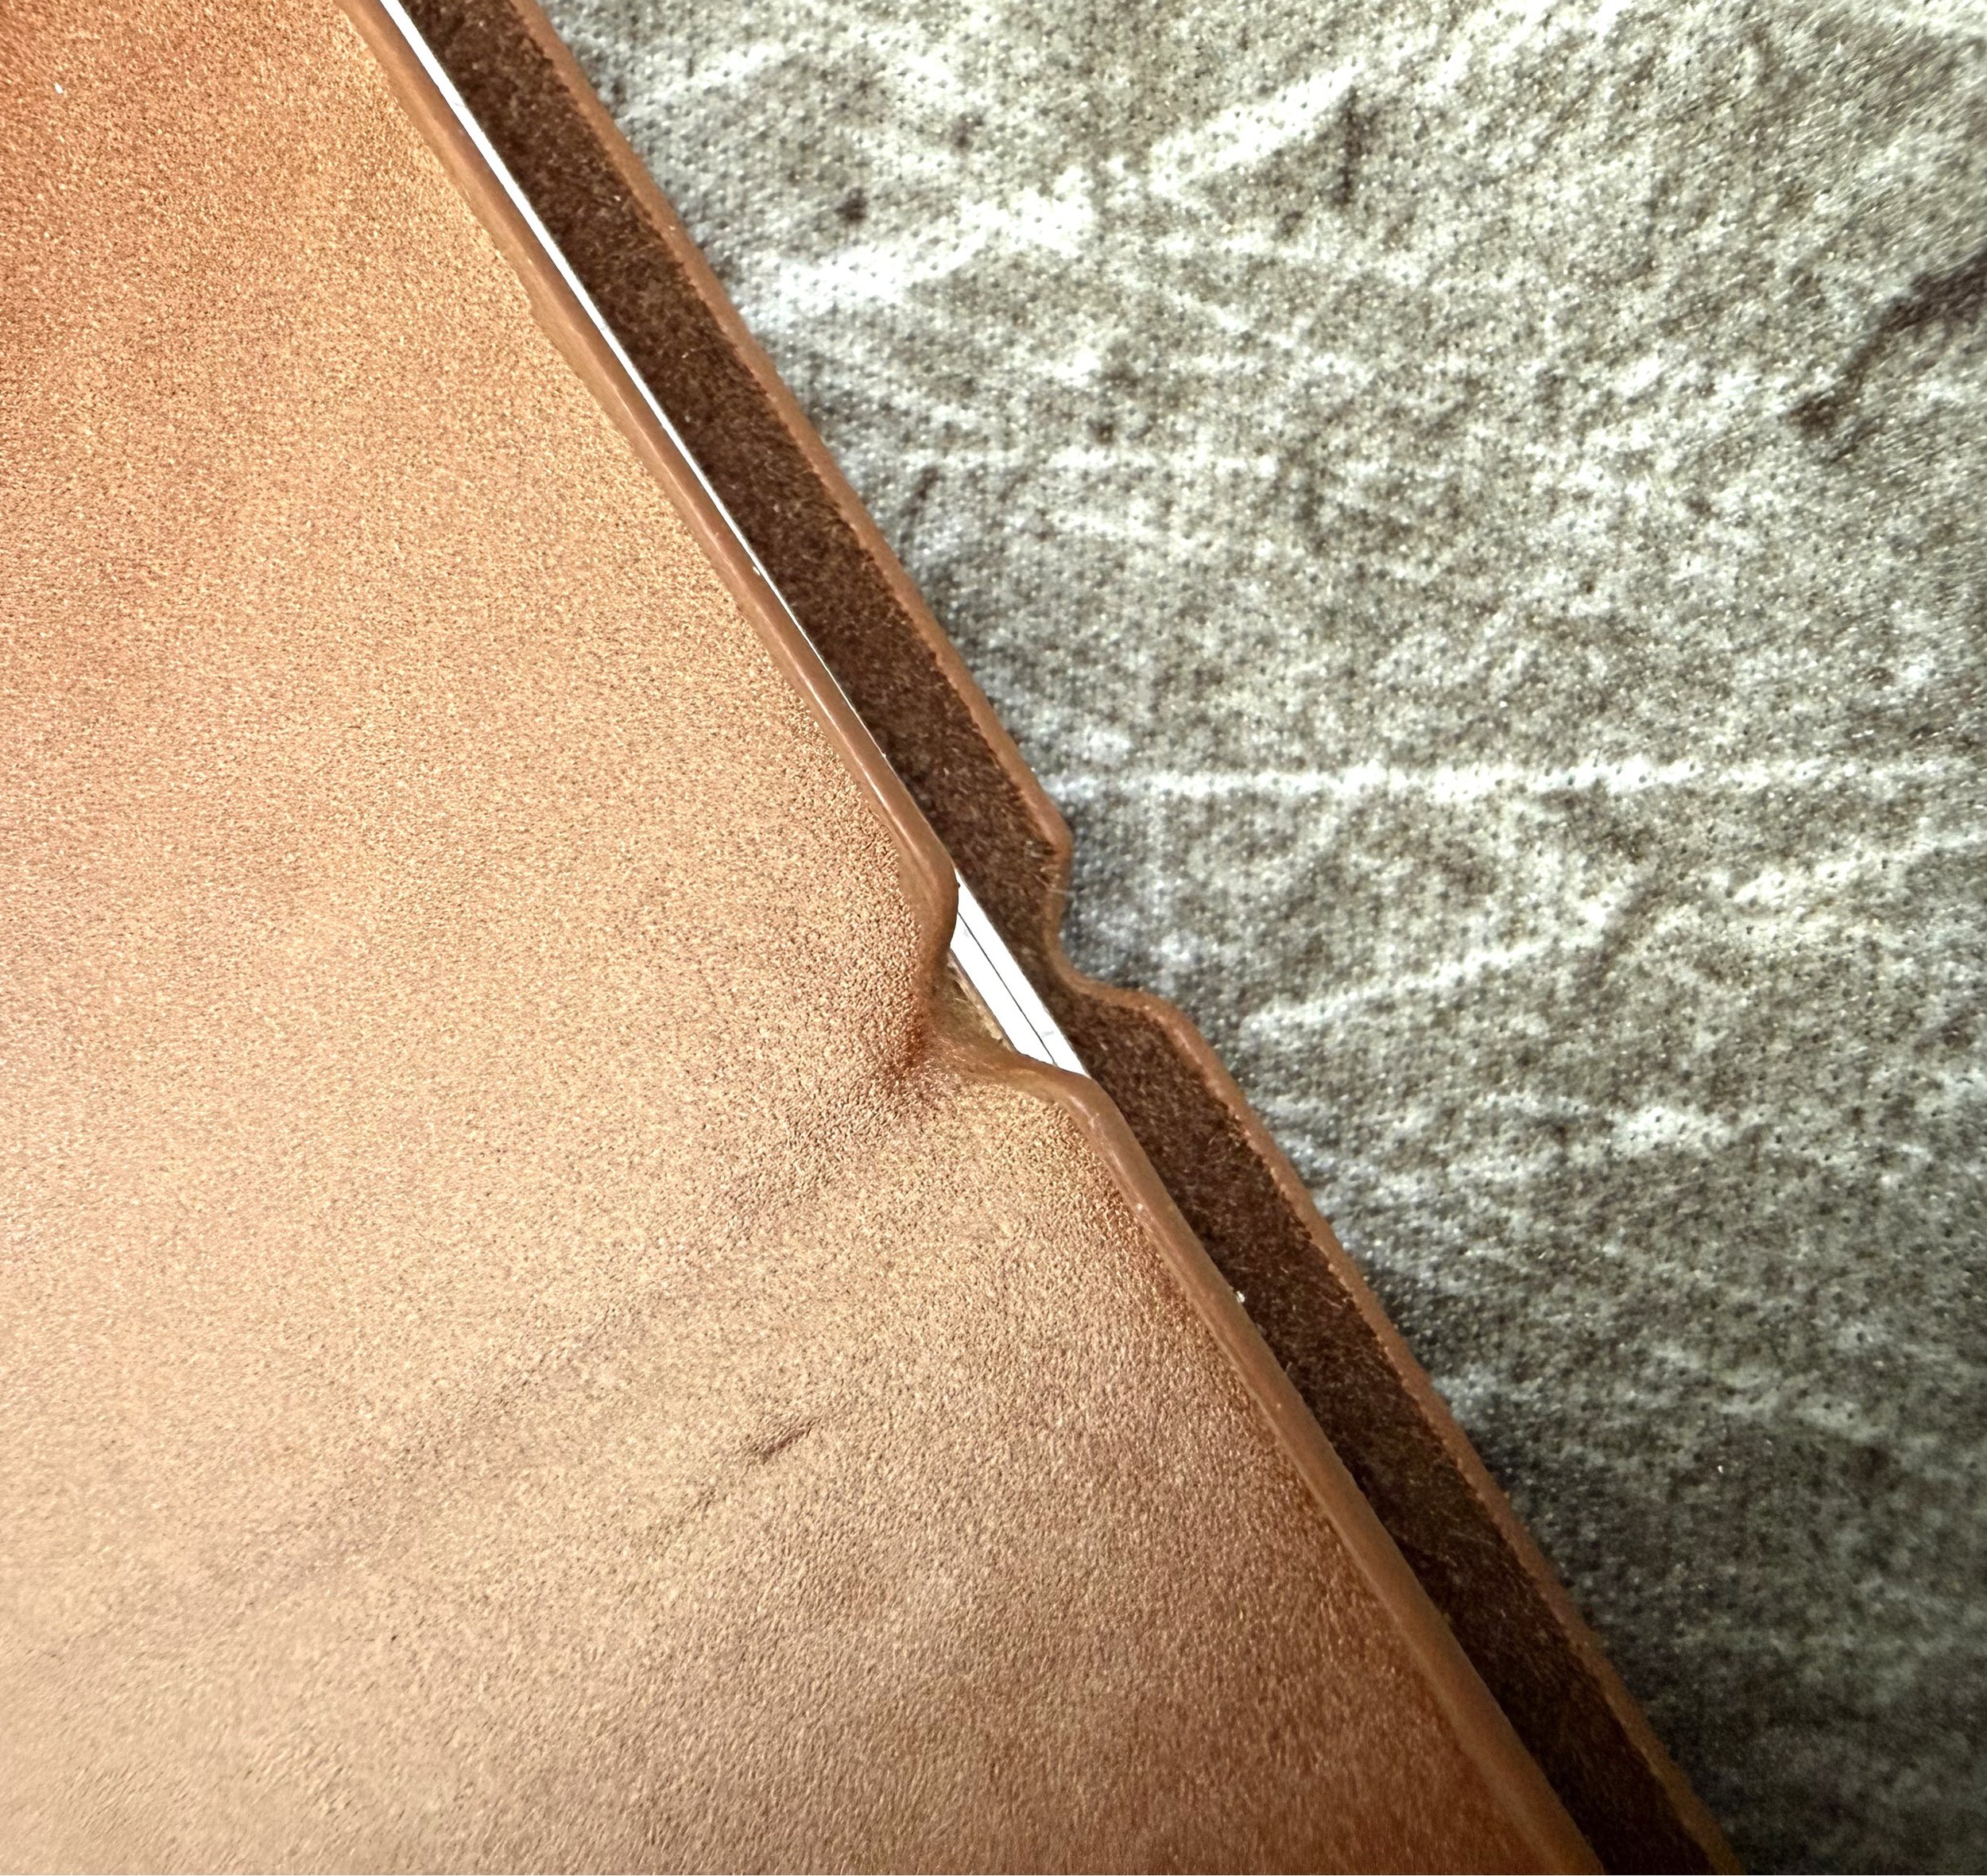
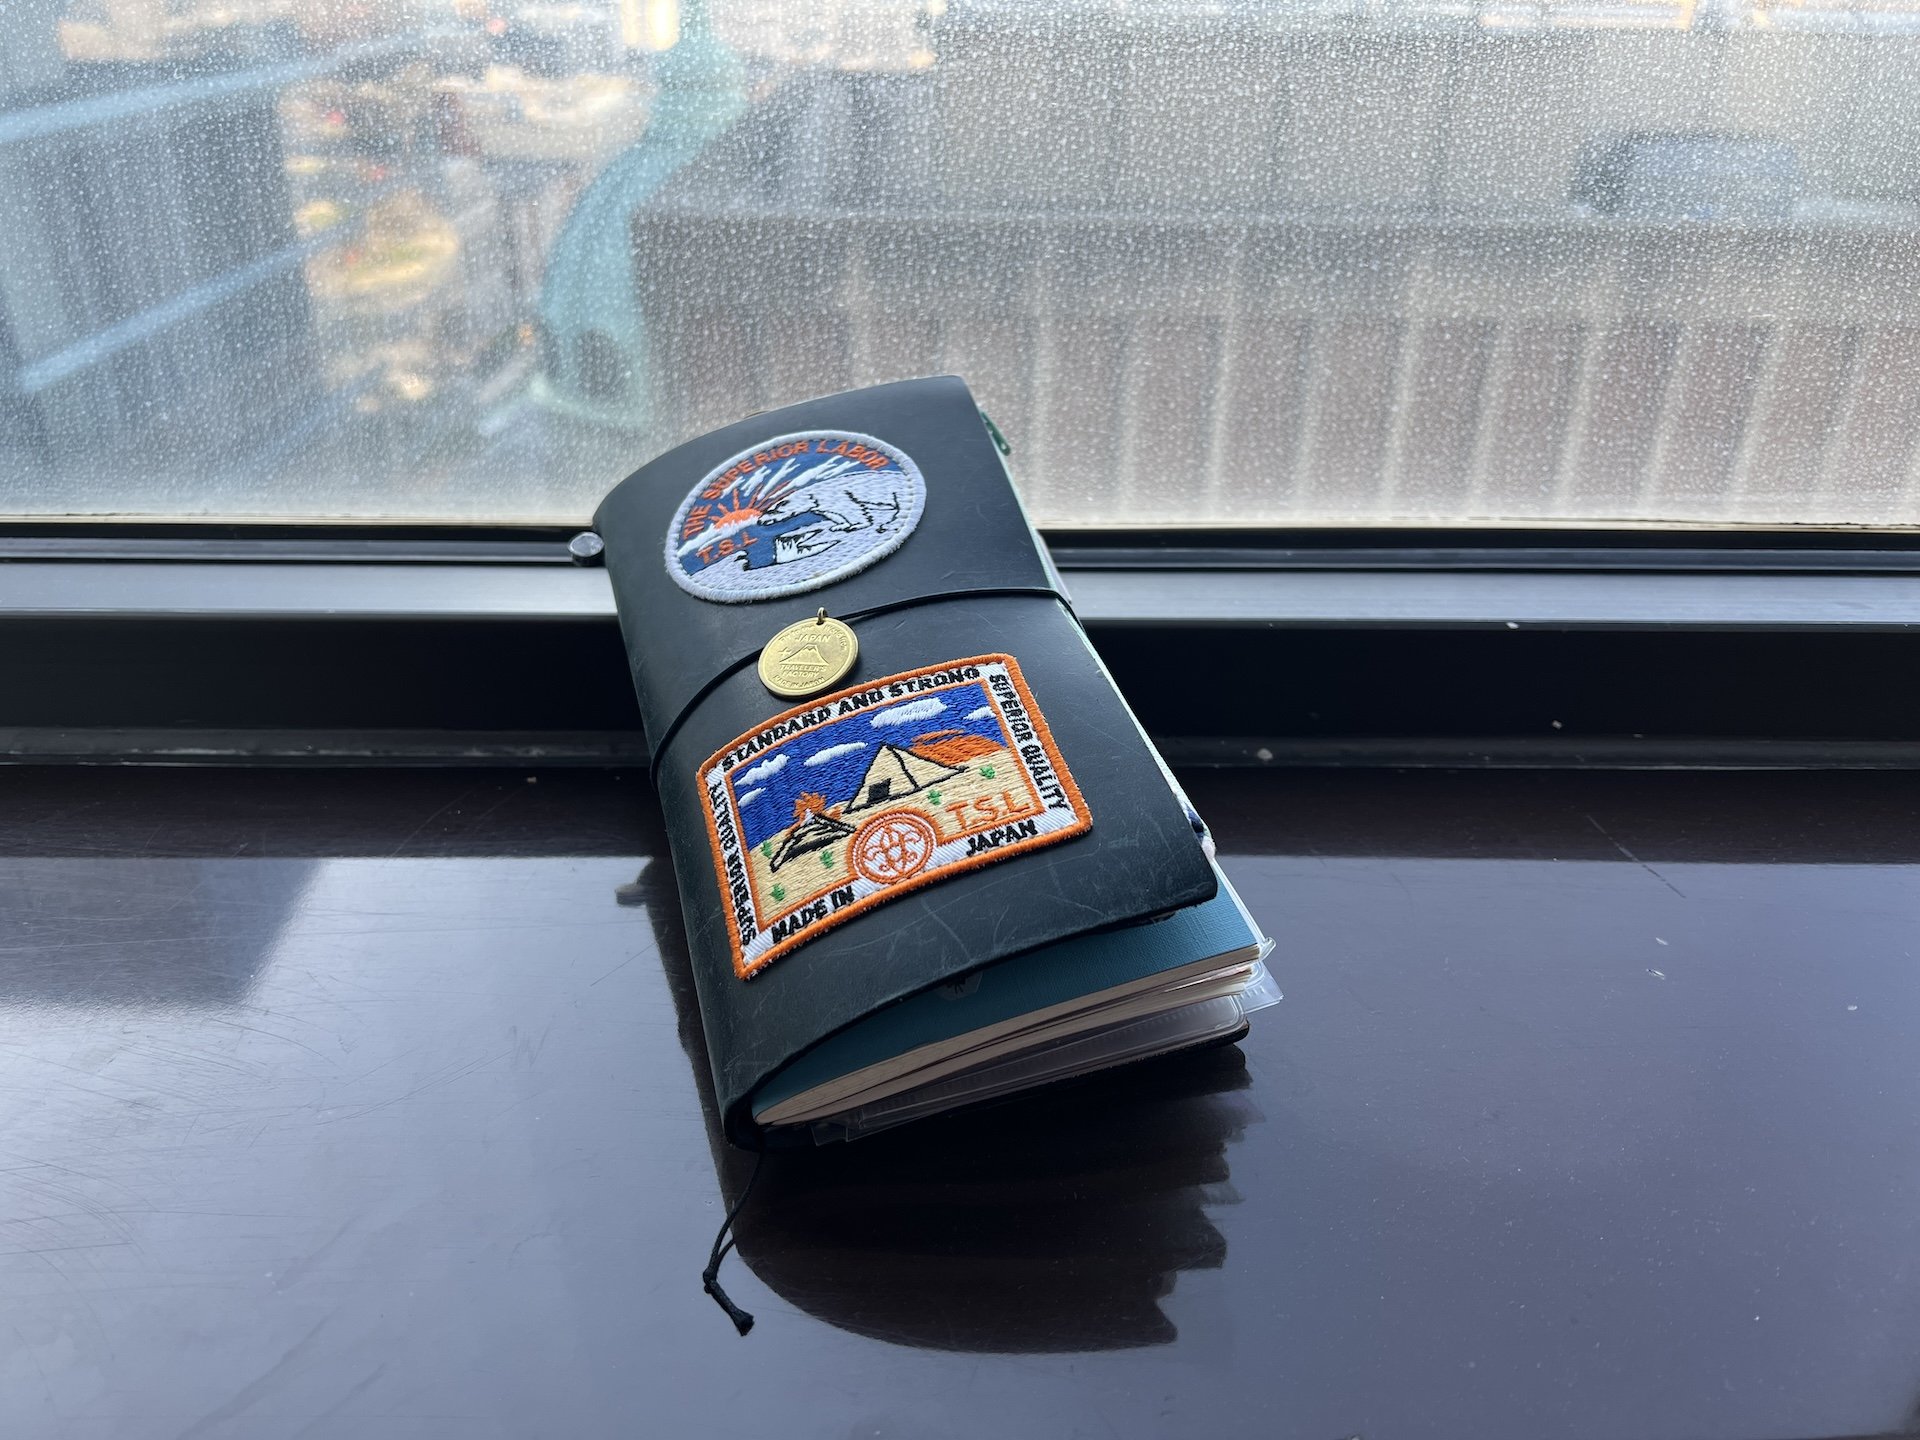
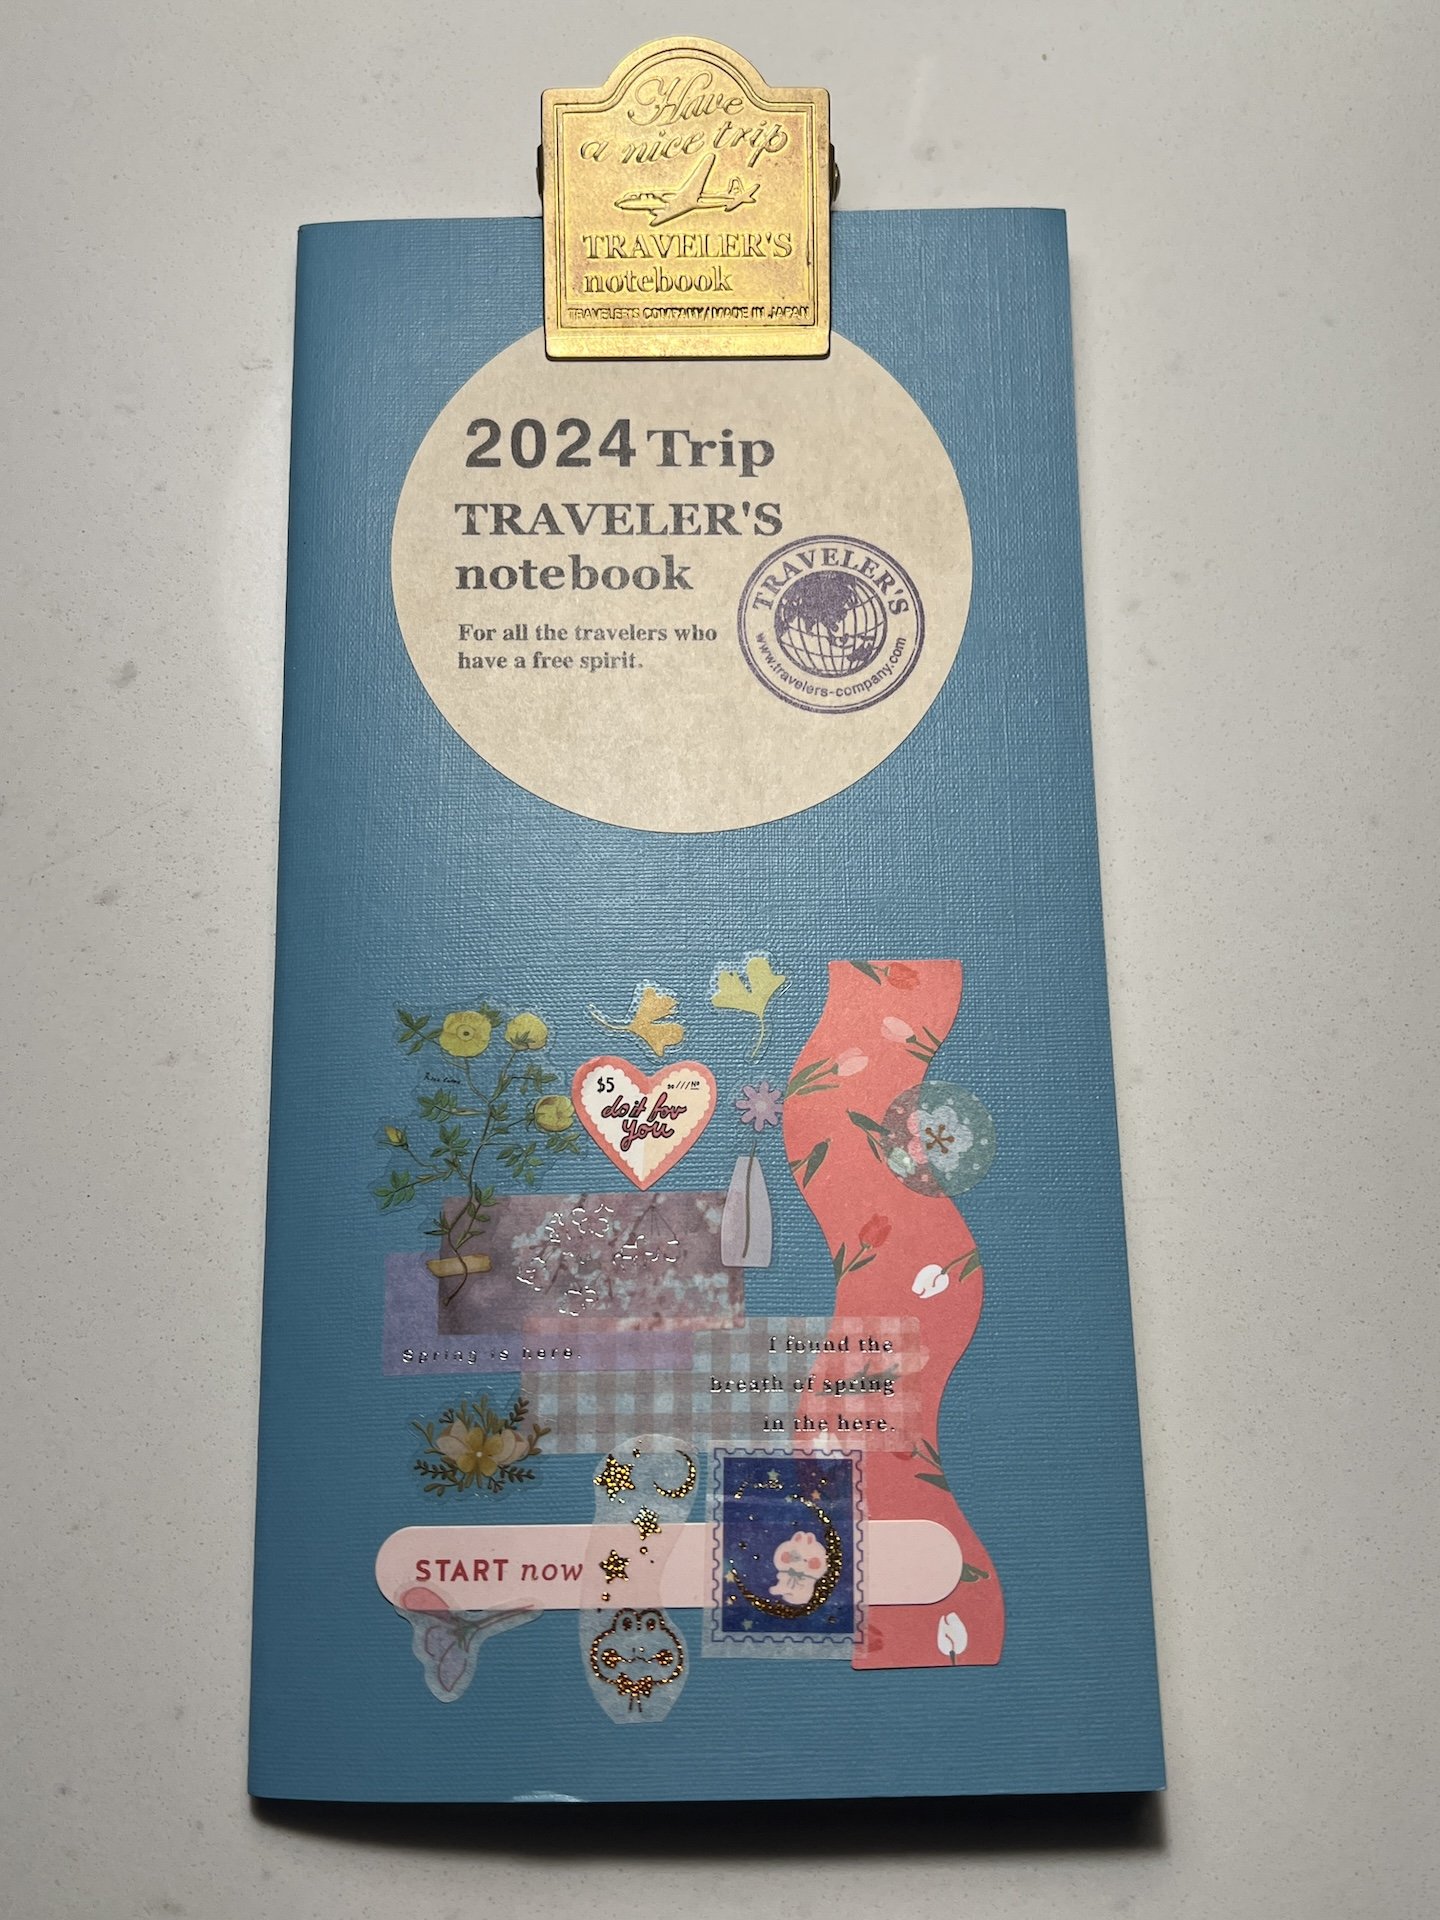
The focal point in the center of the debris field is the journal itself. The cover is made from a faux leather. It does feel and smell a bit vinyl-like. For folks who need to avoid leather, it's a good substitute. It's a traditional traveler's notebook design, with elastics that hold the inserts in place, and another elastic band closure. The cover has notches on the front and back that hold the elastic in place. The spine has a blue stripe with white lettering that says ENJOY TRAVEL, so you'd better enjoy it.

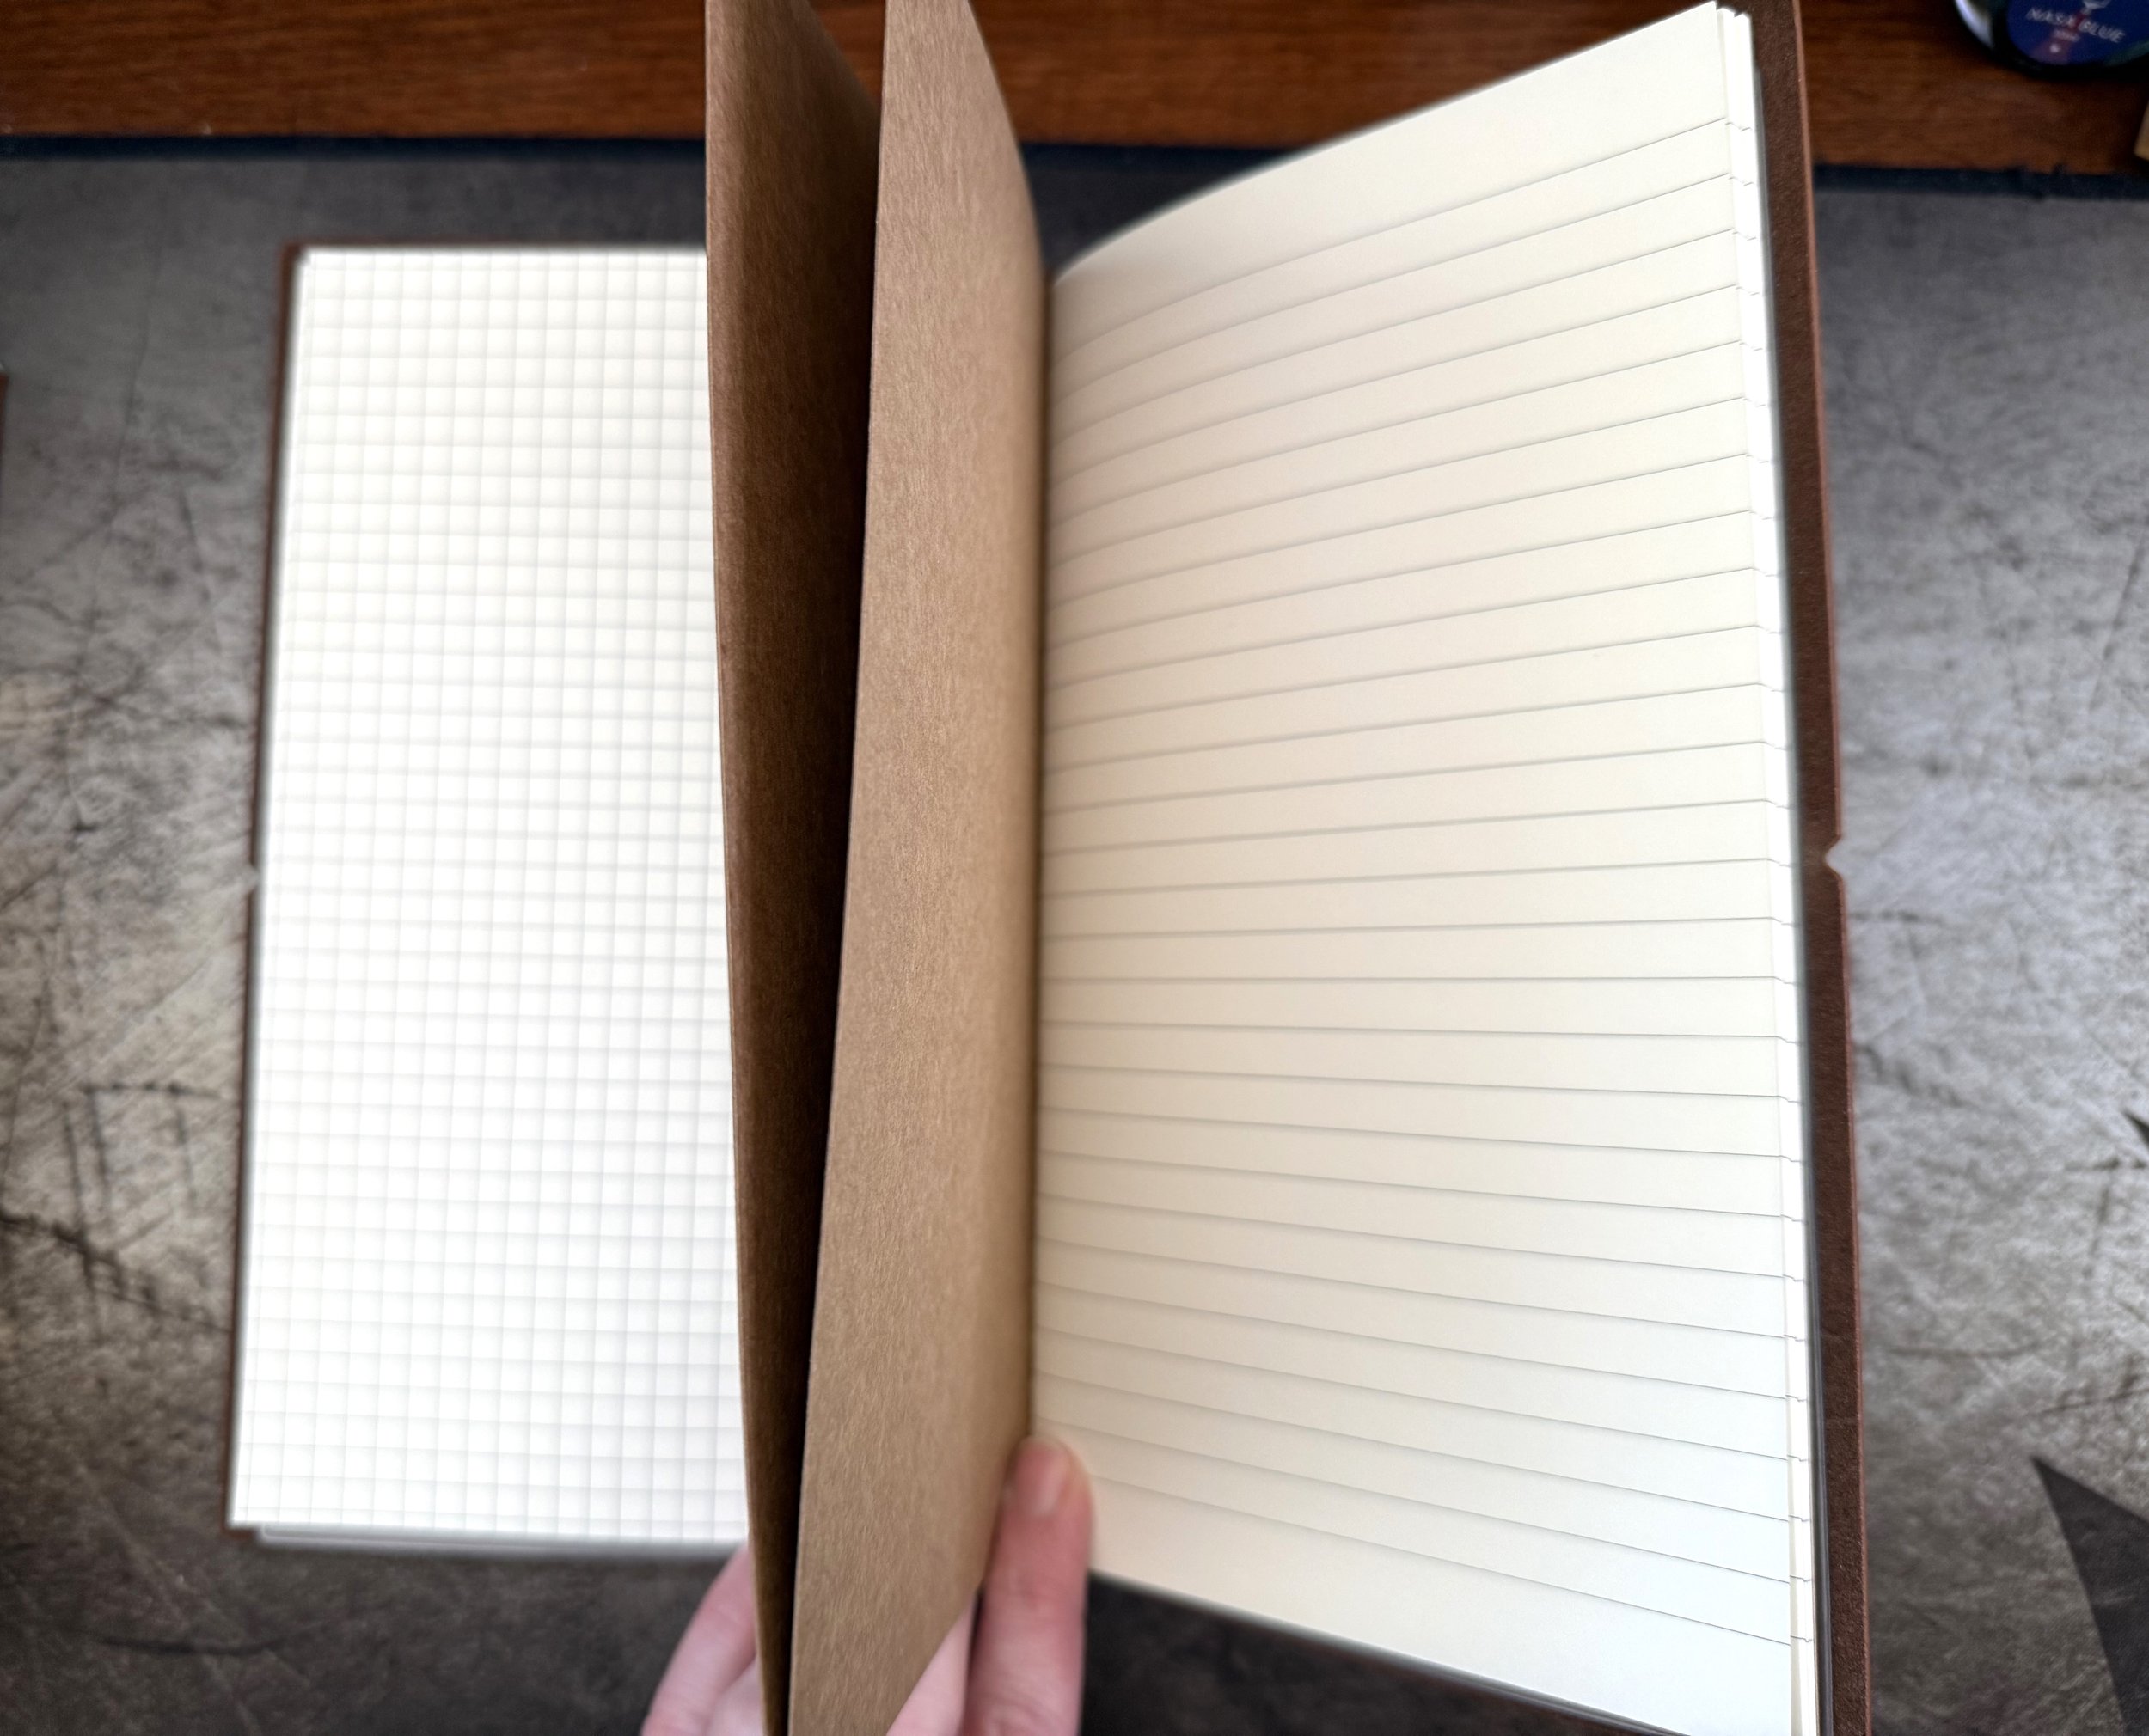
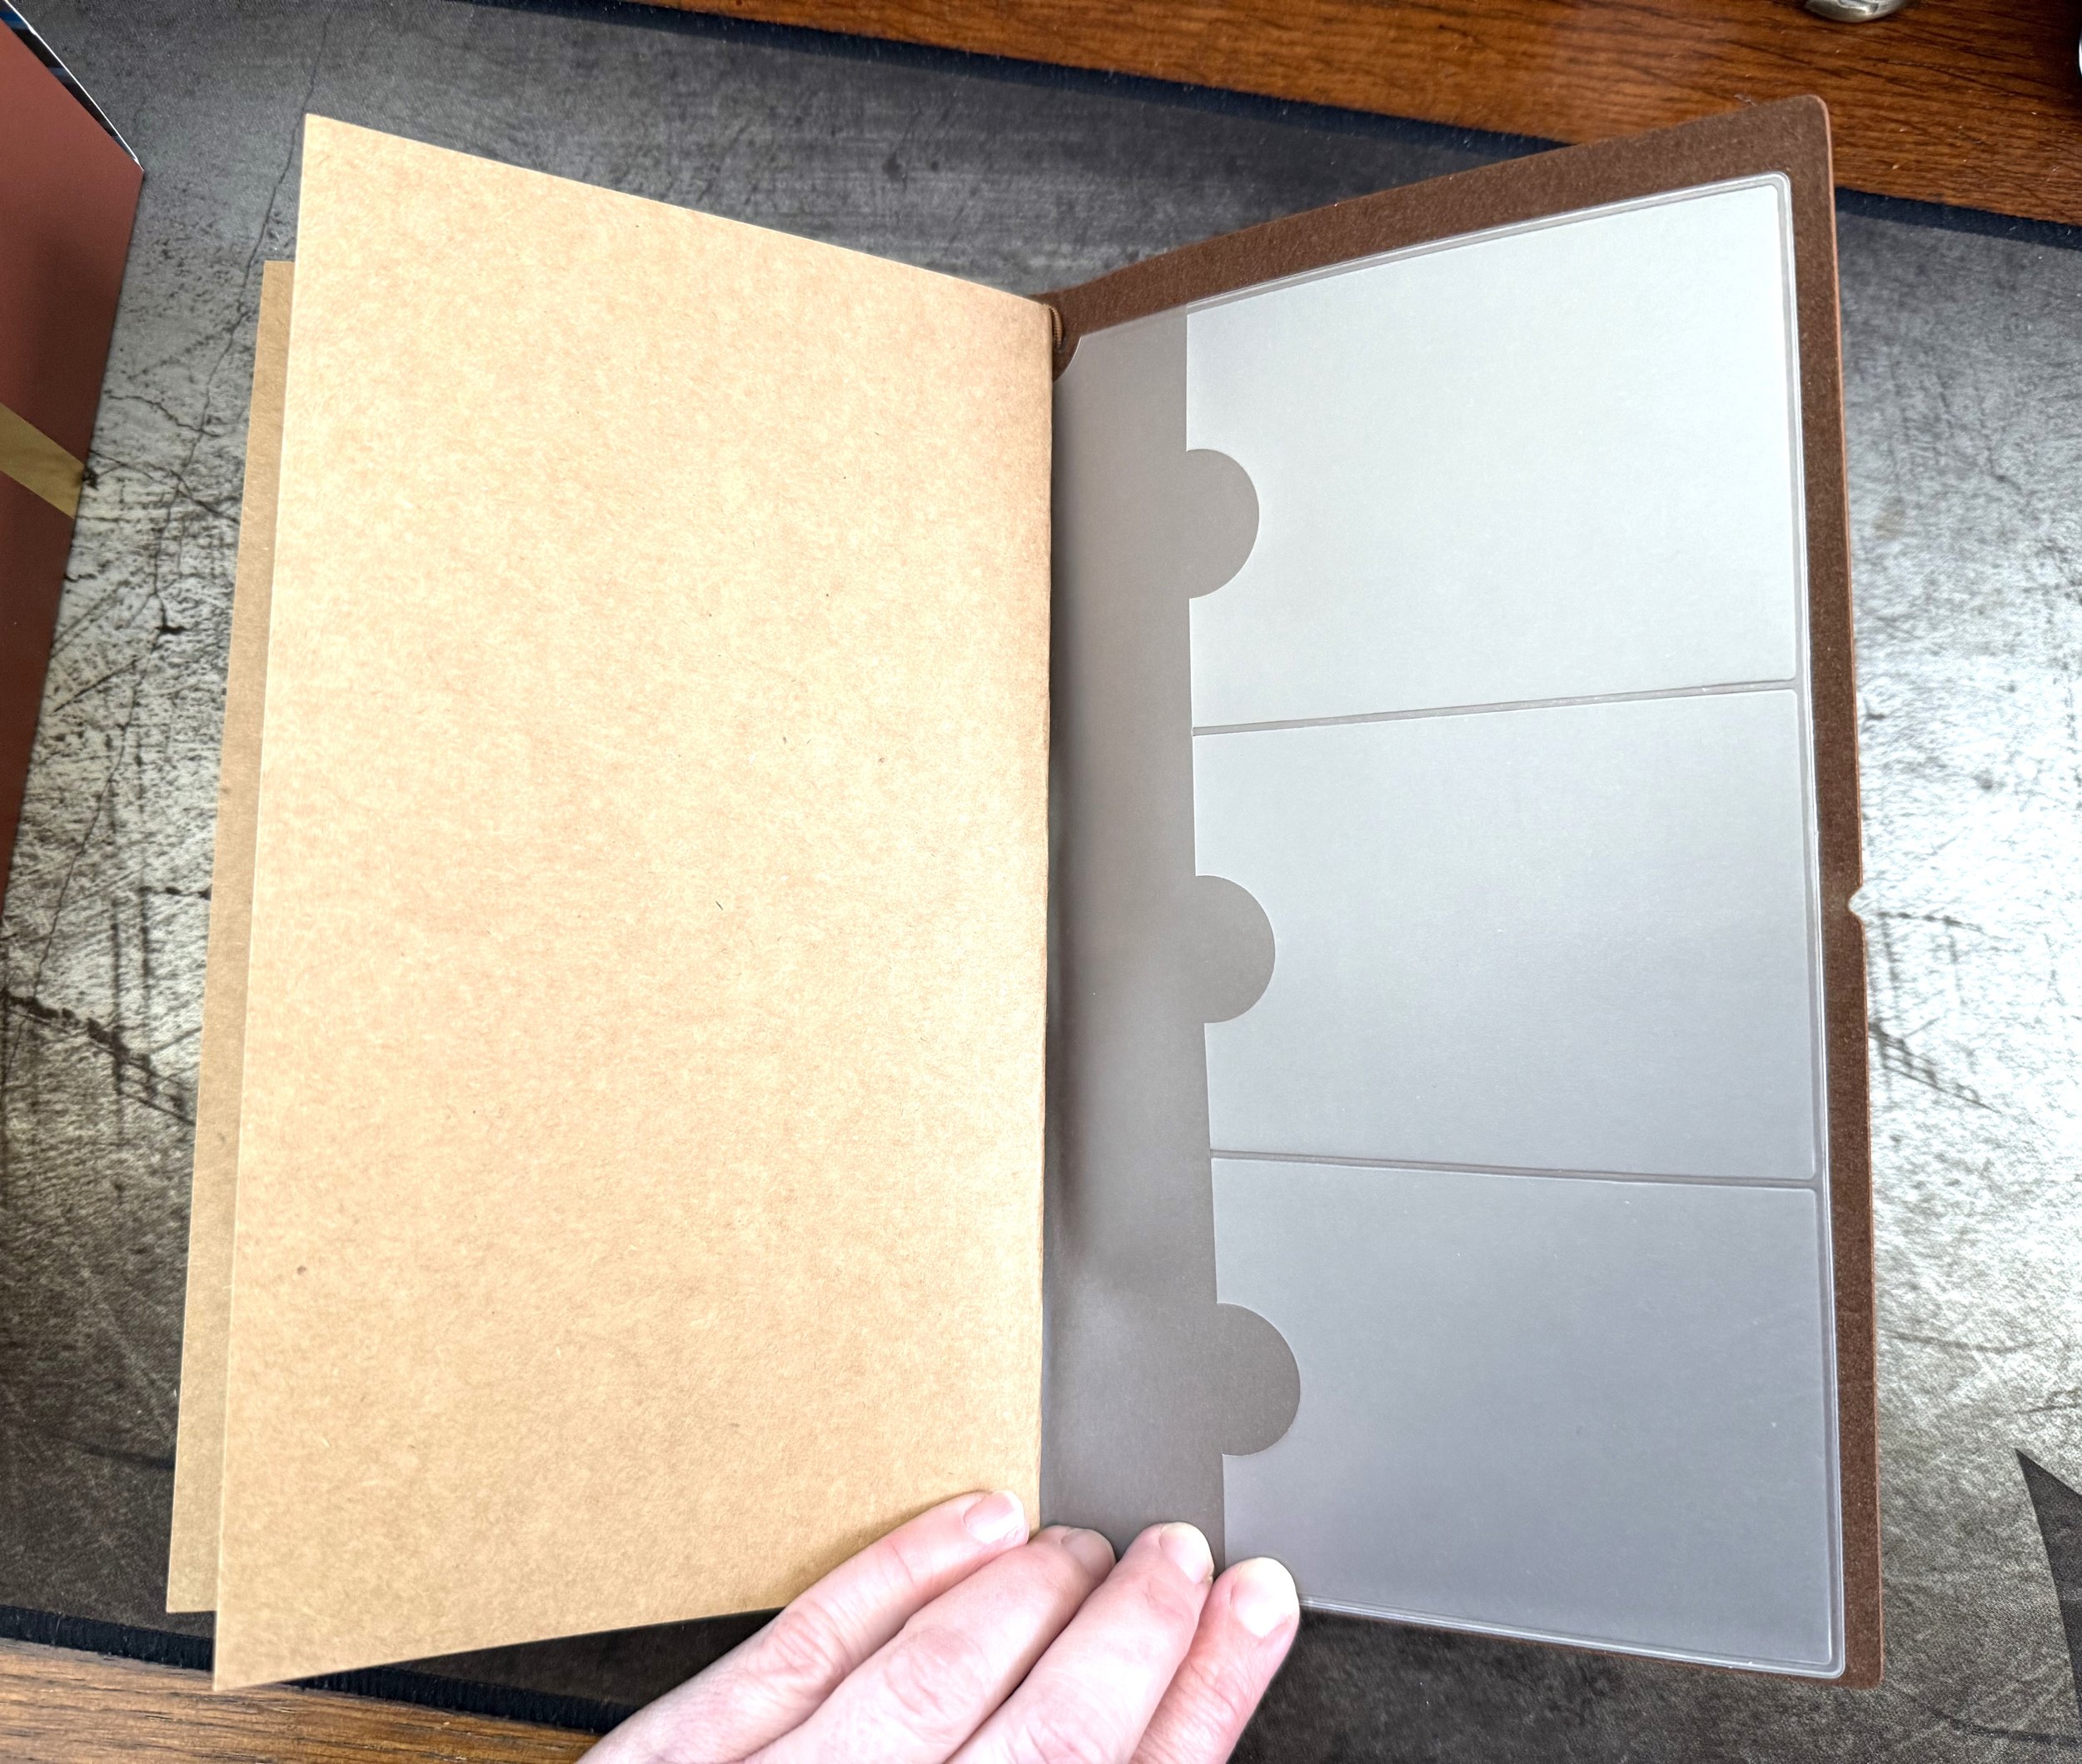
The inserts have cardstock covers just waiting to be decorated with stickers and pockets. They have both lined and grid paper. The paper is fountain pen friendly. The pocket insert had a folder side and a card-holder side, so it can carry your tickets, brochures, maps and ephemera.

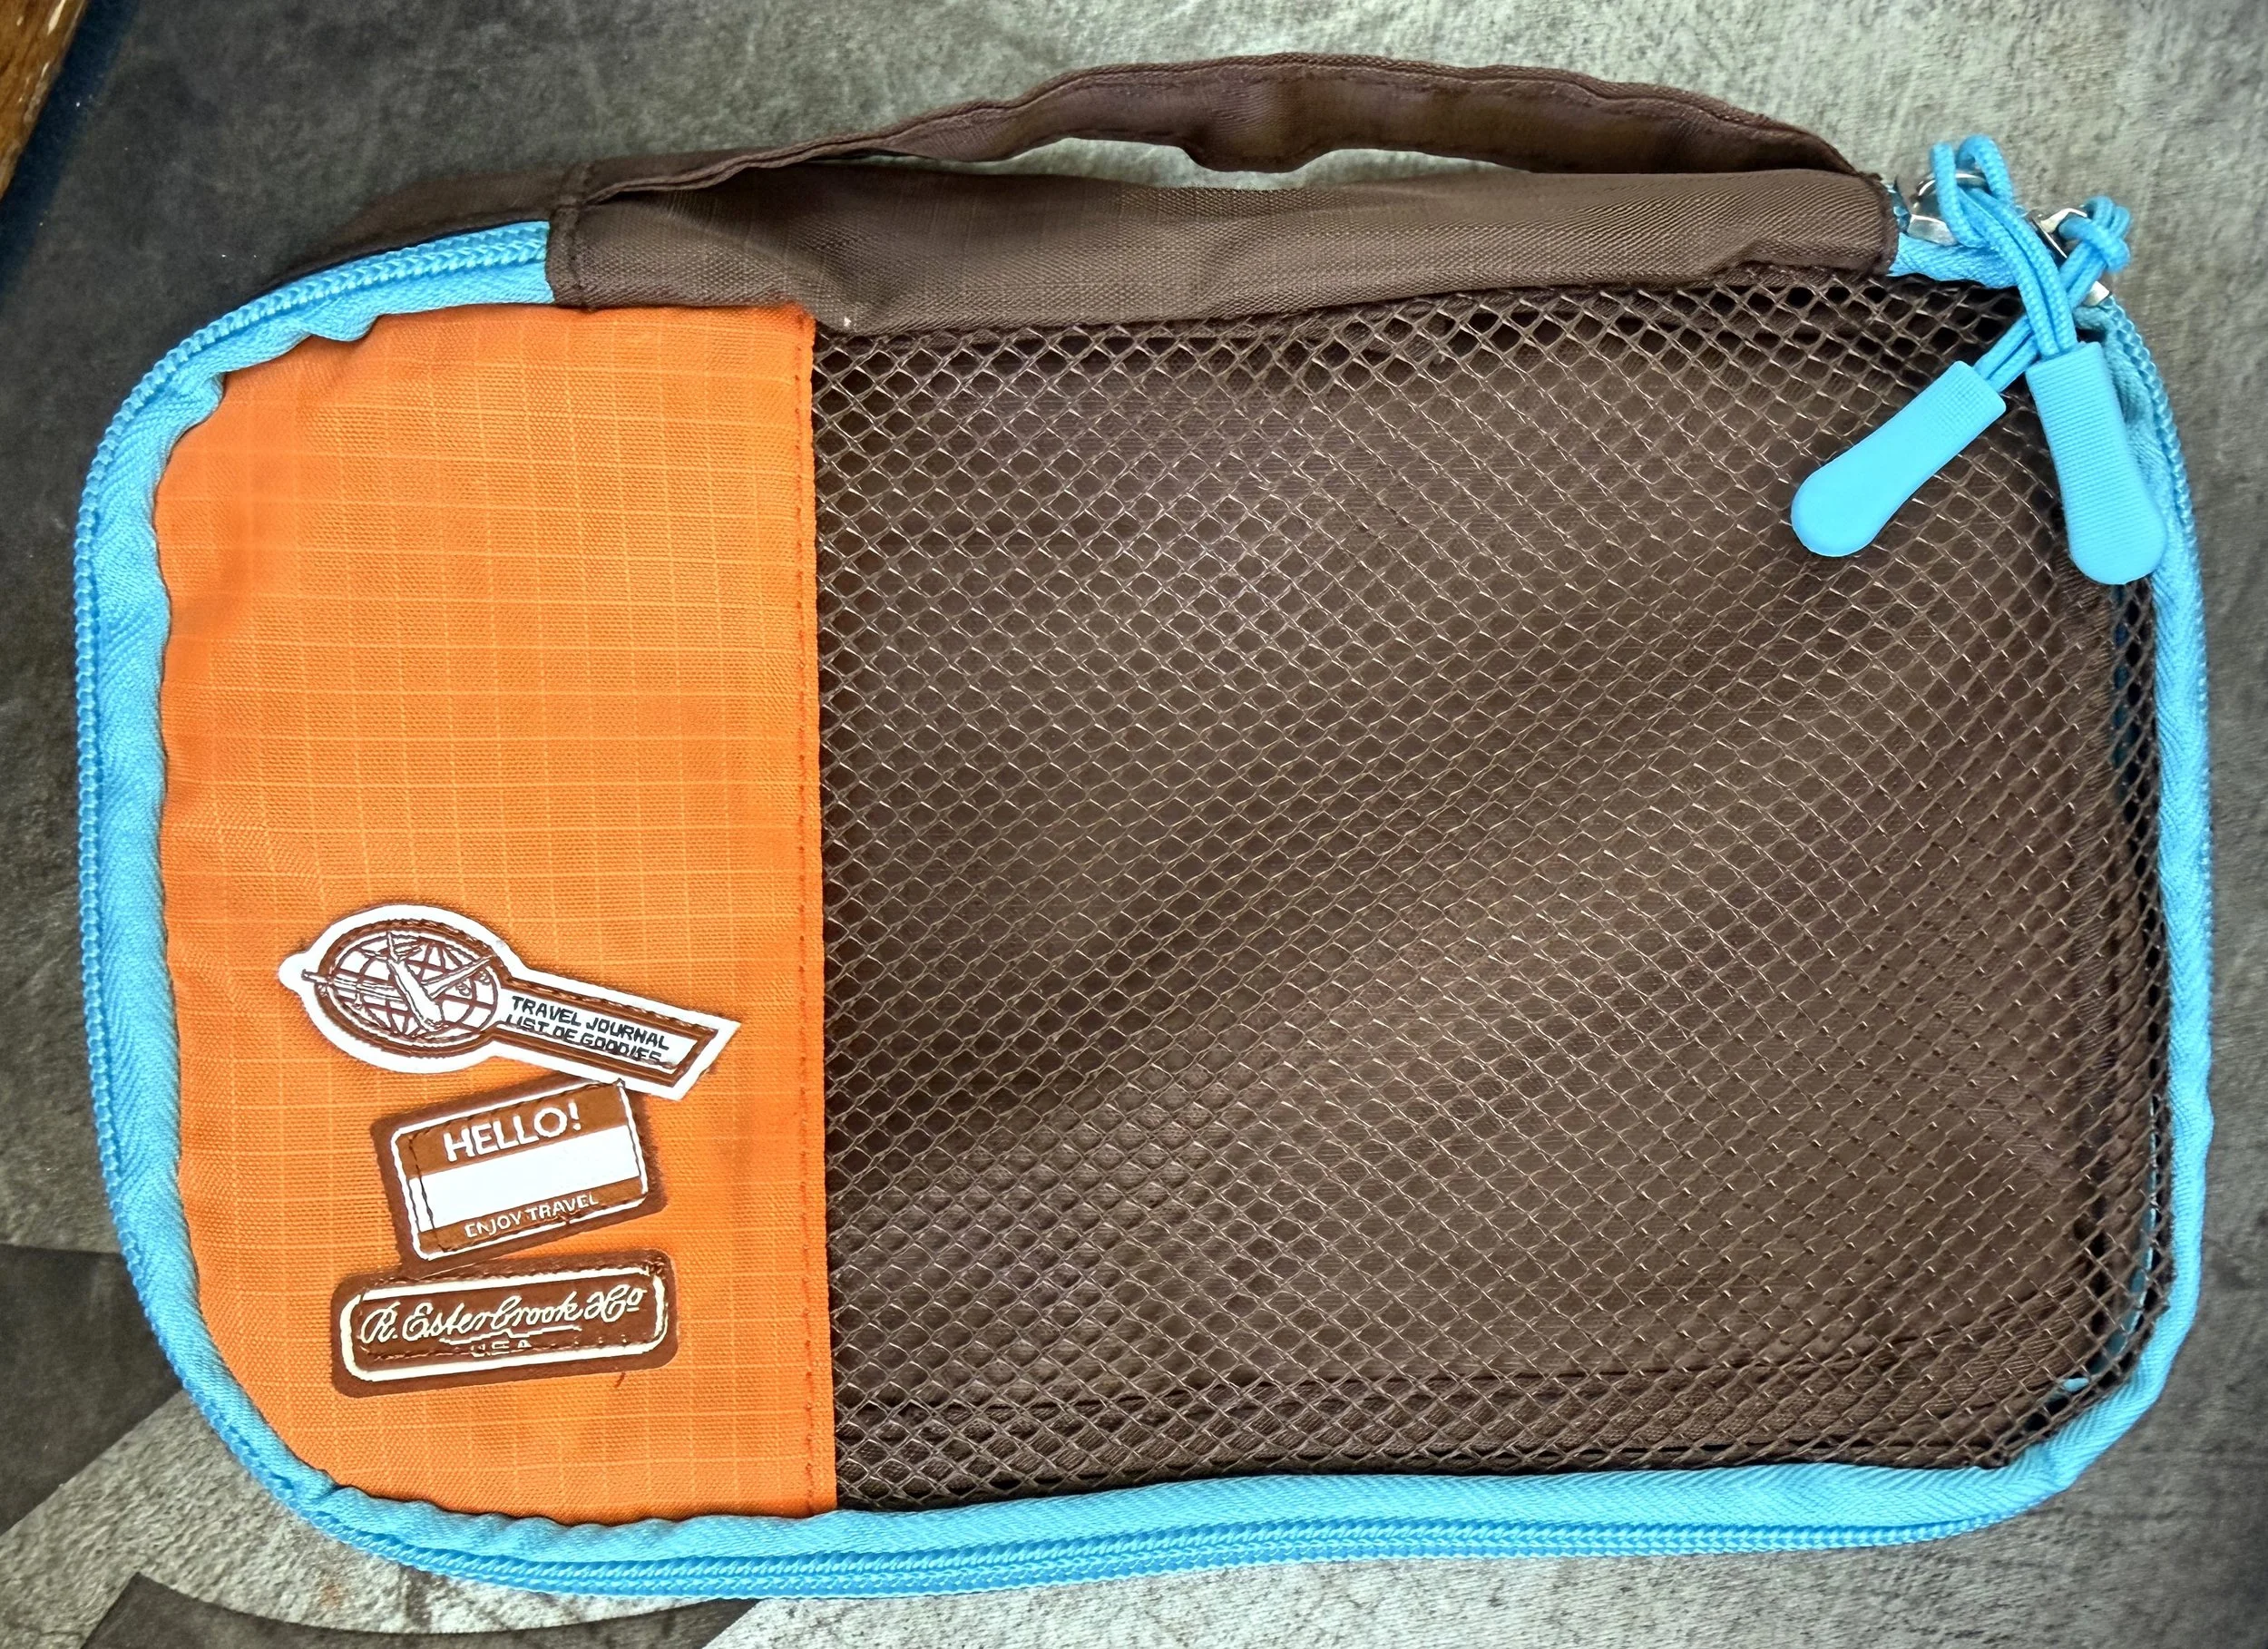
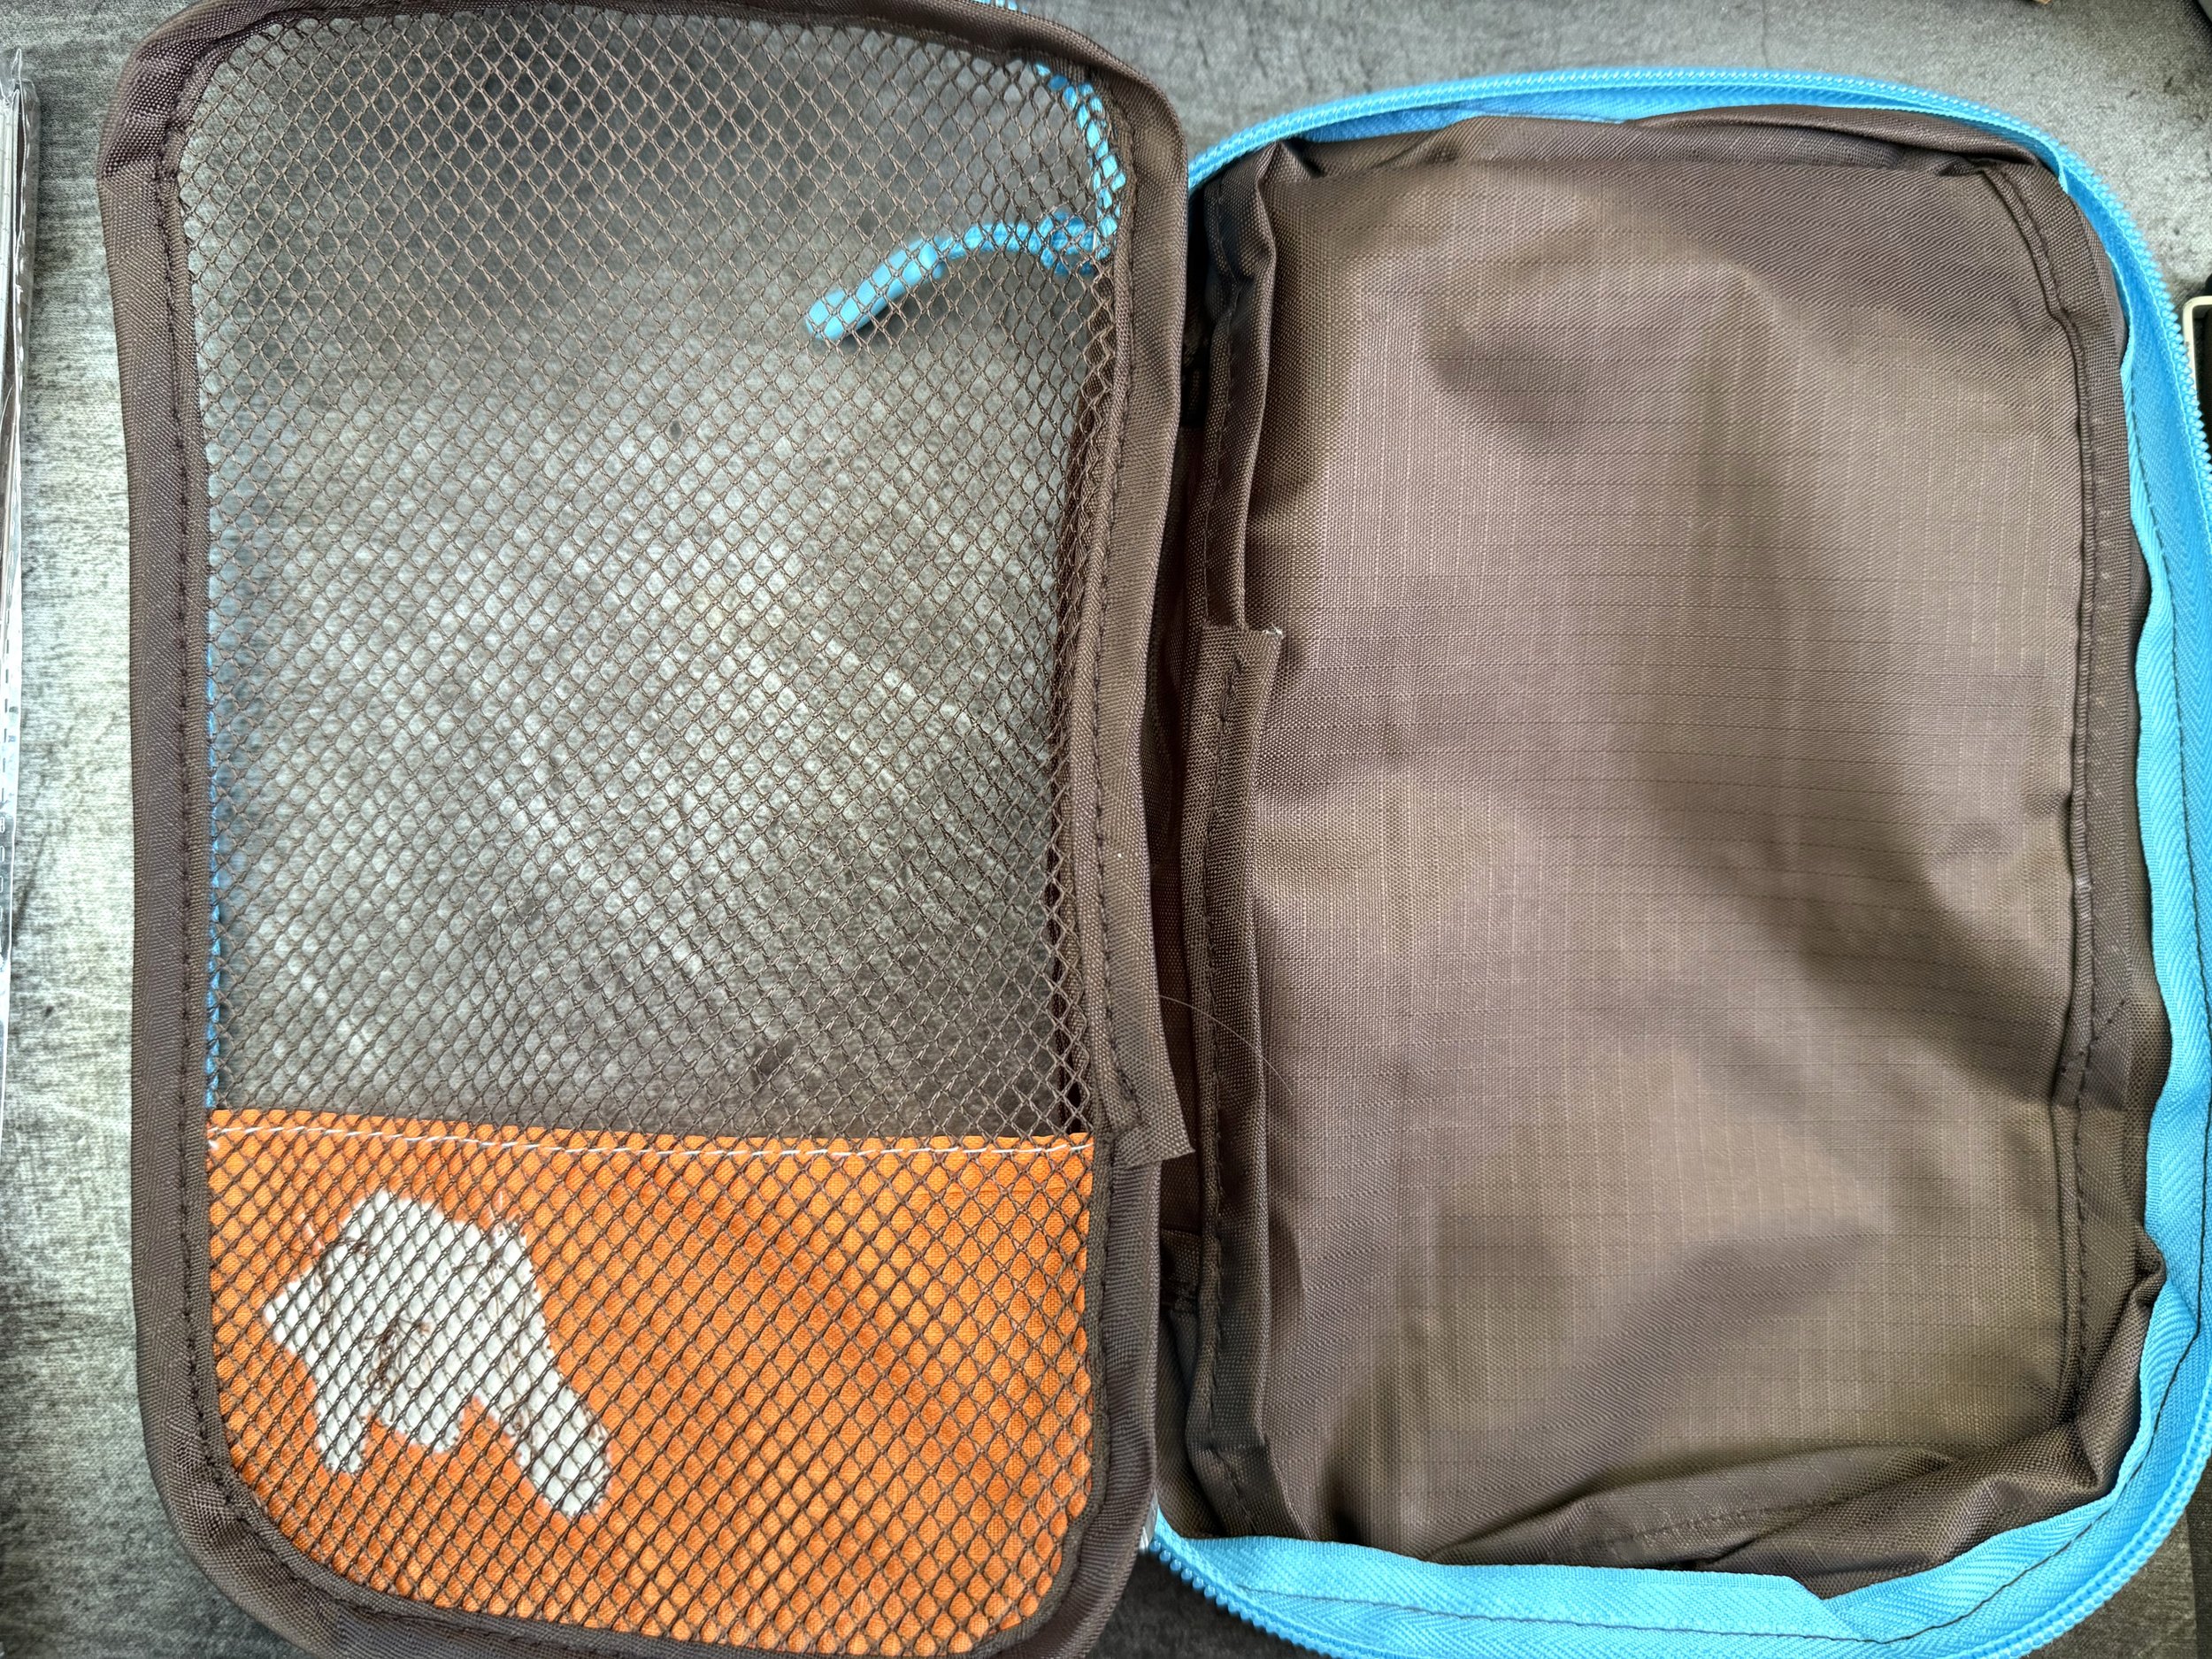
The nylon bag stores the wealth of accessories well. The bag and journal itself, with all the pockets applied, can carry your travel journal arsenal to the ends of the earth.

If you're thinking of trying travel journaling and you want to test a bit of everything, this is the perfect way to get started. Personally, I've enjoyed collecting my travel journal bits over time, each one specially selected. But there's no denying the value in this box of tools. The whole kit sells on Dromgoole's for $79.95, which is much less than you'd pay for this many accessories individually. The design is cute and the pieces have been selected with care. My favorite is the fountain pen shaped bookmark. Travel season is nearly here, and it's time to get the kit ready to go!

(This product was purchased from Dromgoole’s at regular price.)

Posted on February 19, 2026 and filed under Esterbrook, Journaling, Accessories Review.

Looking Back to Go Forward

(Kimberly (she/her) took the express train down the fountain pen/stationery rabbit hole and doesn't want to be rescued. She can be found on Instagram @allthehobbies because there really are many, many hobbies!.)

Flash back to December 2023 (yes, ‘23 not ‘24) and I was nearing the end of my bullet journal notebook. I didn’t want to start January 2024 at the end (gotta start a new notebook, right?), but I also didn’t want to waste those last few pages so I decided to use them to brainstorm some goals for 2024.

Back in my corporate days, we’d talk about making SMART goals (specific, measurable, achievable, relevant, time-based) but I never really did anything like that for my personal life that didn’t involve exercise (I used to have fitness goals around running distances/times, workout streaks, triathlons and other races - see, I really did do “allthehobbies” 🙂). I thought, why not put some goals on paper and be more deliberate about working on them instead of beating myself up over not getting things done.

It started out pretty simply (and pretty messily, I might add), and I quickly realized there was a lot more I wanted to do in 2024.

I changed to writing individual goals on sticky notes (not pictured), which I could sort more easily. I looked through them and tried to put them into groups that made sense.

I found this 2024 year graphic in MS Word and printed it out on label paper. I then broke up my goals into different aspects of my life. (Items covered for privacy)

Since this was the first time doing this, my aim wasn’t to get everything accomplished but to focus on a variety of short and long-term projects throughout the year and make progress. I had goals/projects for household, personal growth, hobbies and “miscellaneous”. Some goals were more rigid like getting tax docs to CPA by the end of February (I’ve been late the past few years), and others were more vague like “clean pens more regularly” (let’s not talk about that one, lol).

Writing down goals is all fine and good, but I wanted to hold myself accountable and ensure that I was making progress, so I did monthly check-ins, or retrospectives. At the beginning of the following month, I would spend ~30 minutes going through all the goals and whether I had made any progress. Some items were more urgent than others (like getting all the tax documents to our CPA earlier than we usually do), while others were progress goals that would last all year or beyond (like swatching X% of my inks).

Rather than using another notebook for the retrospective, I decided to track my goals in my bullet journal notebook. I didn’t know how many pages I would need but I knew I wanted to keep the retrospectives together, so I started from the back of the book.

The left side is a typical to-do list in my bujo, while the right side is the retrospective, which is upside down. This way I could read/write in it from left to right and I could take as many pages as I wanted.

After doing 6 months of retrospectives, I discovered a few things:

Pros of the upside down/same notebook approach:

  • It’s in the same notebook, so I could do my retrospective anywhere I had my bujo.
  • You use up the notebook faster because you’re using it from both ends (I ended up using about 30 pages for retrospectives).

Cons:

  • It’s upside down, so I was constantly rotating the notebook to look at my bujo, goals, or trackers to figure out my progress.

Neutral

  • I was writing down the goals/subgoals every single month, which got a little annoying. It was also difficult to see progress without flipping to different months. This has nothing to do with writing from the back of the book, just something I had noticed as I was doing this.

Here’s the June progress of my writing projects in the back of my bujo.

I decided for the second half of the year that I would try a ring-bound system, which would allow me to (1) move pages around if needed and (2) not have to flip my bujo back and forth. I have a few A5 6-ring binders laying around, so I used my PLOTTER paper and changed up how I tracked the goals.

Same writing projects, but now I can see multiple month’s progress at a time.

Of course, I still didn’t leave quite enough space for everything but it was easier to see the month-to-month progress. The binder format made it easier to add additional pages or move things around.

It was important to me that the retrospective was not about berating myself for not making progress, but to see how I spent my time in the prior month and whether to make adjustments in the next month. This was about awareness and progress, and not perfection and checking off all the goals. So after going through each goal/section, I would finish each month’s retrospective with a short summary/review of the month. Maybe I had a lot of trips, or there was stuff going on with the kid’s school, etc. - they weren’t necessarily excuses, though sometimes they were - or I added new goals/areas, or made deliberate decisions that changed the priority (like not doing anything scuba-related in the winter), or maybe I made a lot of progress and checked off some items. Then, I would take a sticky note and jot down what things I wanted to focus on for the next month. That sticky note would be moved around in the bujo as the days/weeks went by so I could make sure I added to-do items that would further my progress.

While there were plenty of goals where I made absolutely no traction, like writing 3 extra TPA articles (I don’t think I even managed ONE extra), or refreshing my scuba certification, there were quite a few items where I actually made progress or even finished projects! I managed to close a couple of long standing accounts, finished transcribing The Little Prince (original 2024 goal was to go from 74% to 90%, but I finished it in August!), read 20 books for the year (I ended up finishing 50 books!) and more.

Due to a lot of personal stuff going on, I haven’t had the mindspace to do a full 2024 retrospective, or come up with realistic 2025 goals. But when I’m ready, I want to reflect on 2024, celebrate accomplishments, and revisit items that didn’t get much traction. I plan to “table” some of last year’s goals so I don’t forget about them (like getting a motorcycle license), push forward on other goals (like getting from 55% to 65% of transcribing Meditations), and figure out other goals that I want to work on (like finally moving off my laptop to a newer machine that has been staring at me for a couple years). I was worried that making these goals would diminish my love of this hobby but it has really made me more mindful about how I’m spending my time to get more things done and more enjoyment out of life. Looking forward to continued growth and progress in 2025.

Can’t wait to use one (or both) of these stickers from Sugar Turtle Studio when I’m ready to tackle 2025!

(Disclaimer: All products shown were purchased by me. Sugar Turtle Stickers are from their monthly Patreon subscription.)

Posted on January 10, 2025 and filed under Journaling, Planning.

Reflections on a Year of Journaling

(Kimberly (she/her) took the express train down the fountain pen/stationery rabbit hole and doesn't want to be rescued. She can be found on Instagram @allthehobbies because there really are many, many hobbies!.)

I haven’t done much journaling as an adult, aside from some scrapbooking ages ago or jotting notes from vacations, but I wanted to change that. I met some wonderful folks from the journaling community at the 2022 SF Pen Show and I decided I was going to start. I picked an unused Hobonichi Weeks and tried to use it for the last couple months of the year and realized the format was too small (we all know how long-winded I can be, lol) so I decided to try the Traveler’s Company regular-sized weekly diary inserts for 2023.

My chonky Traveler’s Notebook (patches from Baum-Kuchen Studio.)

Here are some things I discovered, realized and learned from this past year’s journaling; I broke it down into Writing, Decorating, Tips/Other:

Writing

I am an event-driven journaler. What on earth does this mean? I generally write about events, and less about emotions, feelings and thoughts. One might say it is more like a diary. It doesn’t mean that I don’t write down how I feel if something happened, more that it isn’t the focus of my journaling. There is nothing wrong with writing those things down, that’s just not where my head is at, and that’s ok.

I don’t write every day. As much as I want to make this a daily habit, it often doesn’t happen. I would beat myself up about having to go back and play “catch-up” but now I try to look at it more from a periodic reflection instead of a must-do daily item. If daily journaling works better for you, that’s awesome, but if you’re finding that difficult to do, maybe a more periodic approach will work better like it does for me.

Thank you, BuJo. I am so glad that I have a pretty good routine with Bullet Journaling because of what I just said above. My BuJo and the to-do lists remind me of what I did or worked on, which in turn, remind me of stories I want to jot down. It makes it so much easier to catch-up. It’s nice to look back - I recently spent part of the holidays backfilling 9 weeks’ worth of entries and after finishing it, it was so rewarding to flip through the past 6 months of entries and relive those memories again.

Decorating Your Journal

Journals don’t need to be decorated at all. But if you want to decorate them, by all means, go for it! Coming from a scrapbooking background from eons ago, I knew that I wanted to decorate my journals.

Decorations don’t have to match the entries. For me, I initially got hung up on trying to find the right stickers/washi/ephemera/whatever to match that week’s entries. This, in turn, made me spend way too much energy trying to find stuff or worse, run out and buy stuff, just so I could find matching things. This was one of the reasons I ended up giving up on scrapbooking - because I spent more time decorating (and being frustrated) than writing, which is the part I enjoy.

Pre-decorating is great. Once I got it out of my head that decorations didn’t have to match the content, it really freed me to decorate my journal ahead of time. It has turned into a relaxing activity that is also helping me be more creative too (I’m slowly learning how to collage and layer with stickers/washi/etc).

A pre-decorated page from May which I still have yet to fill out, oops.

Sticker release paper/books are so useful. I had no idea what sticker release paper was or what they were used for. Basically these books are made from the backing of stickers/labels and are used to keep your stickers in a consolidated space. I recently filled the Traveler’s Notebook Sticker Release Paper insert with a variety of stickers, which makes it easy to decorate on the go. Peeling stickers off their backing and putting them into the insert is the first step in using those stickers. Once you remove one sticker from a sheet, it gets so much easier to use the rest of them. Not to mention, it was so satisfying to fill up an entire insert not only because I now have an insert full of stickers ready to go but it felt so good to know I’m using my stuff and not just hoarding them!

I tried to cram as many stickers in many different styles as I could in this insert so I don’t have an excuse that I can’t decorate my journal.

Photos are awesome. Pictures are worth a thousand words, so putting pictures in my journal means I don’t have to write as much, lol! I didn’t put a single photo in the first half year’s insert, but definitely remedied that in the second half! You don’t have to have a photo printer - you can print on regular paper and use tape or glue stick. I got a Canon Ivy Cliq+ for my birthday a couple years ago which prints photo stickers. I print 4 photos to a page since I have limited space.

I love seeing these photos and remembering the friends and stories, like these from the Fountain Pen Day trip to Chicago.

Tips & Tricks & Other

It’s ok to skip entries or write over them - When I was backfilling my TN, I knew that one of the weeks would be about the SF Pen Show and there was no way that one page would be enough. So when there were weeks that didn’t have anything I really wanted to say about them, I left the page blank, so that I could use it for overflow SF Pen Show journaling. It made me feel good that (1) I didn’t force myself to write something when I didn’t really have anything I wanted to say and (2) that it gave me room for other entries.

I wrote “cont’d on x page” at the bottom so I could easily find the next entry (this was written on the week after the pen show.)

Make it work - Before I realized the above hack, there was one week’s worth of memories and events that wouldn’t fit on one page and I had already written on the following week’s page. So I cut out the last blank page of the insert, trimmed it a little and then taped it into the week’s entry so I had an additional sheet to use. Worked out great and I didn’t feel bad not using the last page, which would be for the first week of January anyway (and therefore in next year’s insert). Win-win! You can also use leftover pages from other notebooks, cute sticky notes to cover a mistake or ink blob or washi tape to cover up the dates.

You can see that this inserted page is a little smaller (so it wouldn’t stick out) and just taped onto the insert.

The stamp that I used on the back of this page had bled through, so I used one of the sticky notes from eric small things to cover it up and put a Rickshaw SF Pen Show sticker in the middle. Problem solved!

The last page of the 2023 insert was for the first week of January, but I didn’t want to do any January writing, so I covered up the dates with a strip of washi tape and finished up my year end writing! Also, Bungee says Happy New Year!

Keep it together. The Traveler’s Notebook system is great for multiple inserts and such, but even if you don’t use a TN, it’s really useful to keep your journaling items together. Whether it’s a pouch to store stickers, markers or small envelopes to hold ephemera, having a small kit where everything is in easy reach makes it more likely that you can get to journaling wherever you are.

Separate your journal. Ok, I just said keep it together and now I am telling you to separate it? I realized that sometimes I just want to jot something down, without needing to “make a big production” of journaling. Pre-decorating the journal has made it easier for me to just have the insert loose (not in the elastic straps) so I can take it on the go, without bringing the rest of the TN.

Get good tools, portable ones if you can. Sticker tweezers, worth it. Seriously? Tweezers just for stickers? Yes, it’s a life-changer, especially if you have teeny tiny stickers you want to use. They’re either sticking to our finger and not to the paper, or it gets less sticky cuz they’ve gotten your finger oils on them, or you can’t put them exactly where you want. The tweezers help you remove the sticker from the backing without affecting its stickiness and also helps you affix them where you want them. Ditto for nonstick scissors that aren’t going to get gummy from cutting up stickers, PET tape etc. I have tweezers and scissors for home use and smaller ones that I keep in my journaling kit. Here are some of my most used tools and accessories:

-- Sticker tweezers

-- Scissors

-- Brass Clips - I use these to hold my TNs open when I’m decorating or writing.

-- Plastic bookmarks/cards to wrap washi samples around.

-- Hotel room key - for cutting washi tape.

-- Sticker Release Insert - already mentioned above, but you can make your own if you have label or sticker backing paper. You can also buy sticker backing paper separately. Folks like Inkyconverters also make sticker books.

-- Pouches - I have several pouches in my TN but I also use pouches from Delphonics and Rickshaw that function as journaling kits to carry additional sticker books, washi rolls, stamps, envelopes, ephemera, etc.

I have several bookmarks of washi tape samples in my pouch.

Stickers, postcards, ephemera go in this clear pouch.

I use this card insert to store some of the stickers that I don’t want to put in the sticker book (usually because they are kind of big.)

Moving Forward

I have decided to stick with the Weekly Traveler’s Notebook inserts for 2024 because it’s the right size for quick daily jots on the left and a weekly highlight or two on the right. I’m still not aiming for daily journaling but would like to do it weekly (so far I’m 0 for 2, but I plan on doing some catchup next week). I have not only enjoyed jotting down the week’s highlights (and sometimes lowlights) but I have REALLY enjoyed using my stickers and ephemera.

It is interesting to see how different the first and second insert covers are. All because I was getting more used to trying new things and forcing myself to “use my sh*t”, as my friend Judy of Tokubetsumemori would say.

But my biggest takeaway from the 2023 journaling journey is to be kind to yourself. Even if sticker placement isn’t the best, or your pen burps on the page, or you spill something on it, you’re taking time to do something for yourself, and if you take a deep breath and focus on that and not on the mistake, you’ll realize it’s gonna be okay. May your 2024 journaling days be kind to all of us.

Ready for another year of journaling!


Enjoy reading The Pen Addict? Then consider becoming a member to receive additional weekly content, giveaways, and discounts in The Pen Addict shop. Plus, you support me and the site directly, for which I am very grateful.

Membership starts at just $5/month, with a discounted annual option available. To find out more about membership click here and join us!

Posted on January 12, 2024 and filed under Journaling.