(Susan M. Pigott is a fountain pen collector, pen and paperholic, photographer, and professor. You can find more from Susan on her blog Scribalishess.)
I've always wanted to be a "craft-y" person--you know, the kind who can draw, sew, scrapbook, knit, write calligraphy, and make all her Christmas gifts (and wrap and tags) by hand. But I'm just not that person. I try to draw, but my skills are childish, at best. I practice calligraphy, but not enough, so I don't see much improvement. I never learned to knit or sew or crochet or any of those sorts of things. But there's always been one craft I though I might be able to do: bookbinding.
I'm pretty sure what stimulated this long-lost desire in me was seeing the beautiful books created by Moneeza Khan at Lotus Blu Book Art. I was entranced, not only by the books, but by Moneeza's process of creating them. Her craft is prayer, and books are her devotions. I watched an unboxing of one of her books by Catharine Mi-Sook on Instagram (@catharinemisook), and every item communicates love and attention to detail.
While idly clicking through the Peg & Awl shop, I found their 6" Anselm Bookbinding Kit. I knew immediately that this was my entrée into bookbinding: a simple kit with good instructions and quality materials. I ordered it along with one of their Harper mini journals and a super adorable book necklace.

Because everything is handmade to order at Peg & Awl, I knew it would be several weeks before I would get my kit. I watched all their video tutorials on bookbinding, and I thought, "Okay. I can't wait. I have to try this."
First, I decided to make a miniature book, thinking that smaller might be easier (um . . . wrong). I found this instructional on the Internet, and gathered the materials to make my first book. I discovered that I only had one bent needle and one spool of ugly tan thread.

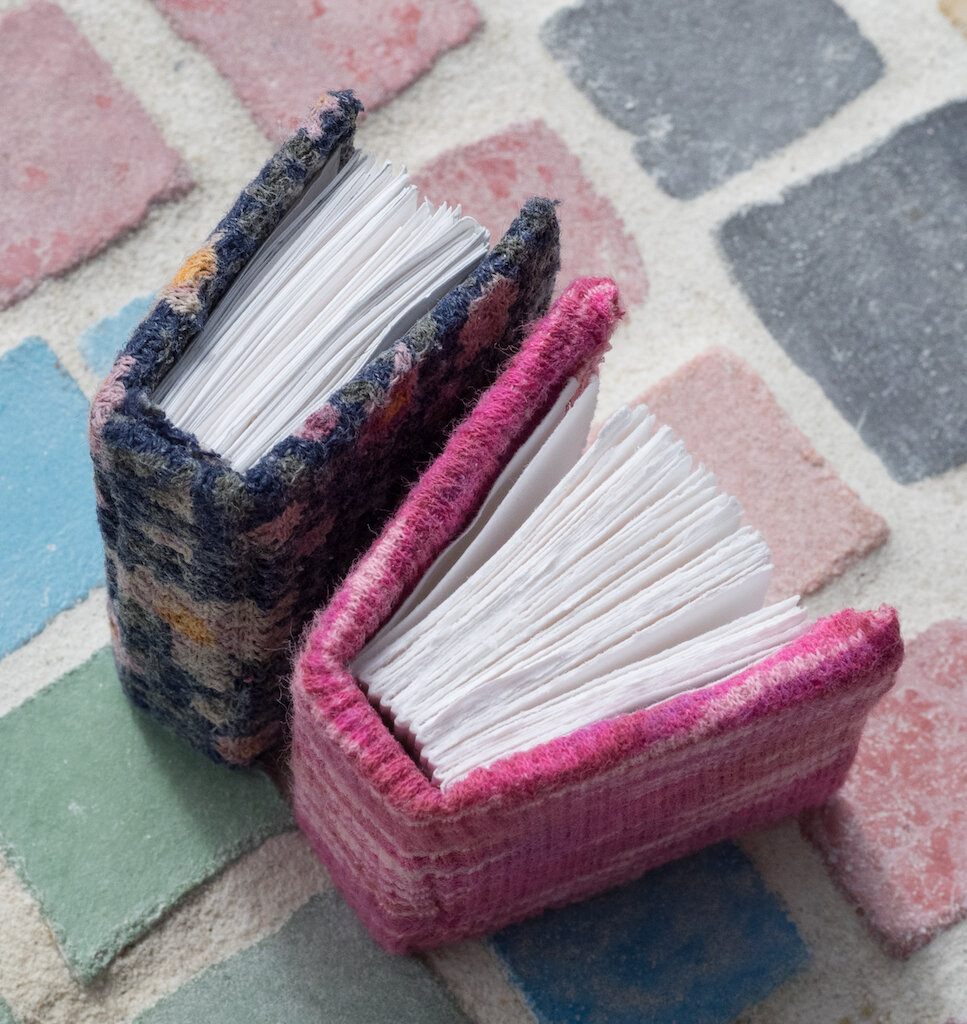
Undeterred, I cut out tiny leaves of Neenah Classic Crest Avon Brilliant White paper I purchased long ago from a seller on FPN. Unfortunately, my cutting skills are poor, so the little signatures I created were pretty wonky. I poked holes in the signatures, clumsily threaded my needle, and began sewing. It went slow. I had a hard time seeing. I kept poking my fingers and bled on the paper. But in the end I had a teeny tiny book block. I cut out cardboard for the cover of the book, found an old shirt for material, and glued it all together. Voila! A wee little book! No, the paper wasn't straight and there was blood on some pages, but it was a book and _I_ had made it.


My appetite whetted, I watched the Peg & Awl instructional videos again, and decided to make my next book using their approach. Yes, this was the exact kind of book I would be making with my kit, but I wanted to give it a shot.
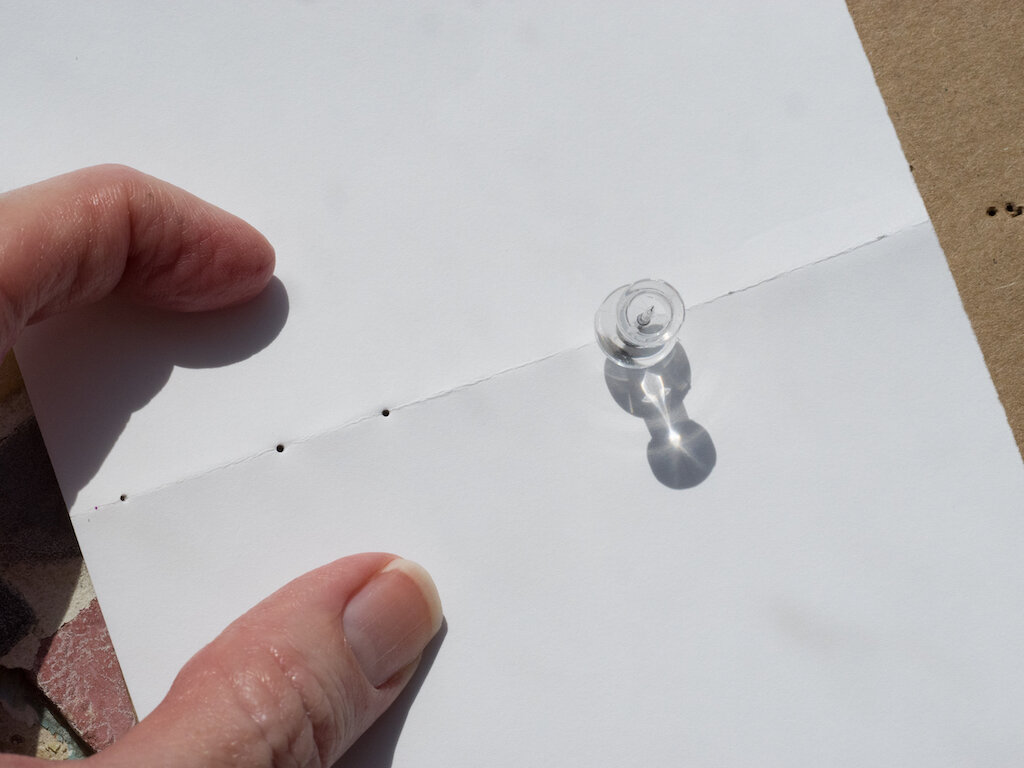
This time, instead of cutting my paper, I folded and tore it to create leaves in my desired size.

I was struck by how uniform the pages were--I'll never use scissors again! I poked my holes, threaded my bent needle, cut out some "tapes" from an old shirt, and set to work.
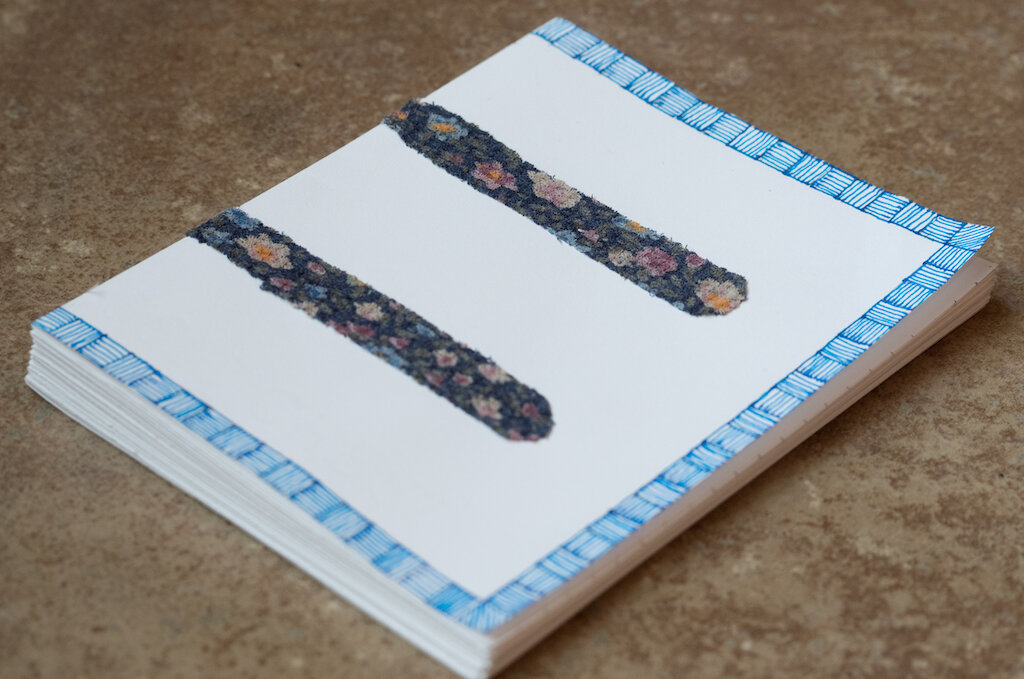
This is a new book I'm working on.
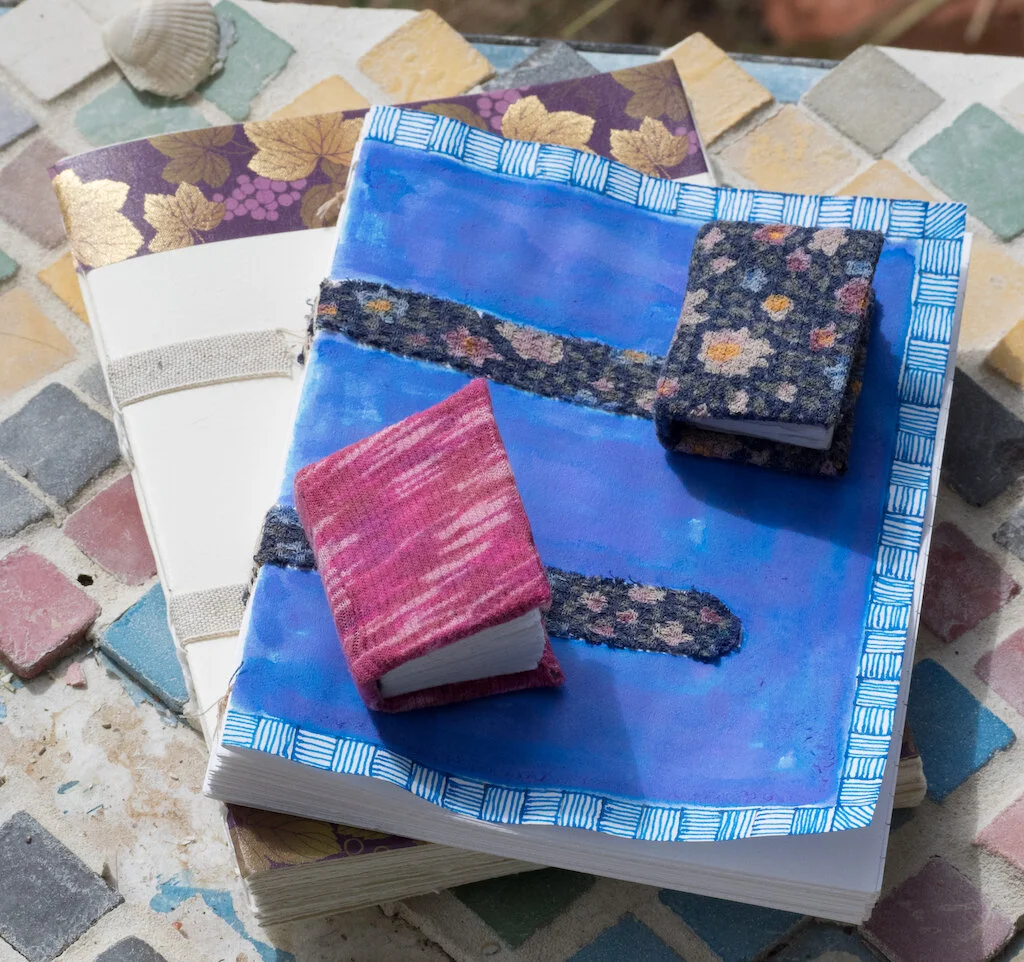
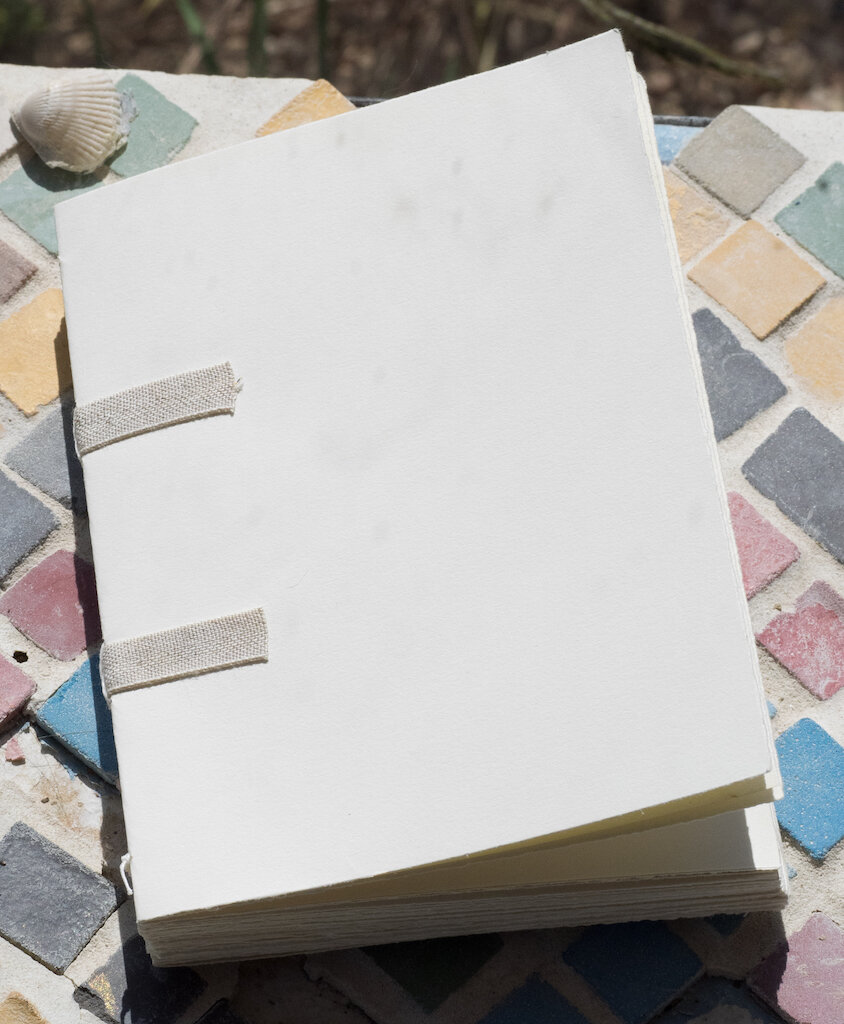
I made some mistakes along the way, and bled on my paper again, but at the end, I had a beautiful, simple book with cool stitching and a plain cover (which I later decorated).


My Peg & Awl kit arrived this Tuesday. I was _so_ excited, I opened it immediately and started working!
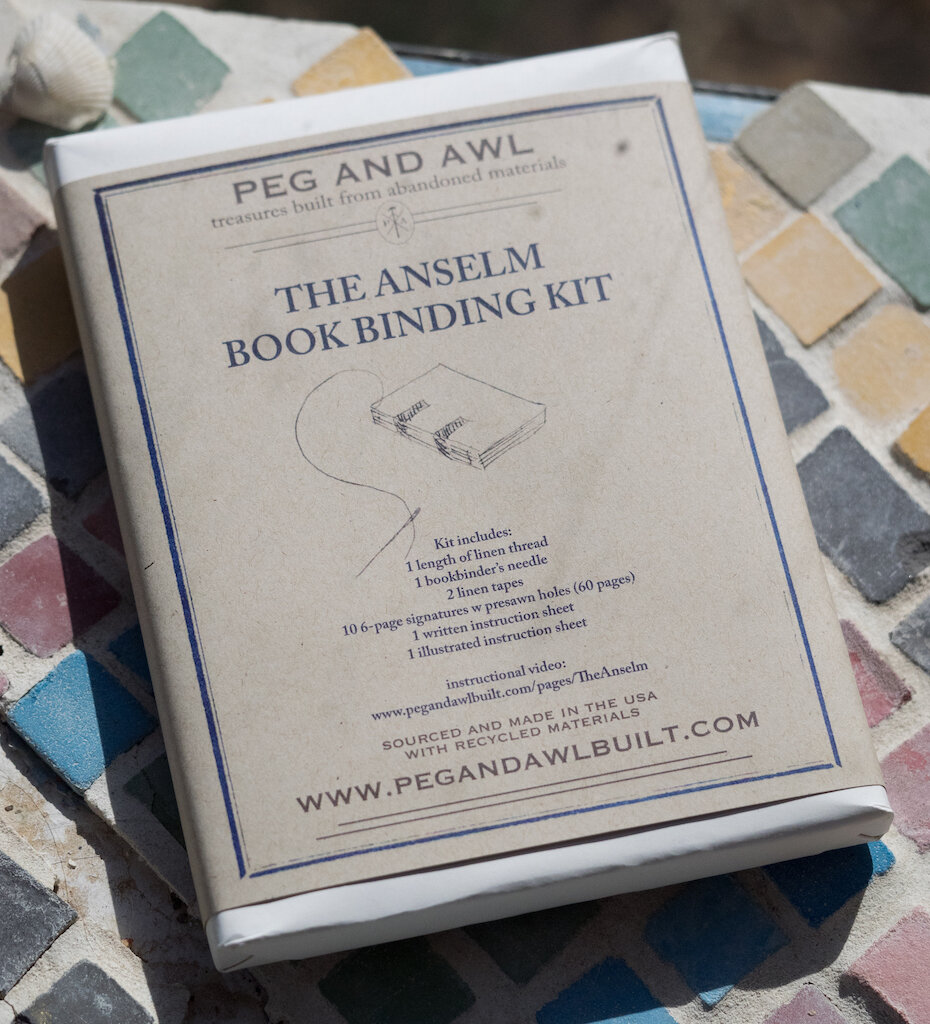
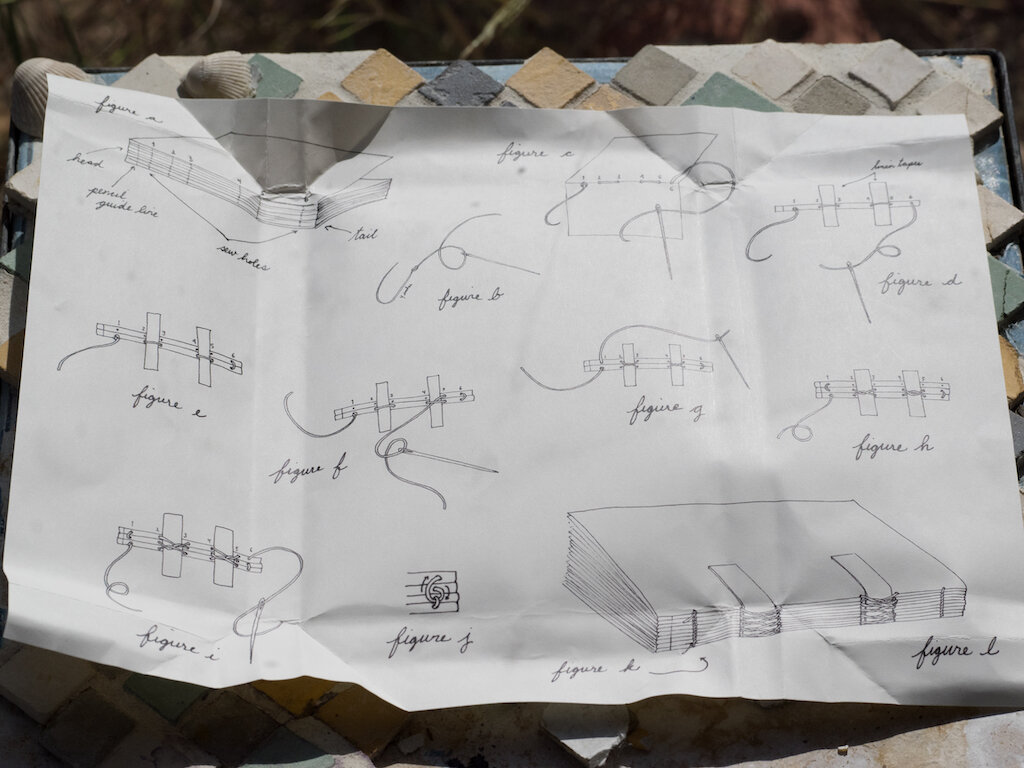
Inside were step-by-step, illustrated instructions, a book-binding needle (with a blunt end--no more bloody fingers!), French linen thread, two linen tapes, and Strathmore drawing paper, pre-folded and with holes already punched.


Since I had already made one book using the Peg & Awl method, the kit book was amazingly simple. Not only were the holes already punched and lined up, but I discovered why bookbinders use linen thread--it's thick and easy to work with. I sewed up my book in less than thirty minutes and glued my tapes down.


The next morning I decided to add some pretty washi tape to add some color to the cover. My third book was complete!

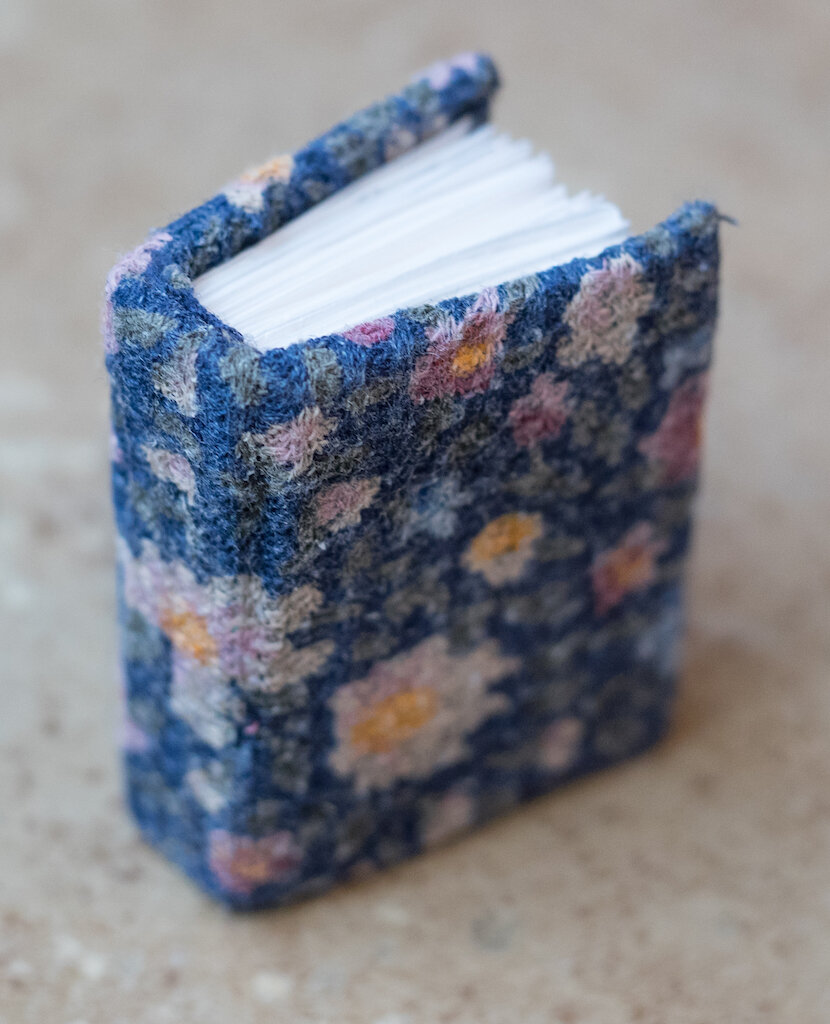
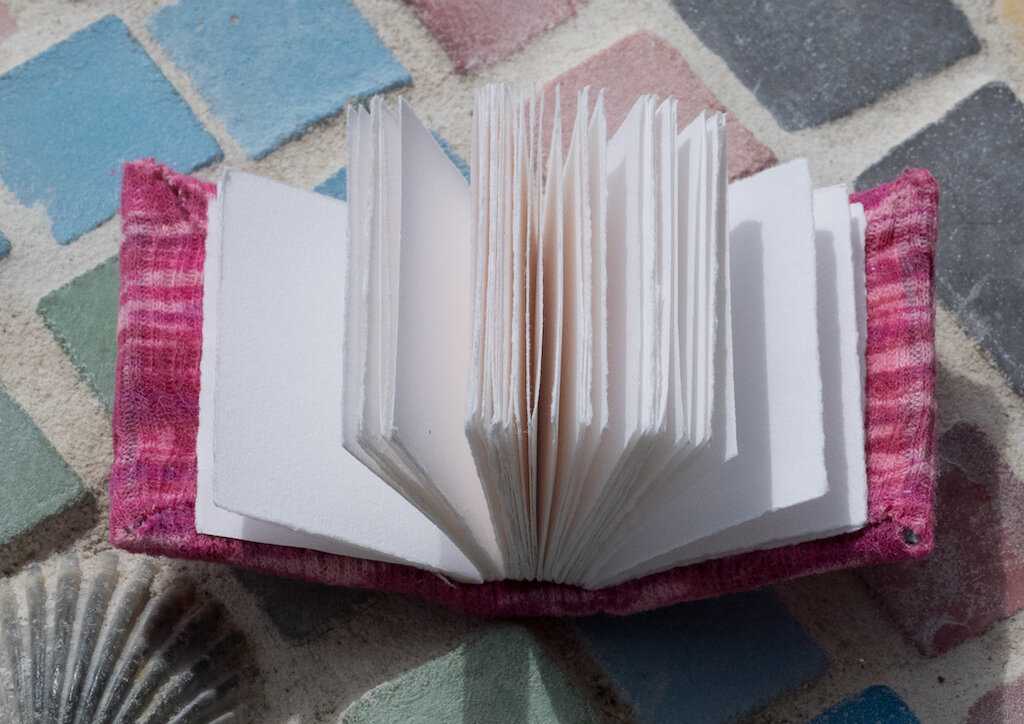
With my new bookbinding needle in hand, I decided to try another miniature book using the tearing method to make the leaves. This one came together in record time, and the pages look wonderful!


I've ordered more bookbinding supplies and plan to make lots of books over the next few months. Honestly, it's all I want to do right now. This is such a tactile craft, tearing your paper, poking your holes, cutting your tapes, sewing the signatures together, and dipping your finger in glue. Of course, my books are simple and nothing like the ones on Lotus Blu Art. But, this is just the beginning of my bookbinding journey. I'm excited to learn more techniques and come up with a style all my own.
You can purchase the Peg & Awl Anselm Bookbinding Kit in two sizes. The 6" Kit is $34.00, and the 4" Kit is $24.00. I recommend watching all the videos on their website before beginning.
(I purchased the Peg & Awl Bookbinding Kit with my own funds and all the other materials used in the photos above I had on hand.)
Enjoy reading The Pen Addict? Then consider becoming a member to receive additional weekly content, giveaways, and discounts in The Pen Addict shop. Plus, you support me and the site directly, for which I am very grateful.
Membership starts at just $5/month, with a discounted annual option available. To find out more about membership click here and join us!